Blair Academy Photography
By Tess Whitehead ‘21
To start the tutorial you are going to need to start with having an idea of what you want to photograph. You are going to need to photograph a landscape or backdrop that you would like.


Next, you need to decide on what you want the subject to be (ex: a friend of yours). Photograph them against a different solid background. For this example, I tested the differences between different color backdrops for my subject photos.


Once the photos are edited and cropped to your liking in lightroom (I would recommend keeping the photos either both horizontal or vertical for the sake of blending)
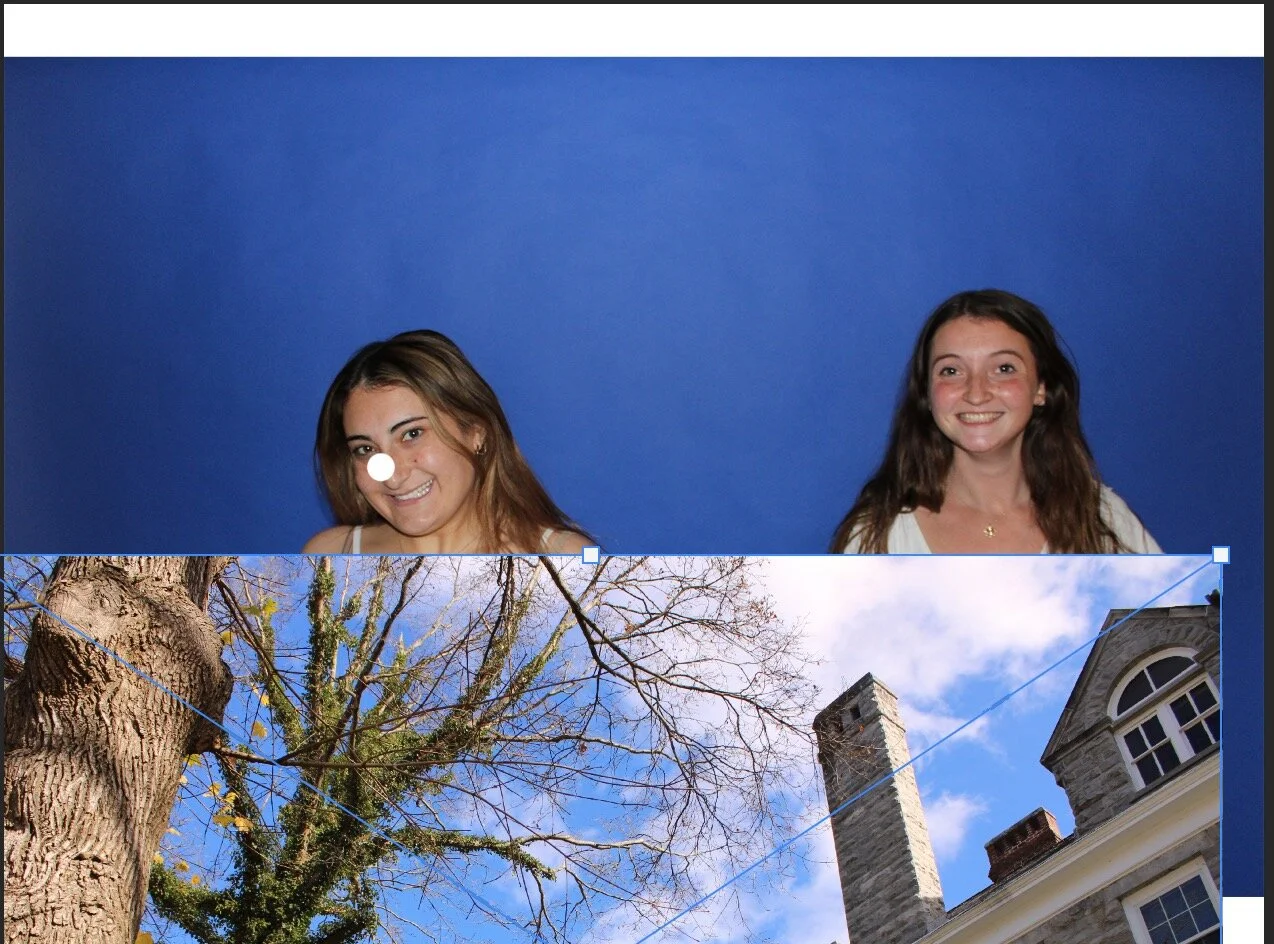
Go to photoshop and start a new project. I went for a horizontal white background.
Upload either your landscape photo or your subject photo into your new project first.
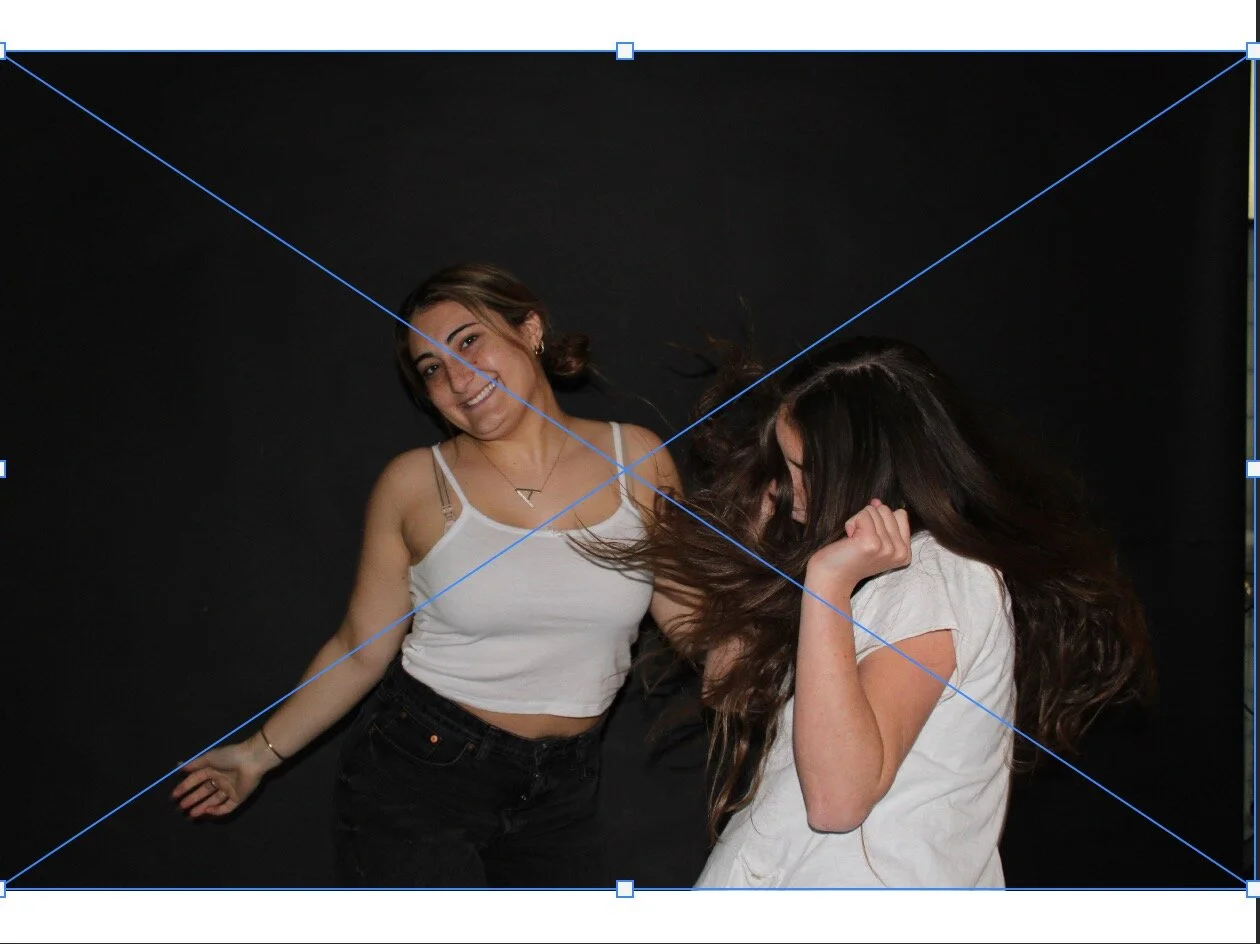
Then, upload your second photo on top of it.
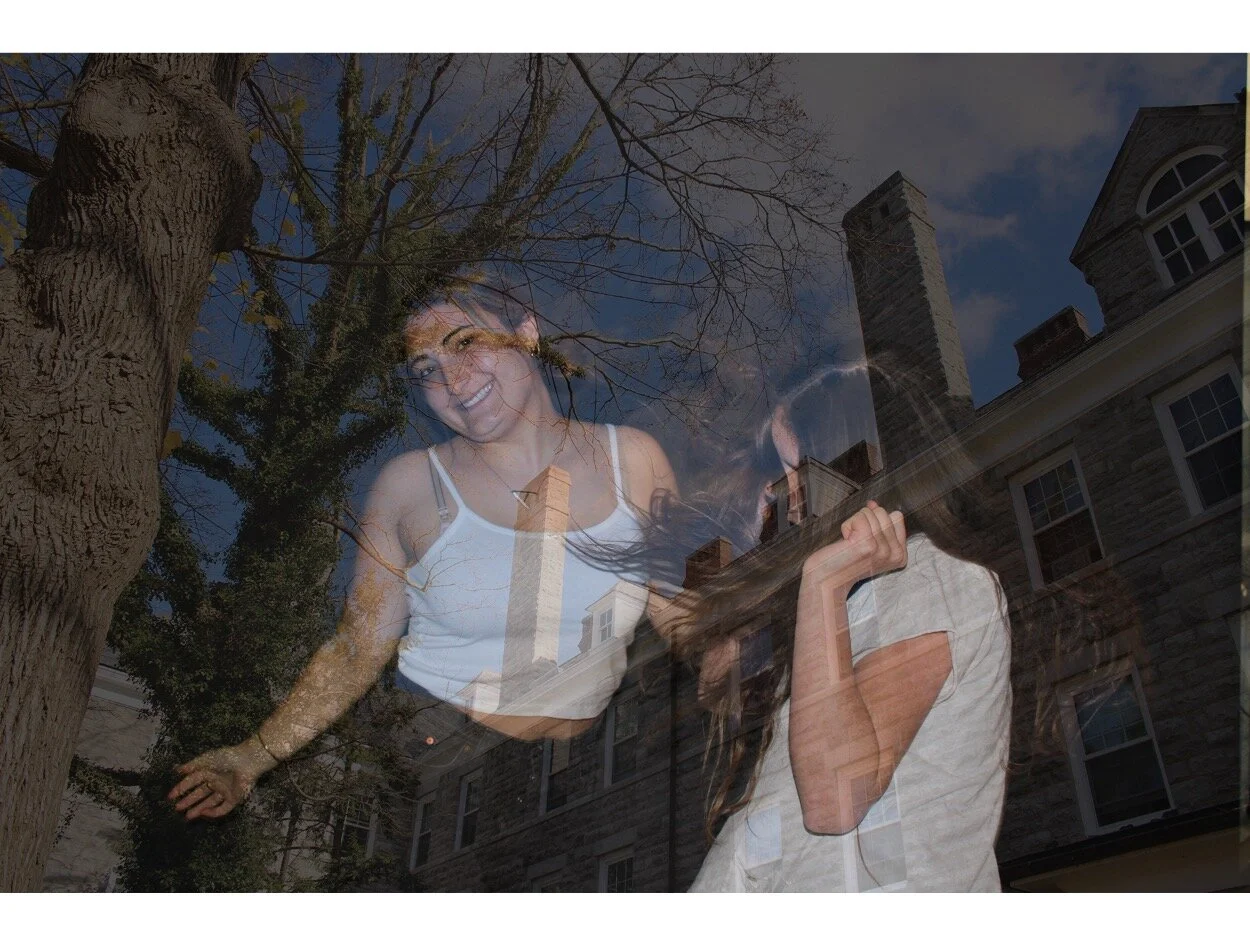
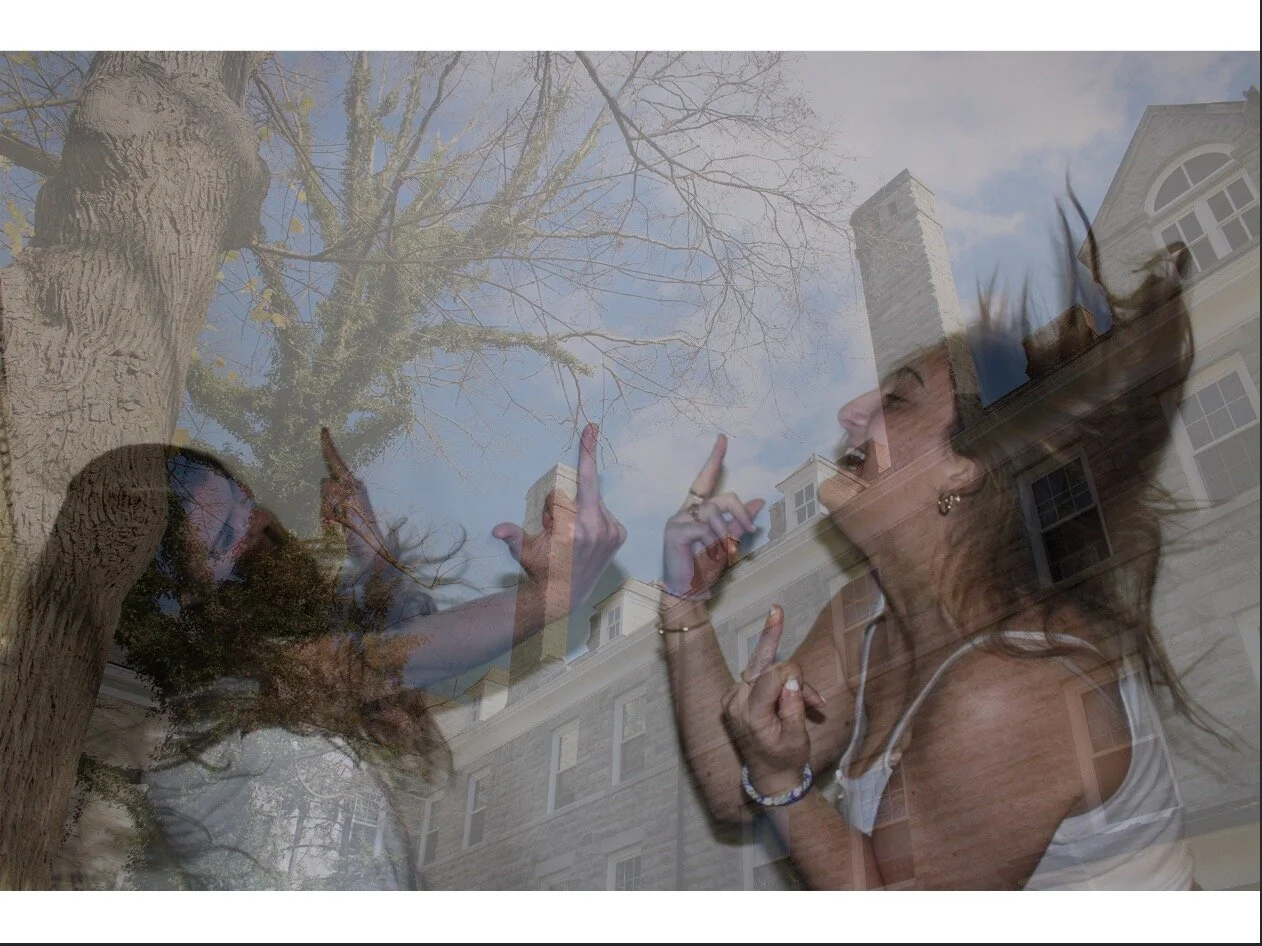
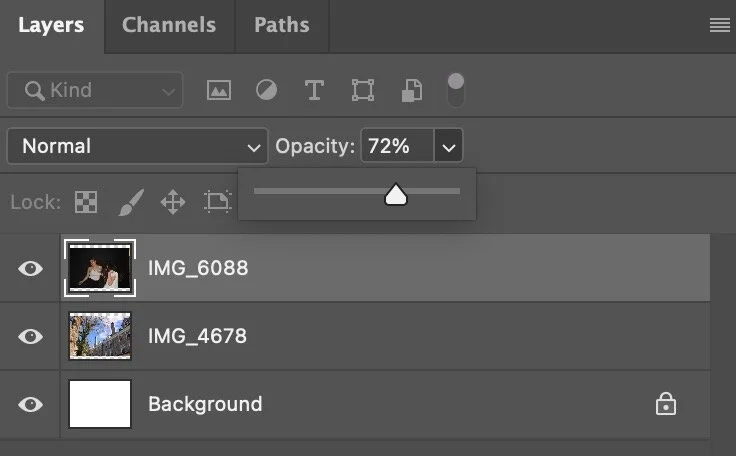
You are then going to adjust the opacity of the subject photo (which will adjust the strength of your background color of choice)
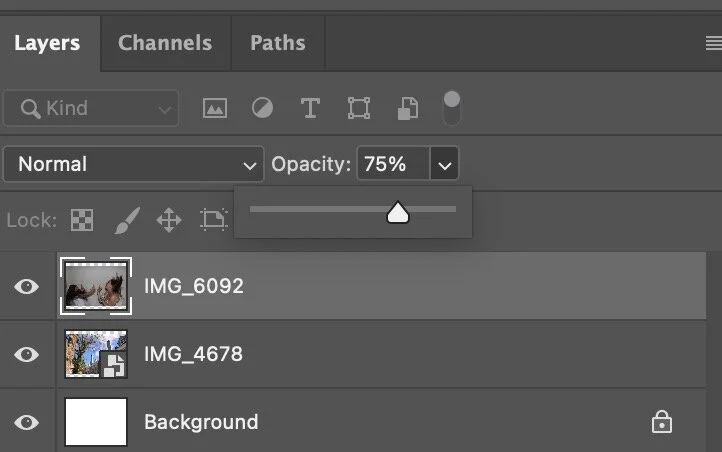
Adjust this until the blend is to your liking.
FINALLY!!! Enjoy your beautiful final product :))))