Blair Academy Photography
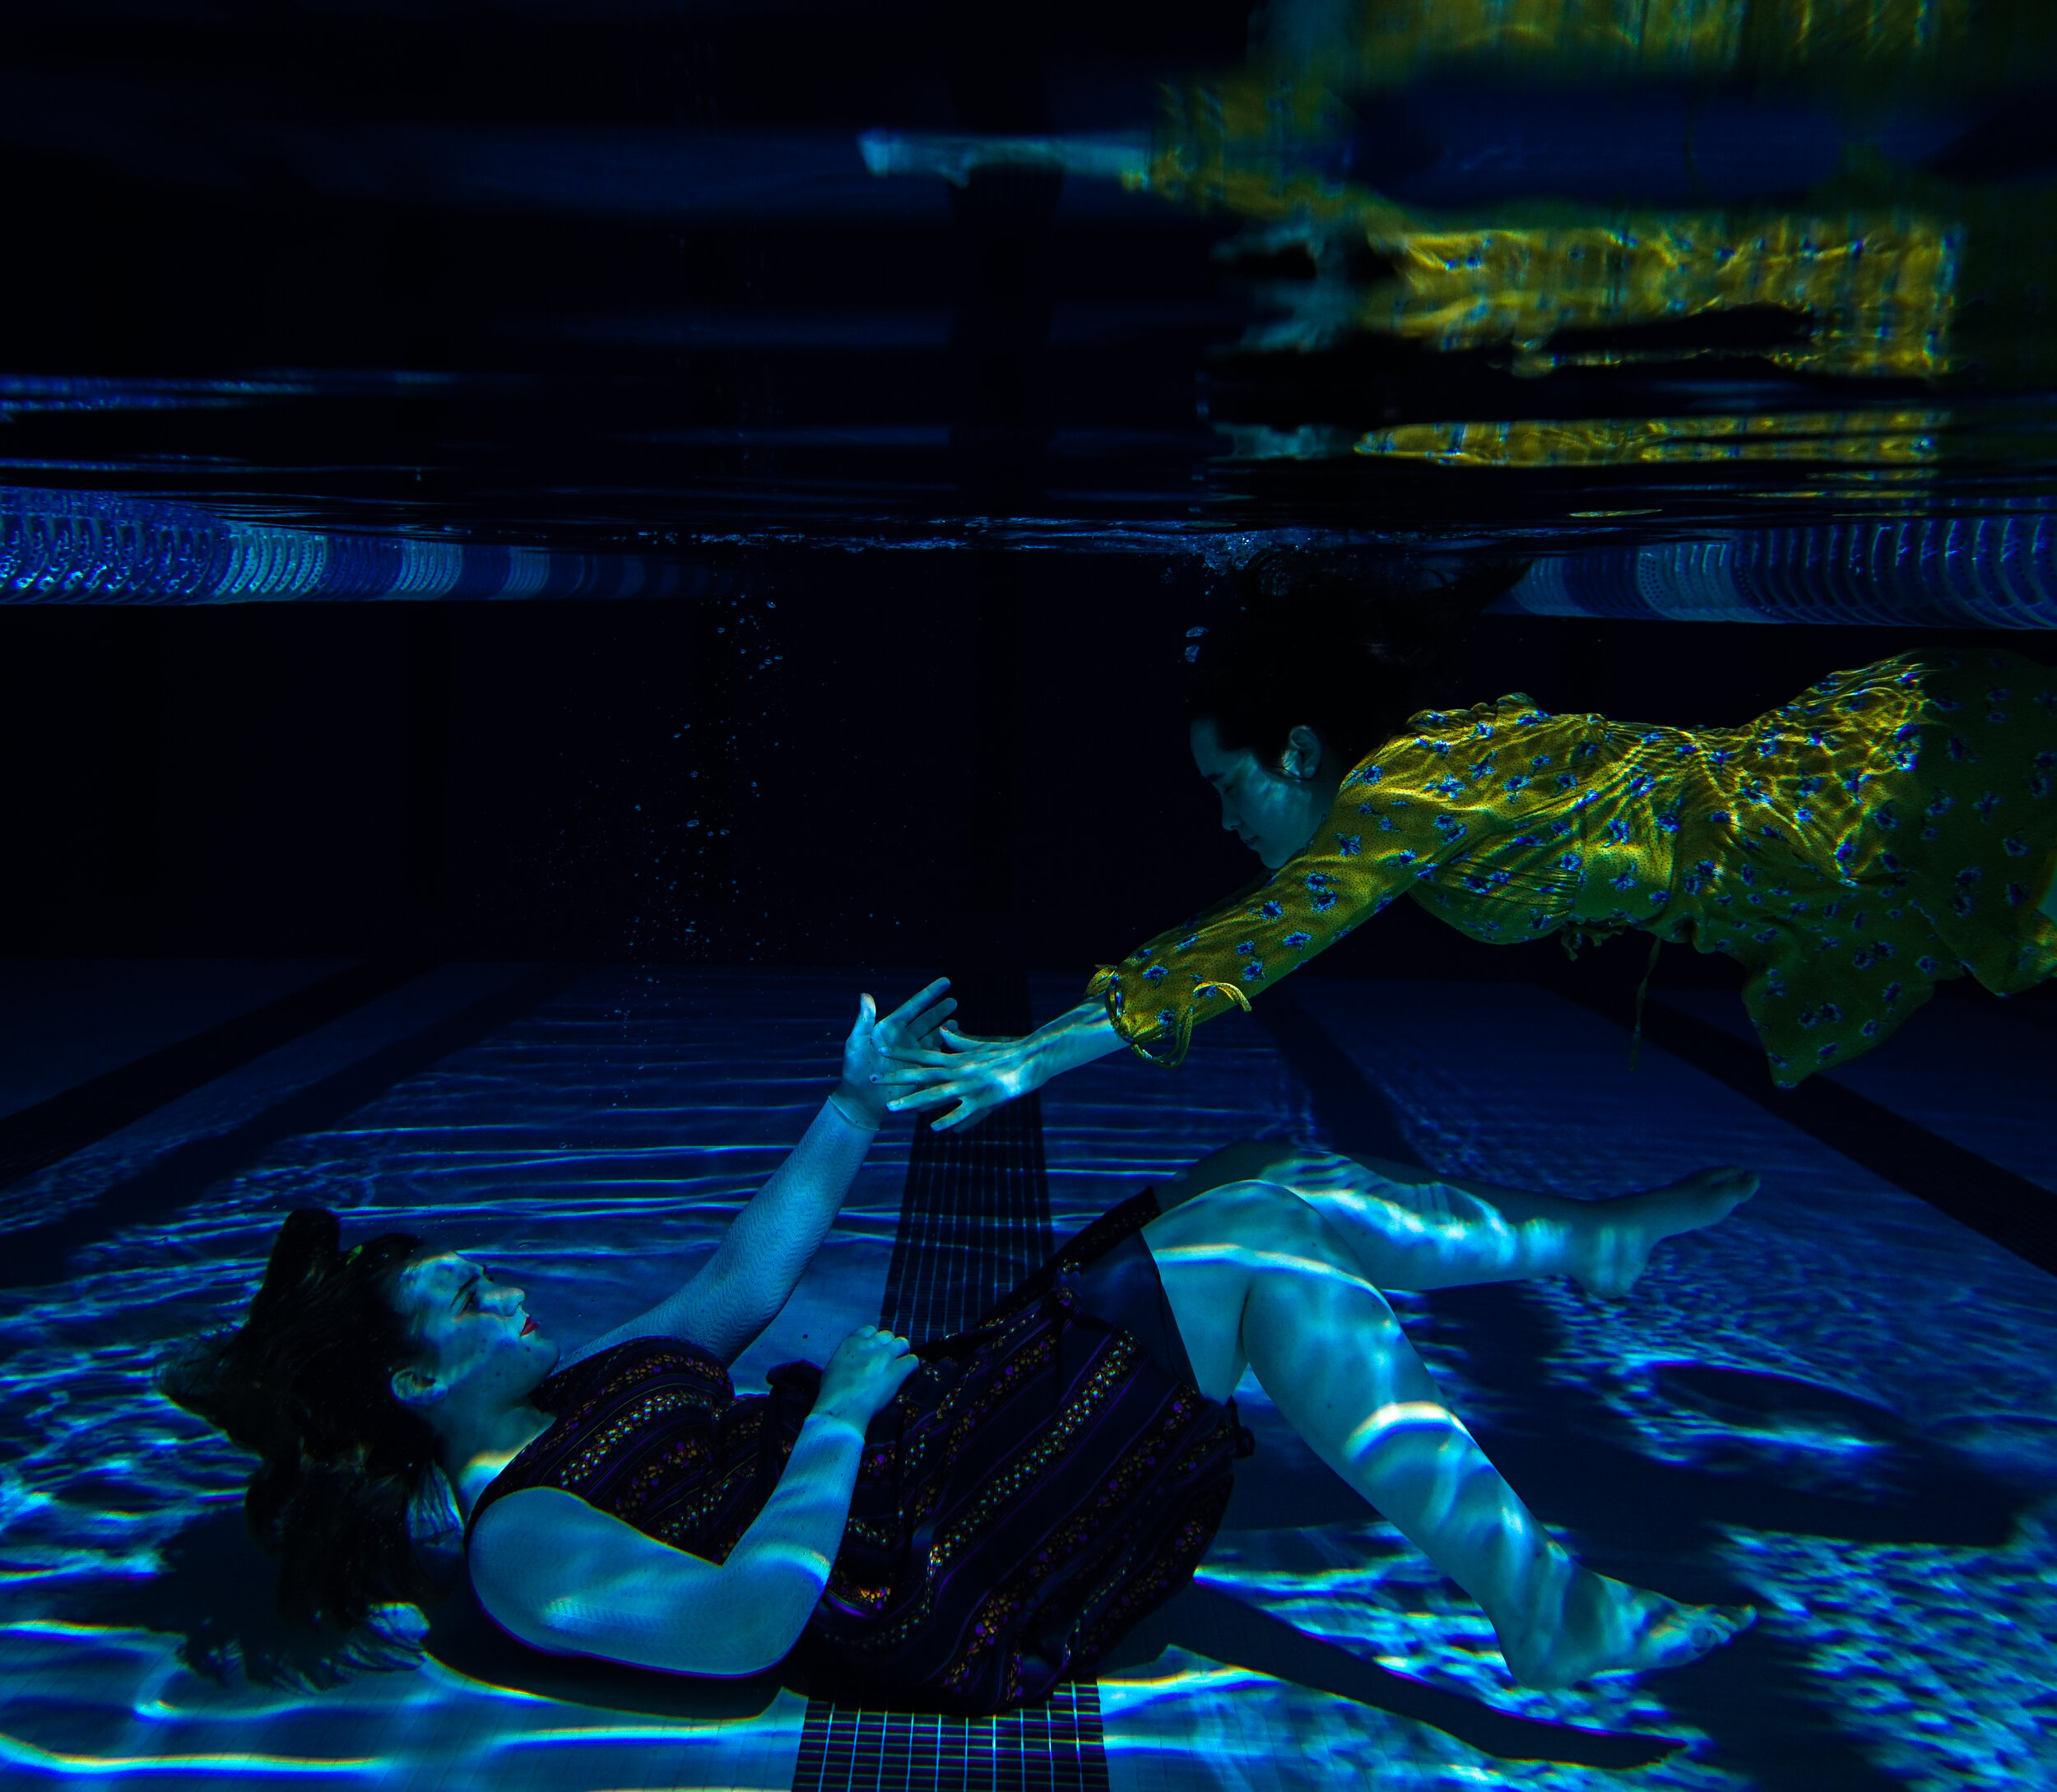
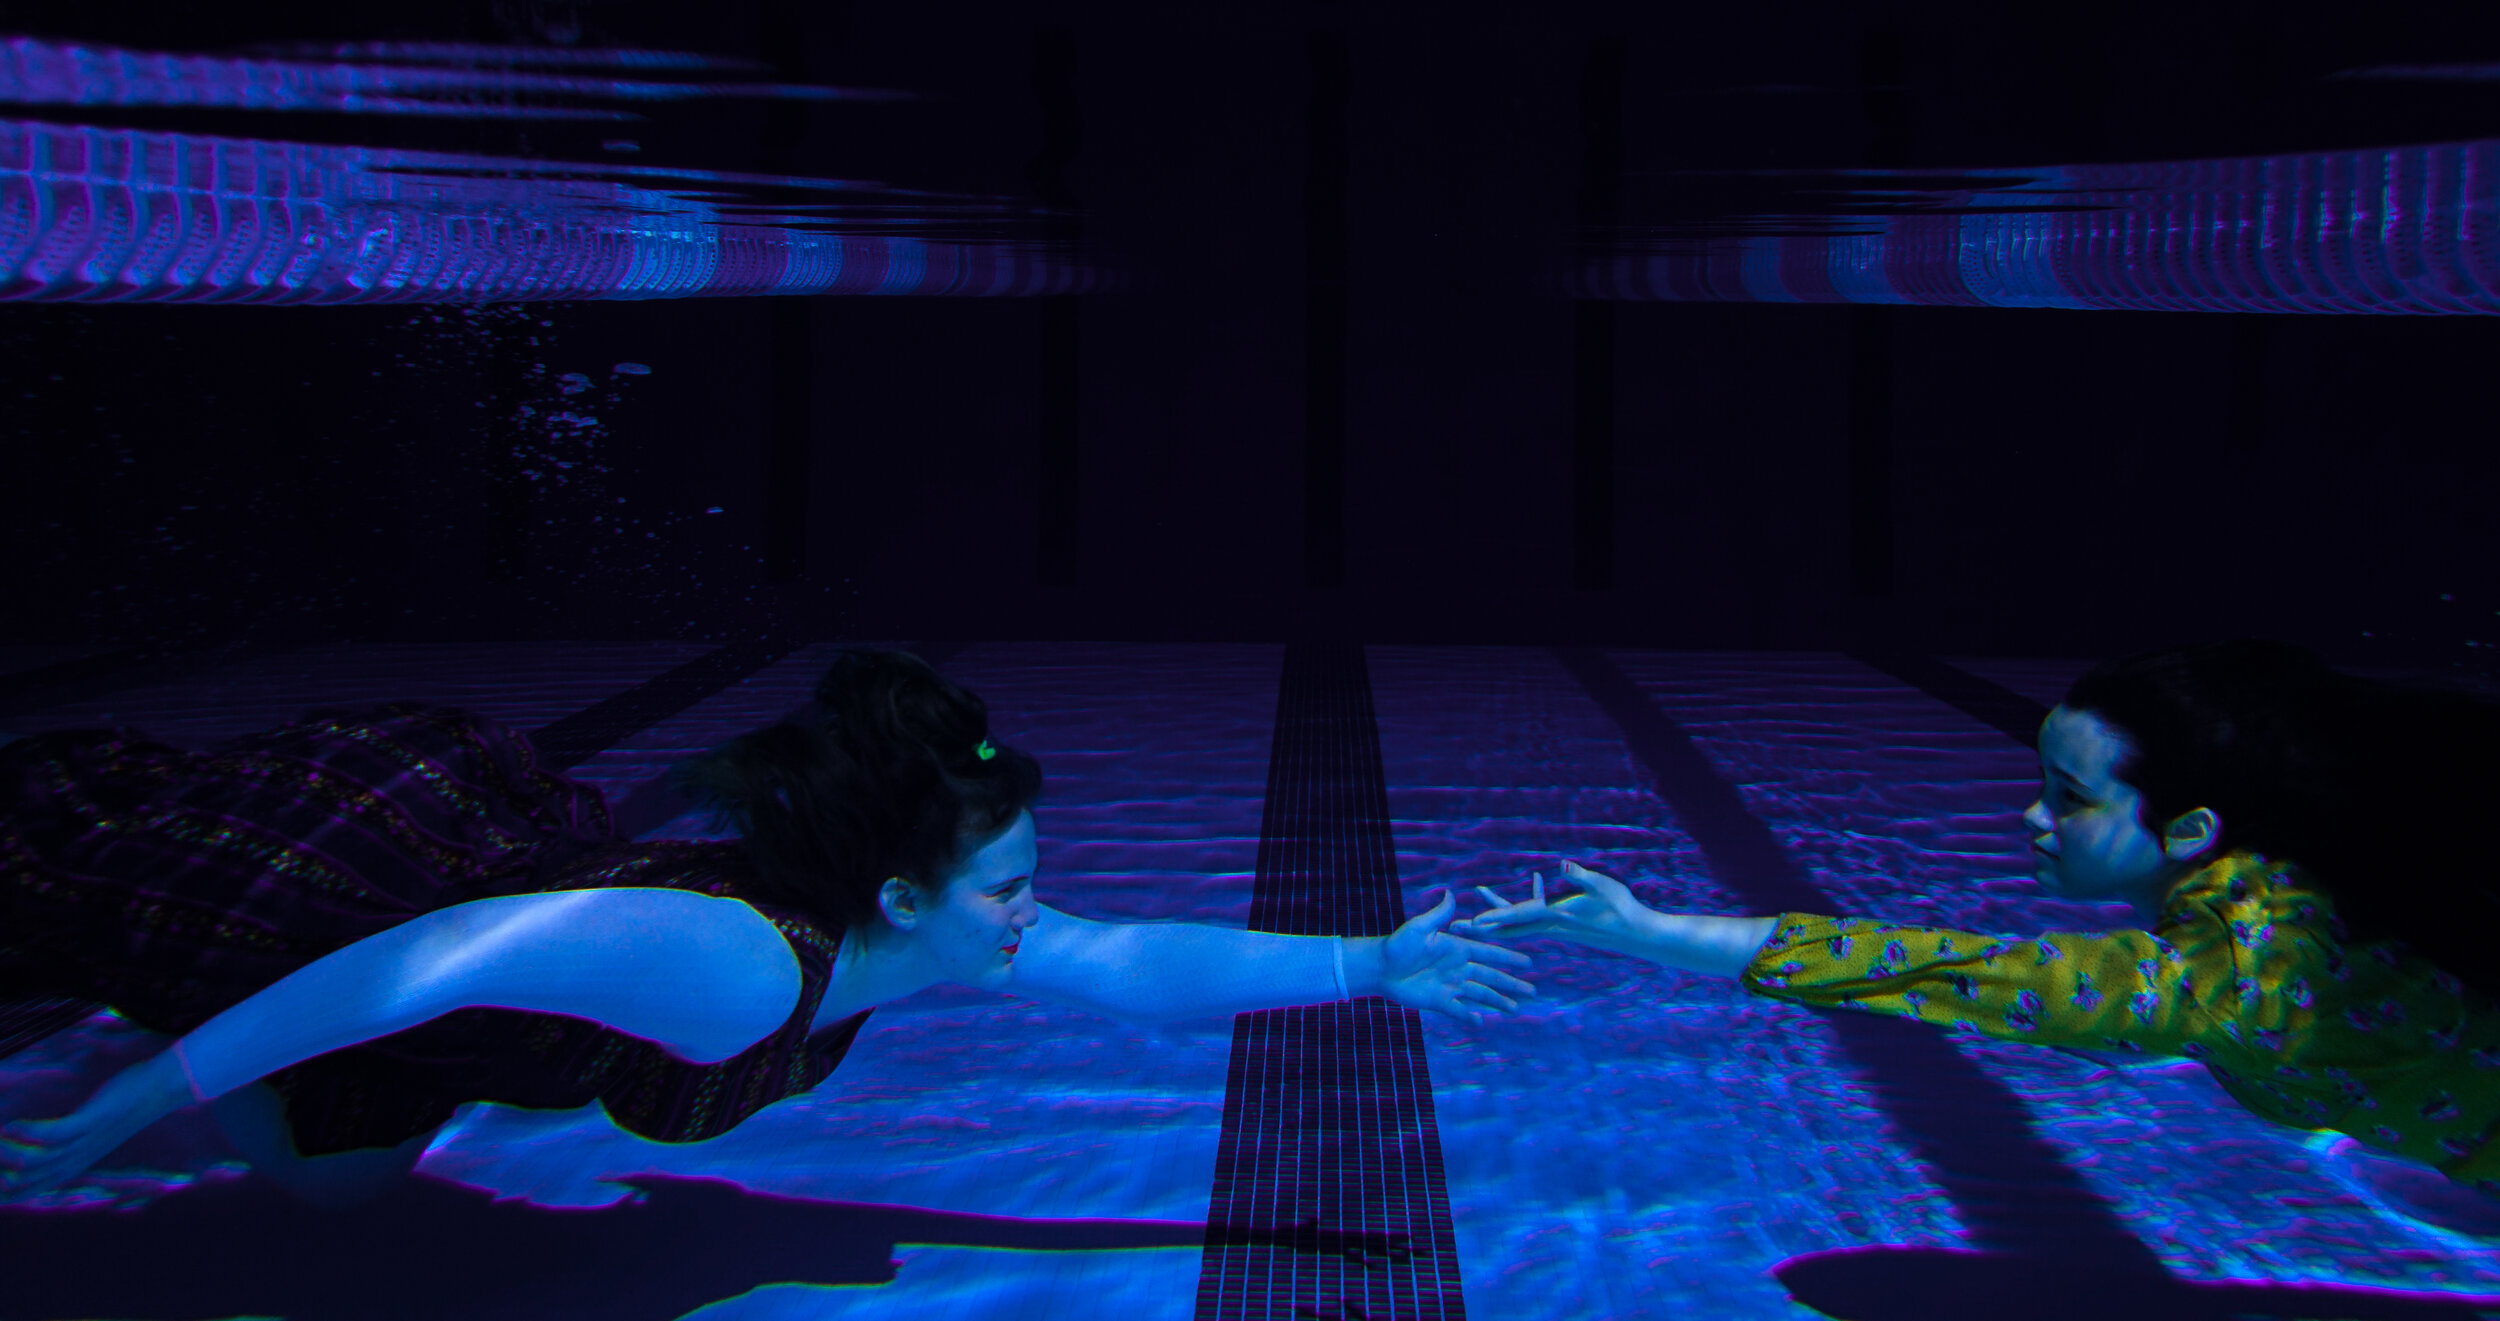
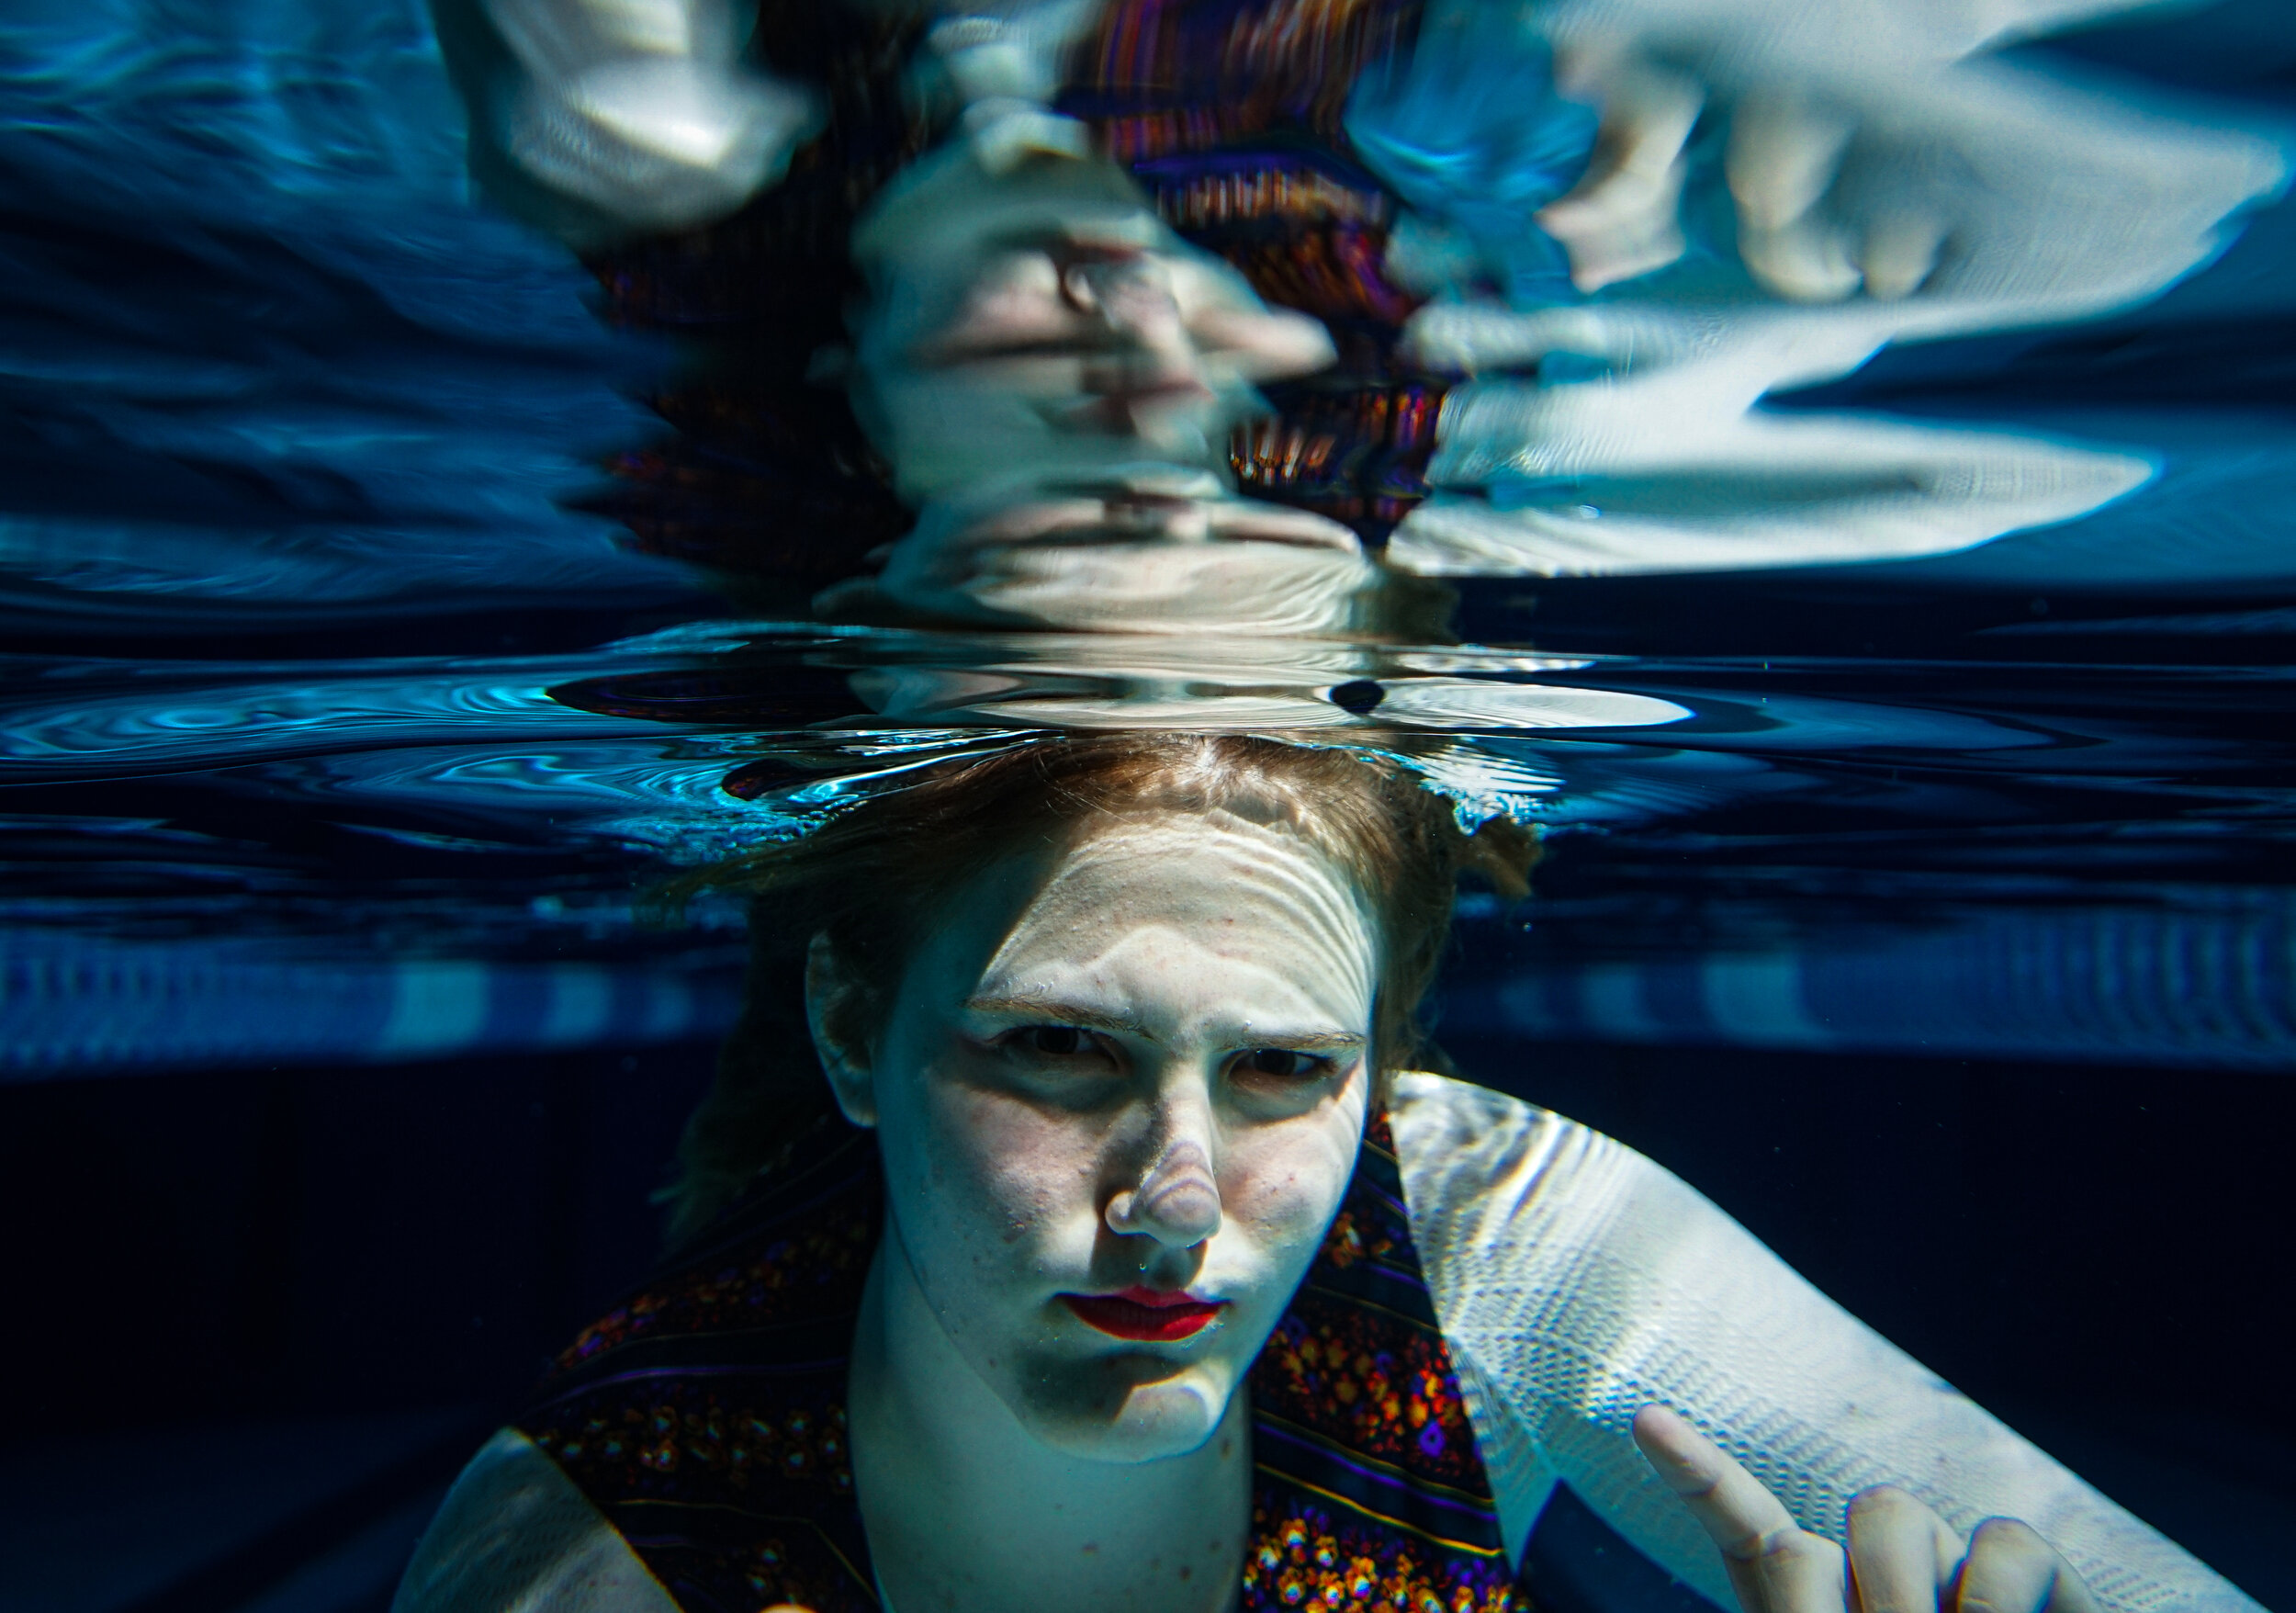
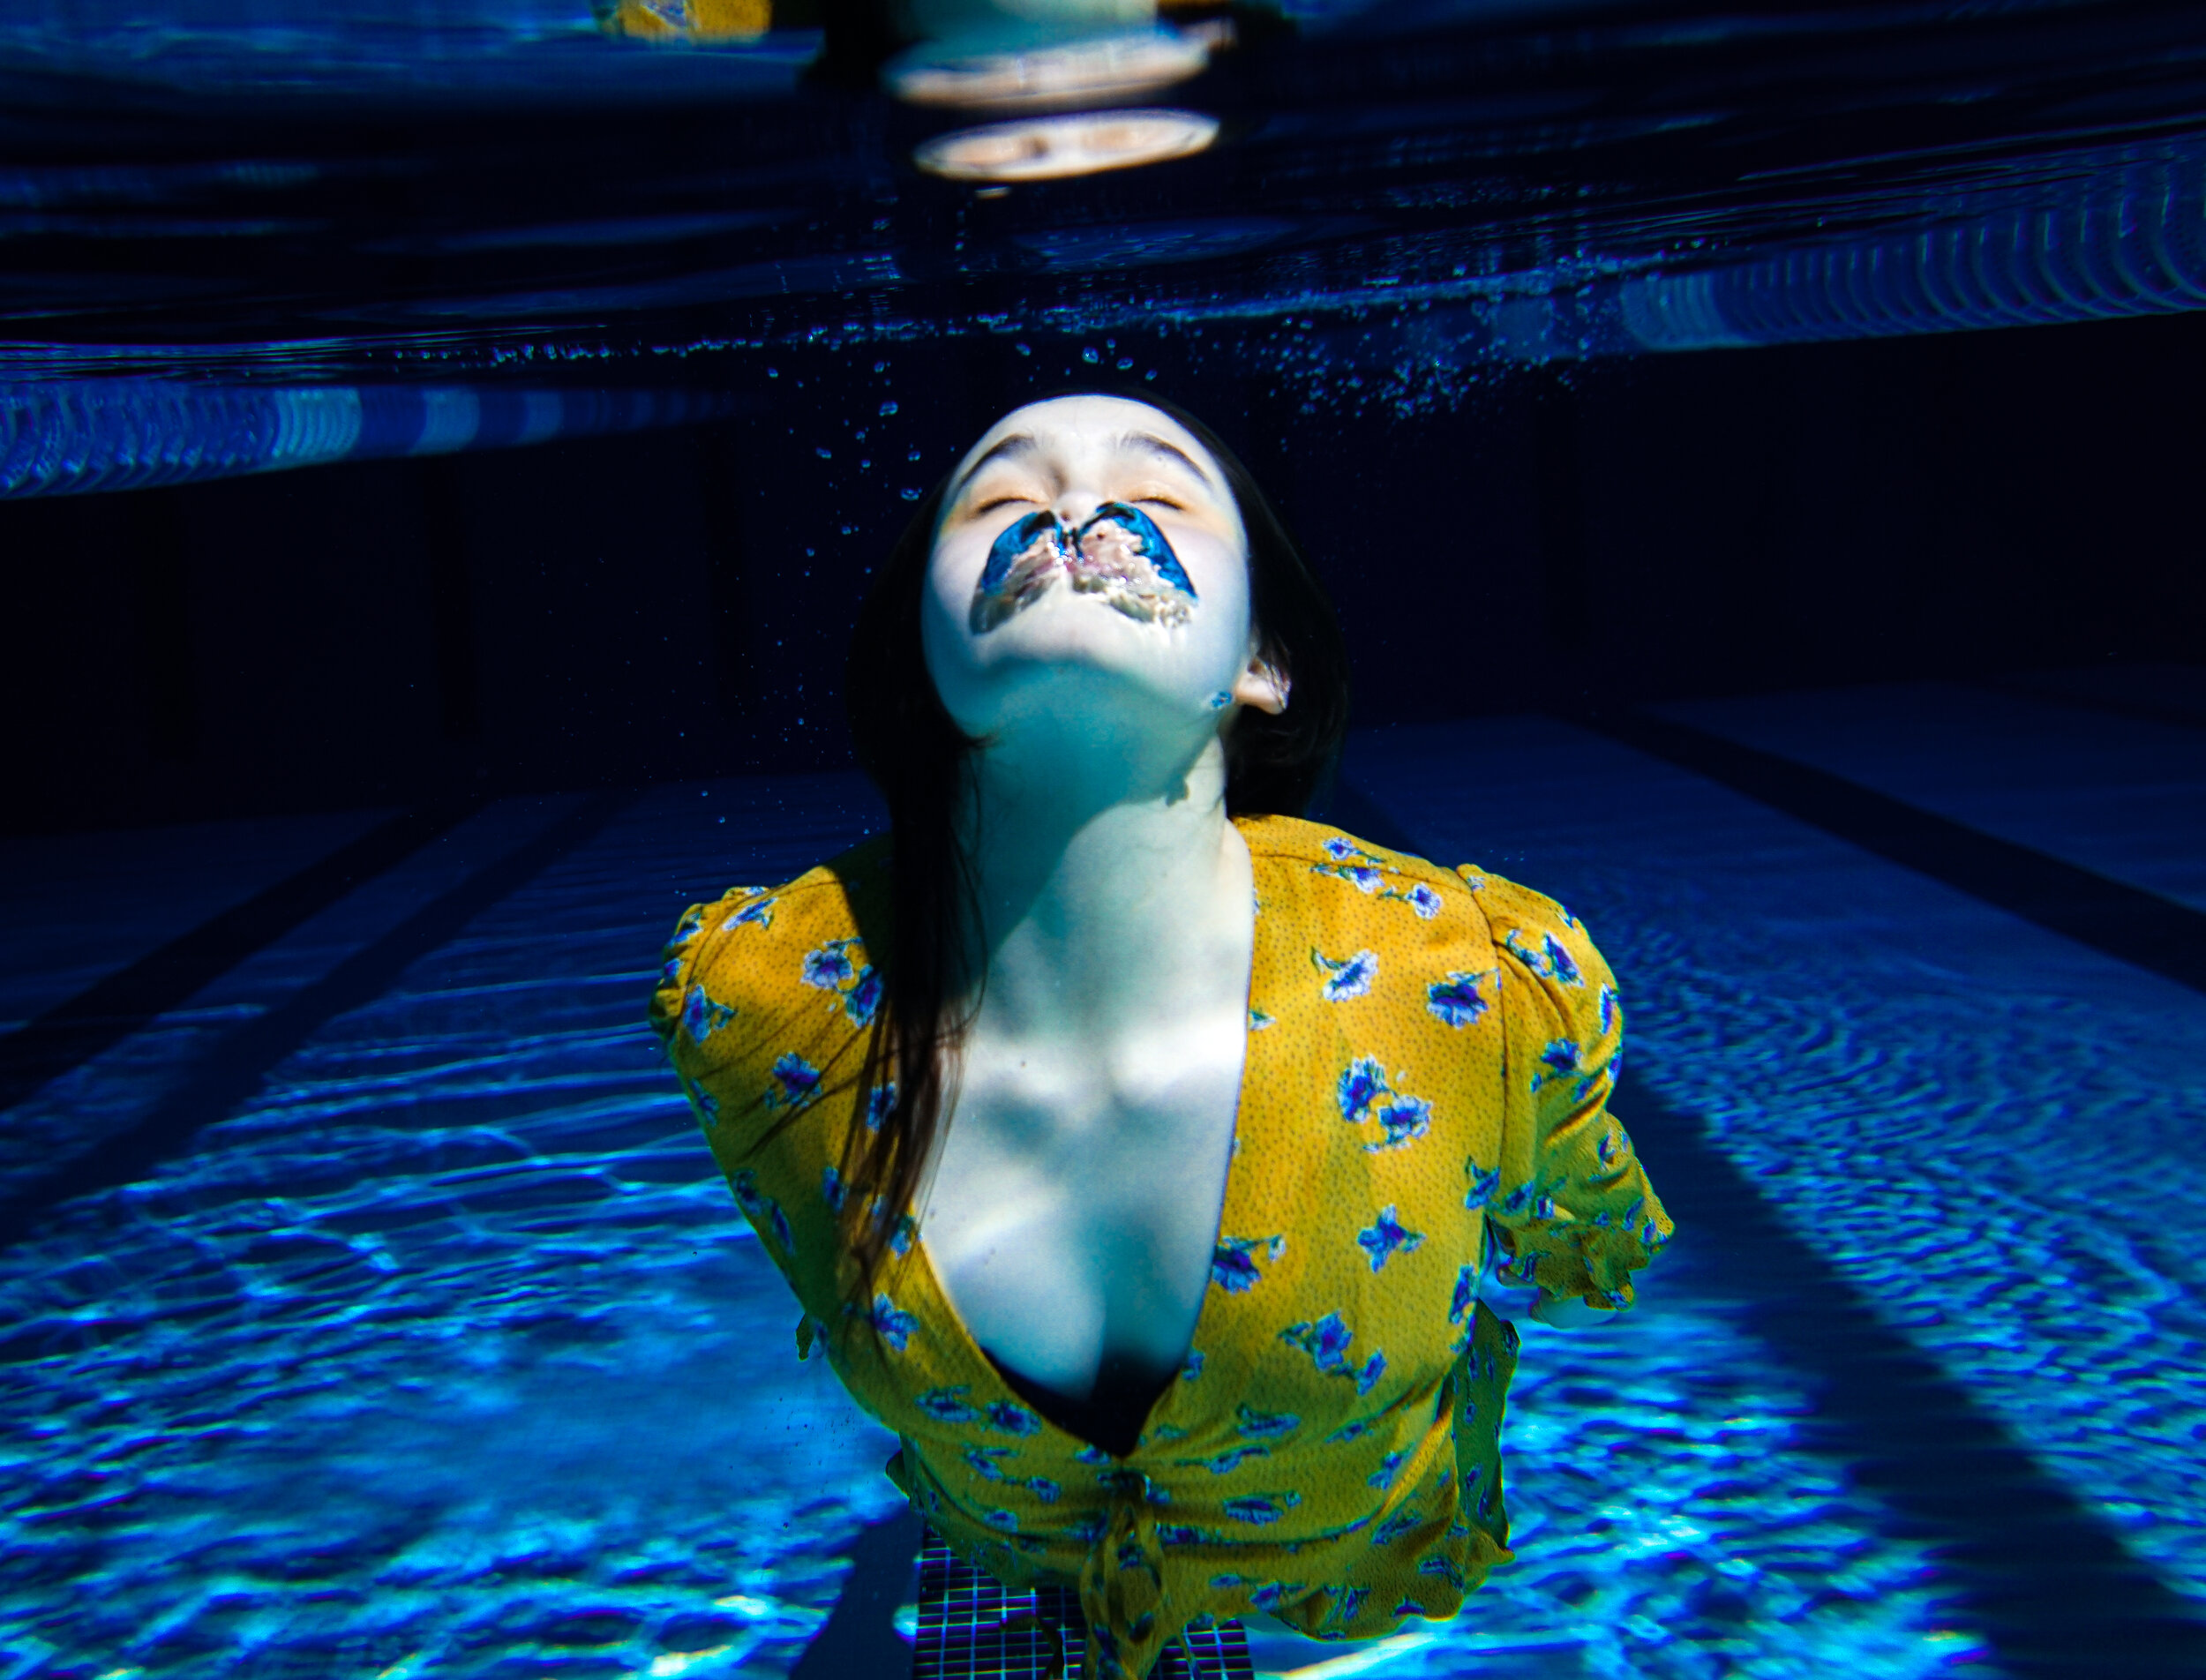
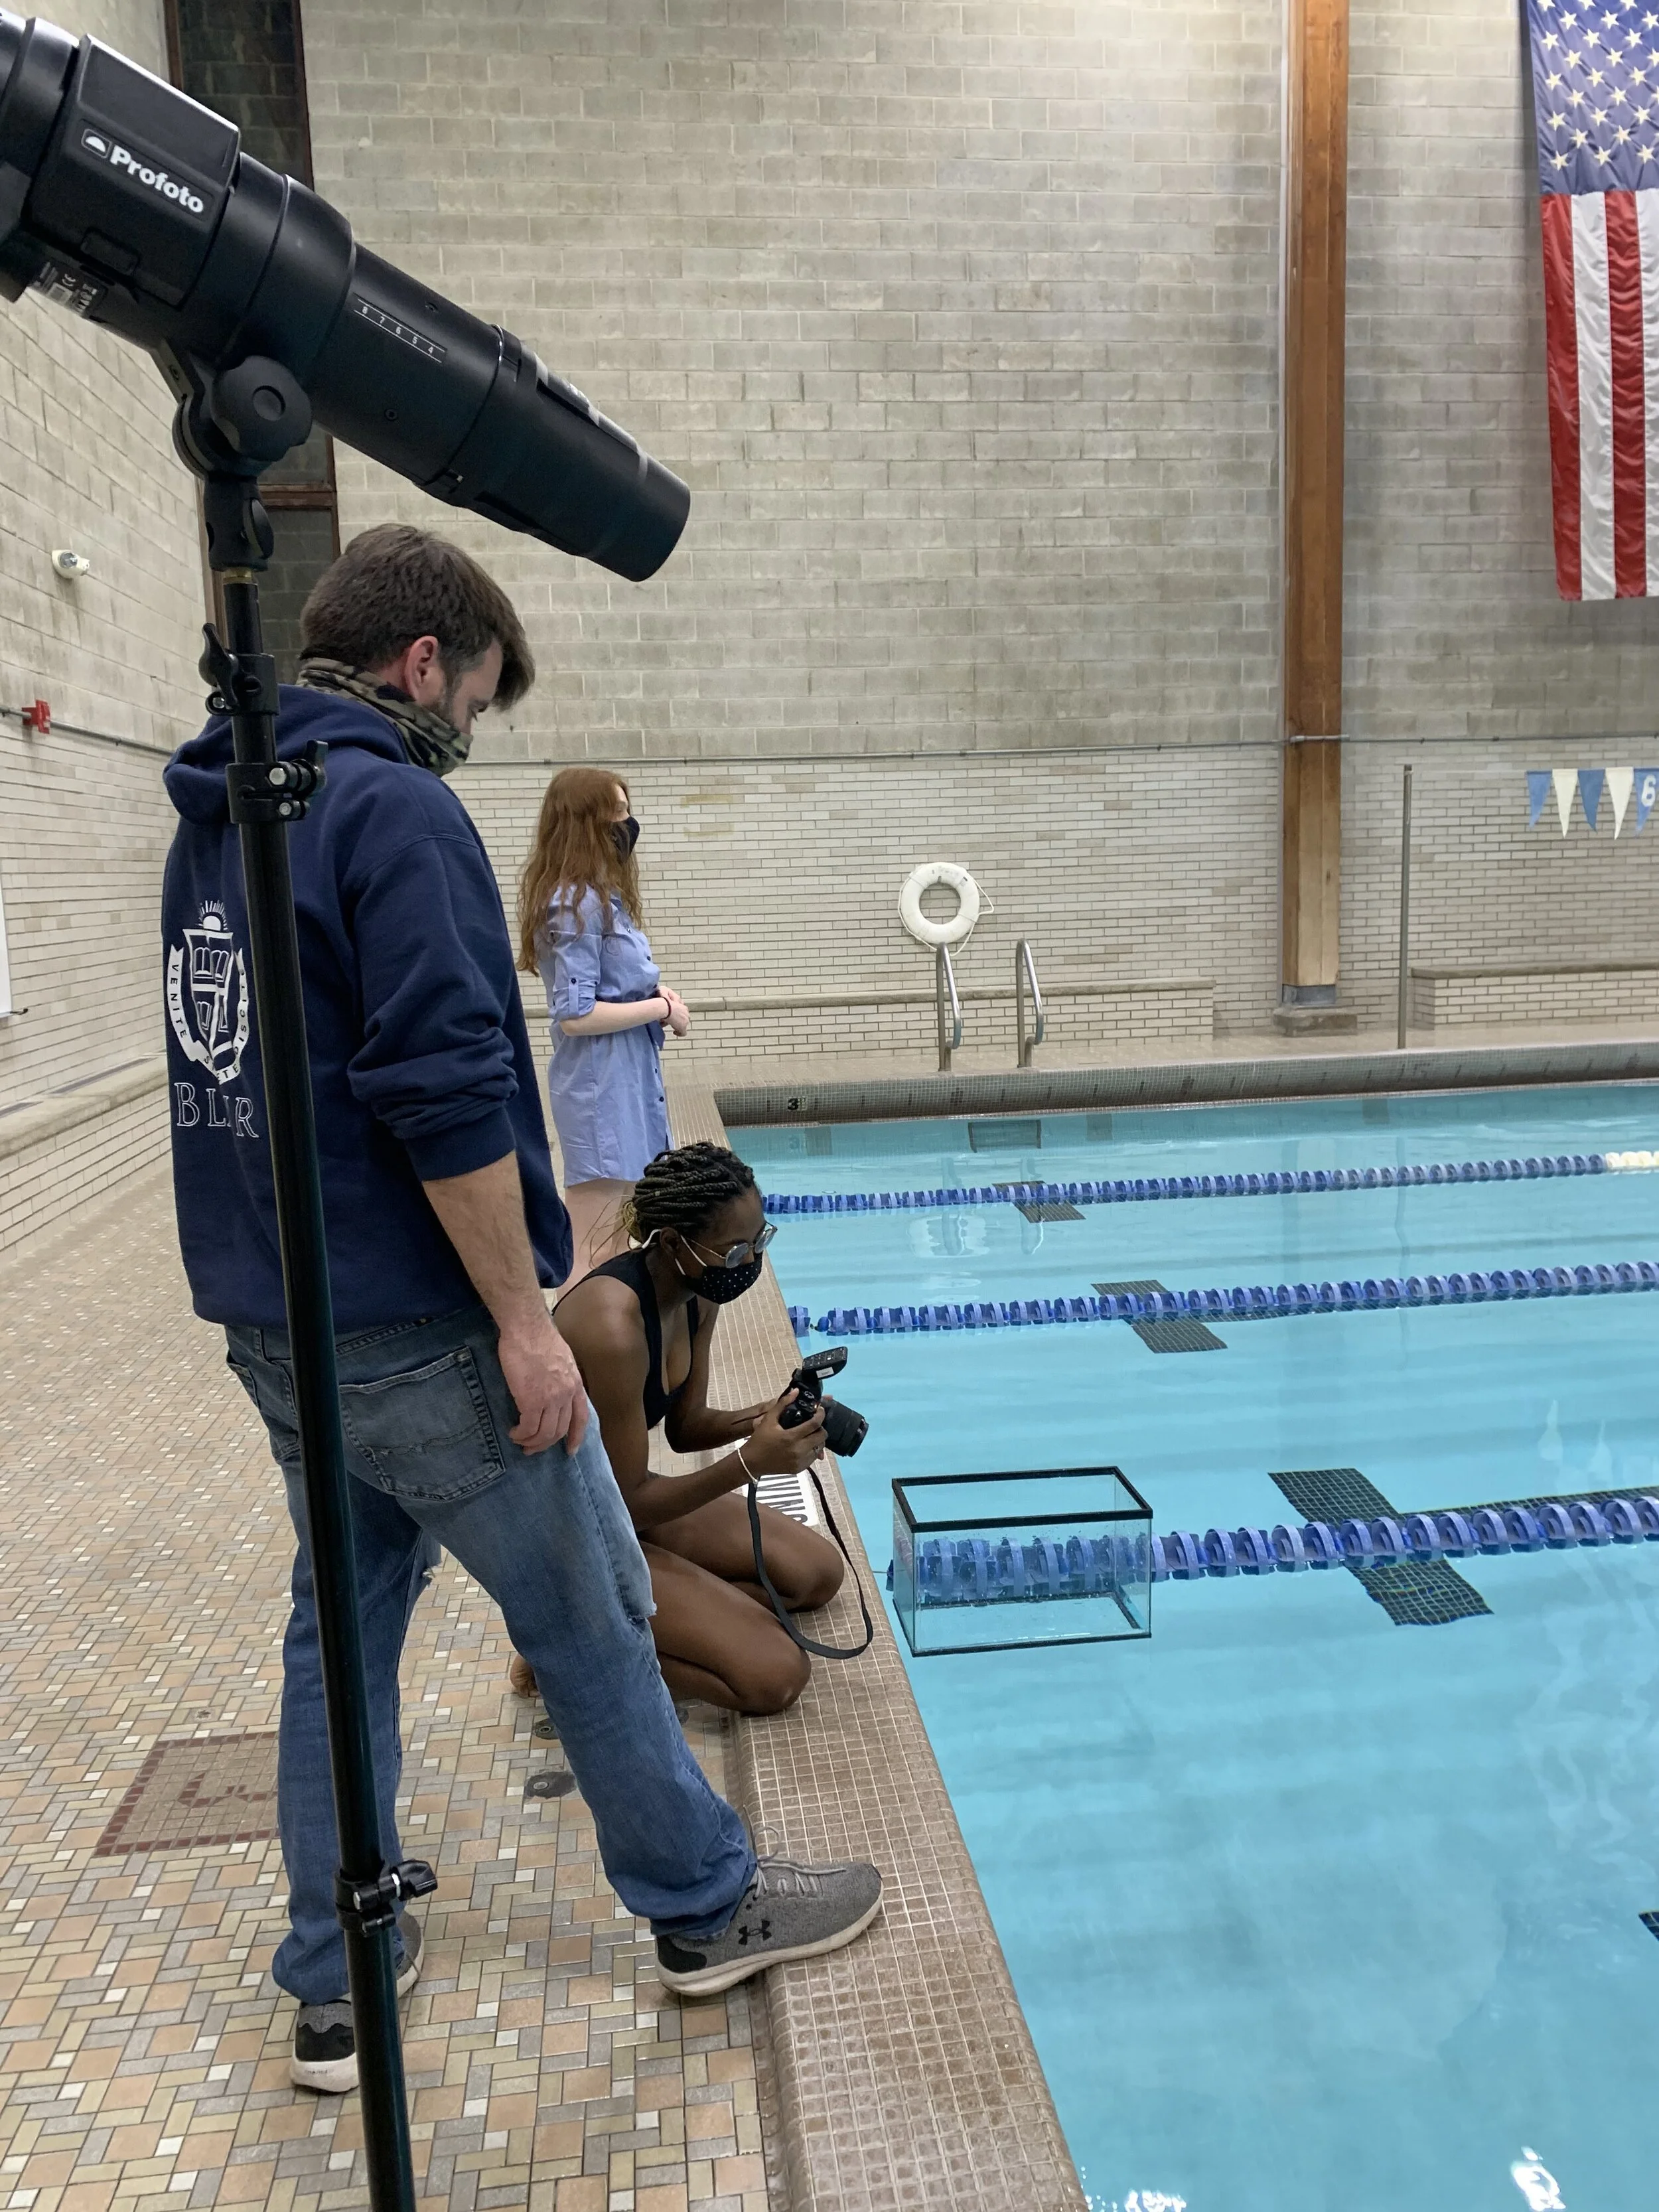
Step 1:Collect these materials: Glass Fish tank, Digital camera(analog camera can work too), form of lighting to illuminate the subject underwater, and a subject. I would suggest having two people helping you hold the tank slightly under the water.
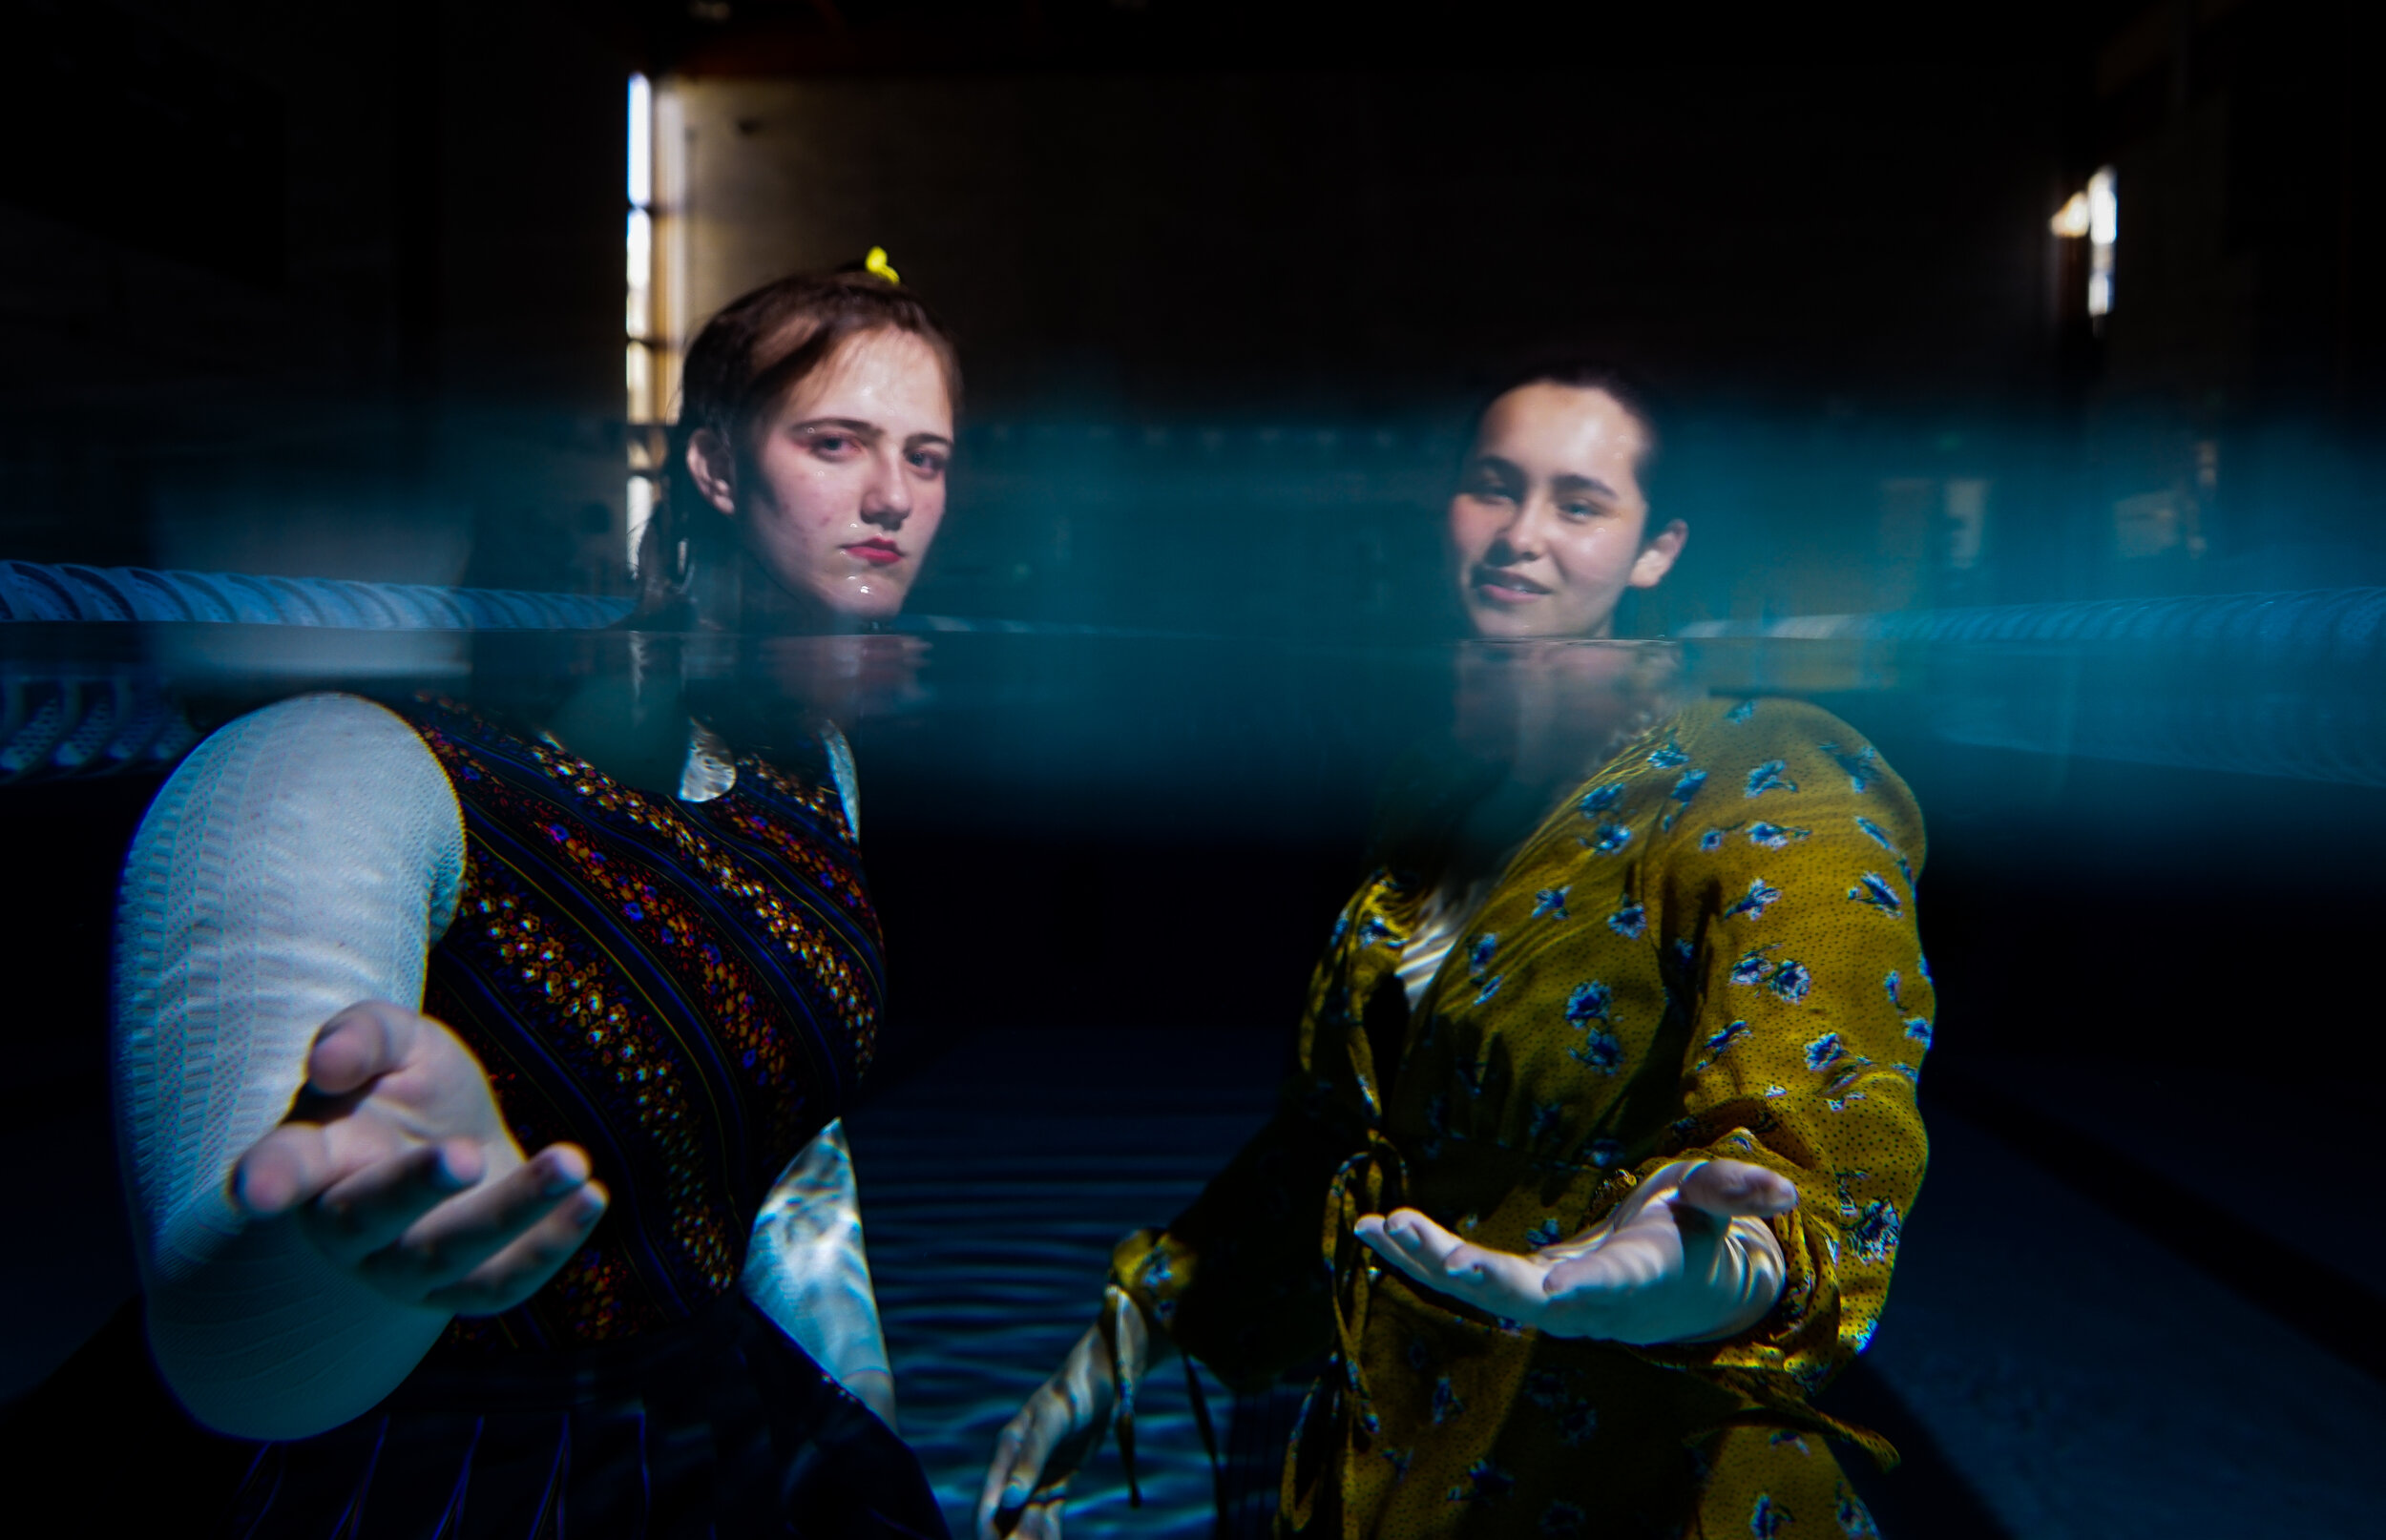
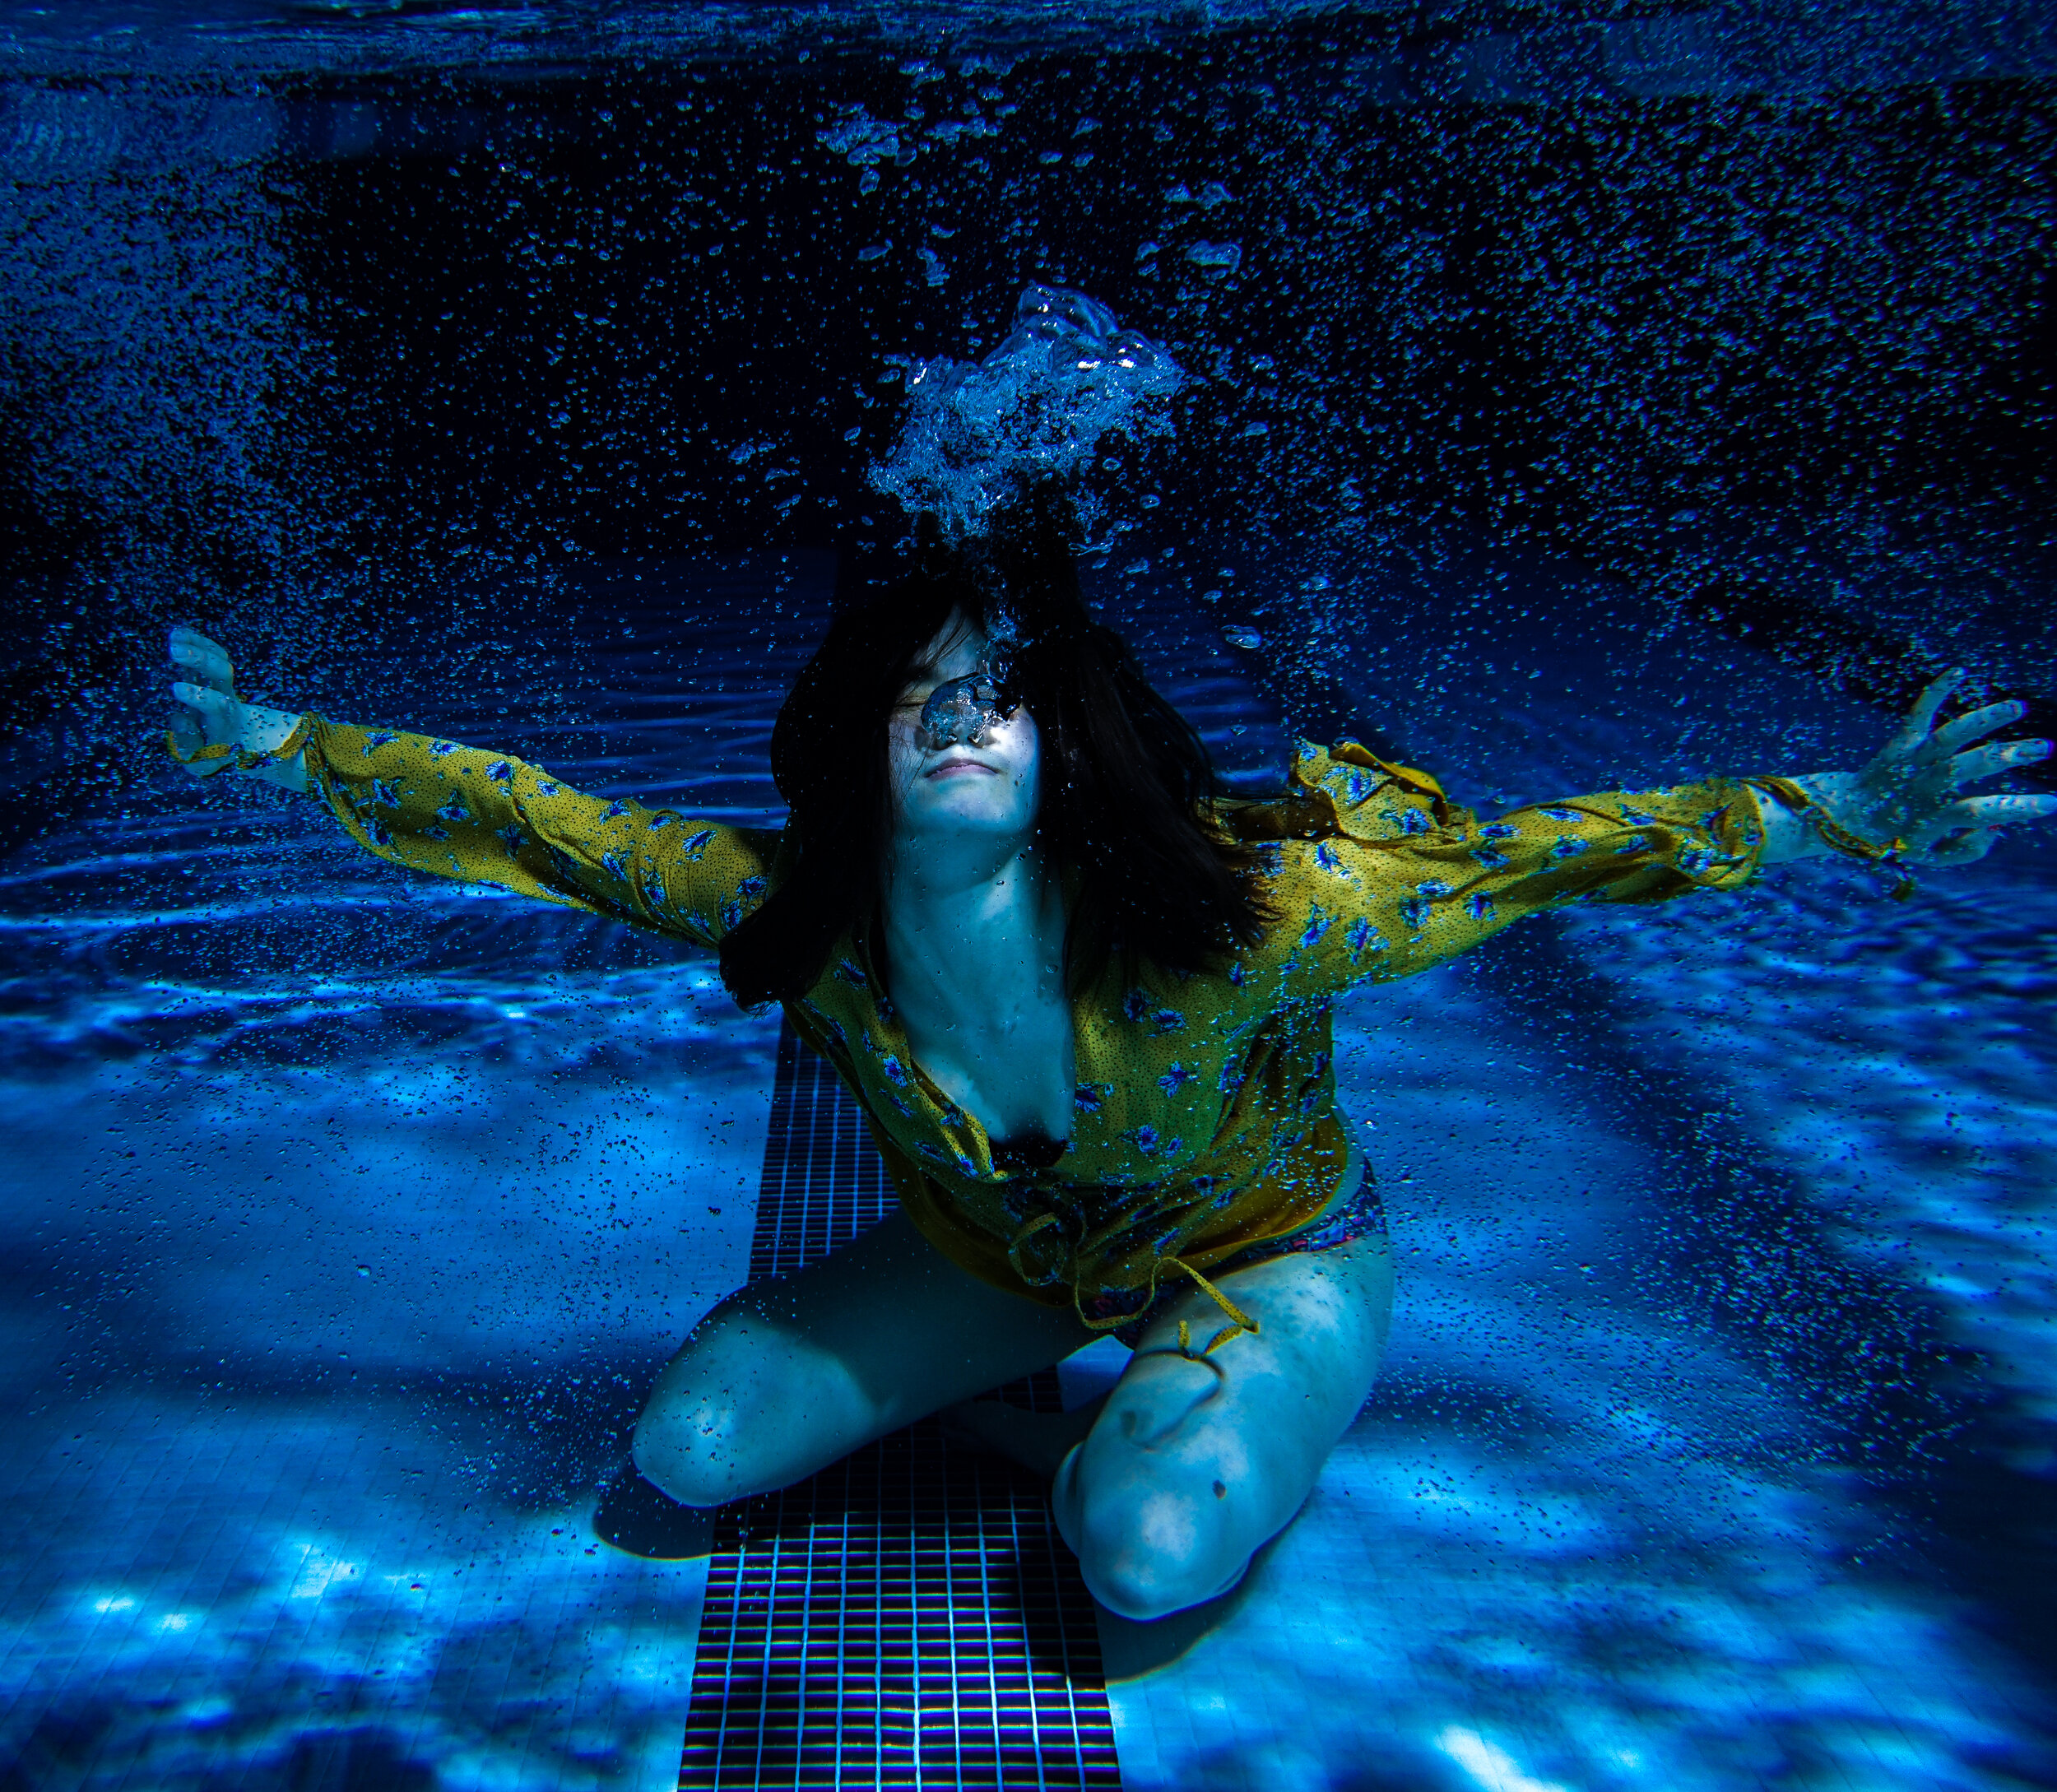
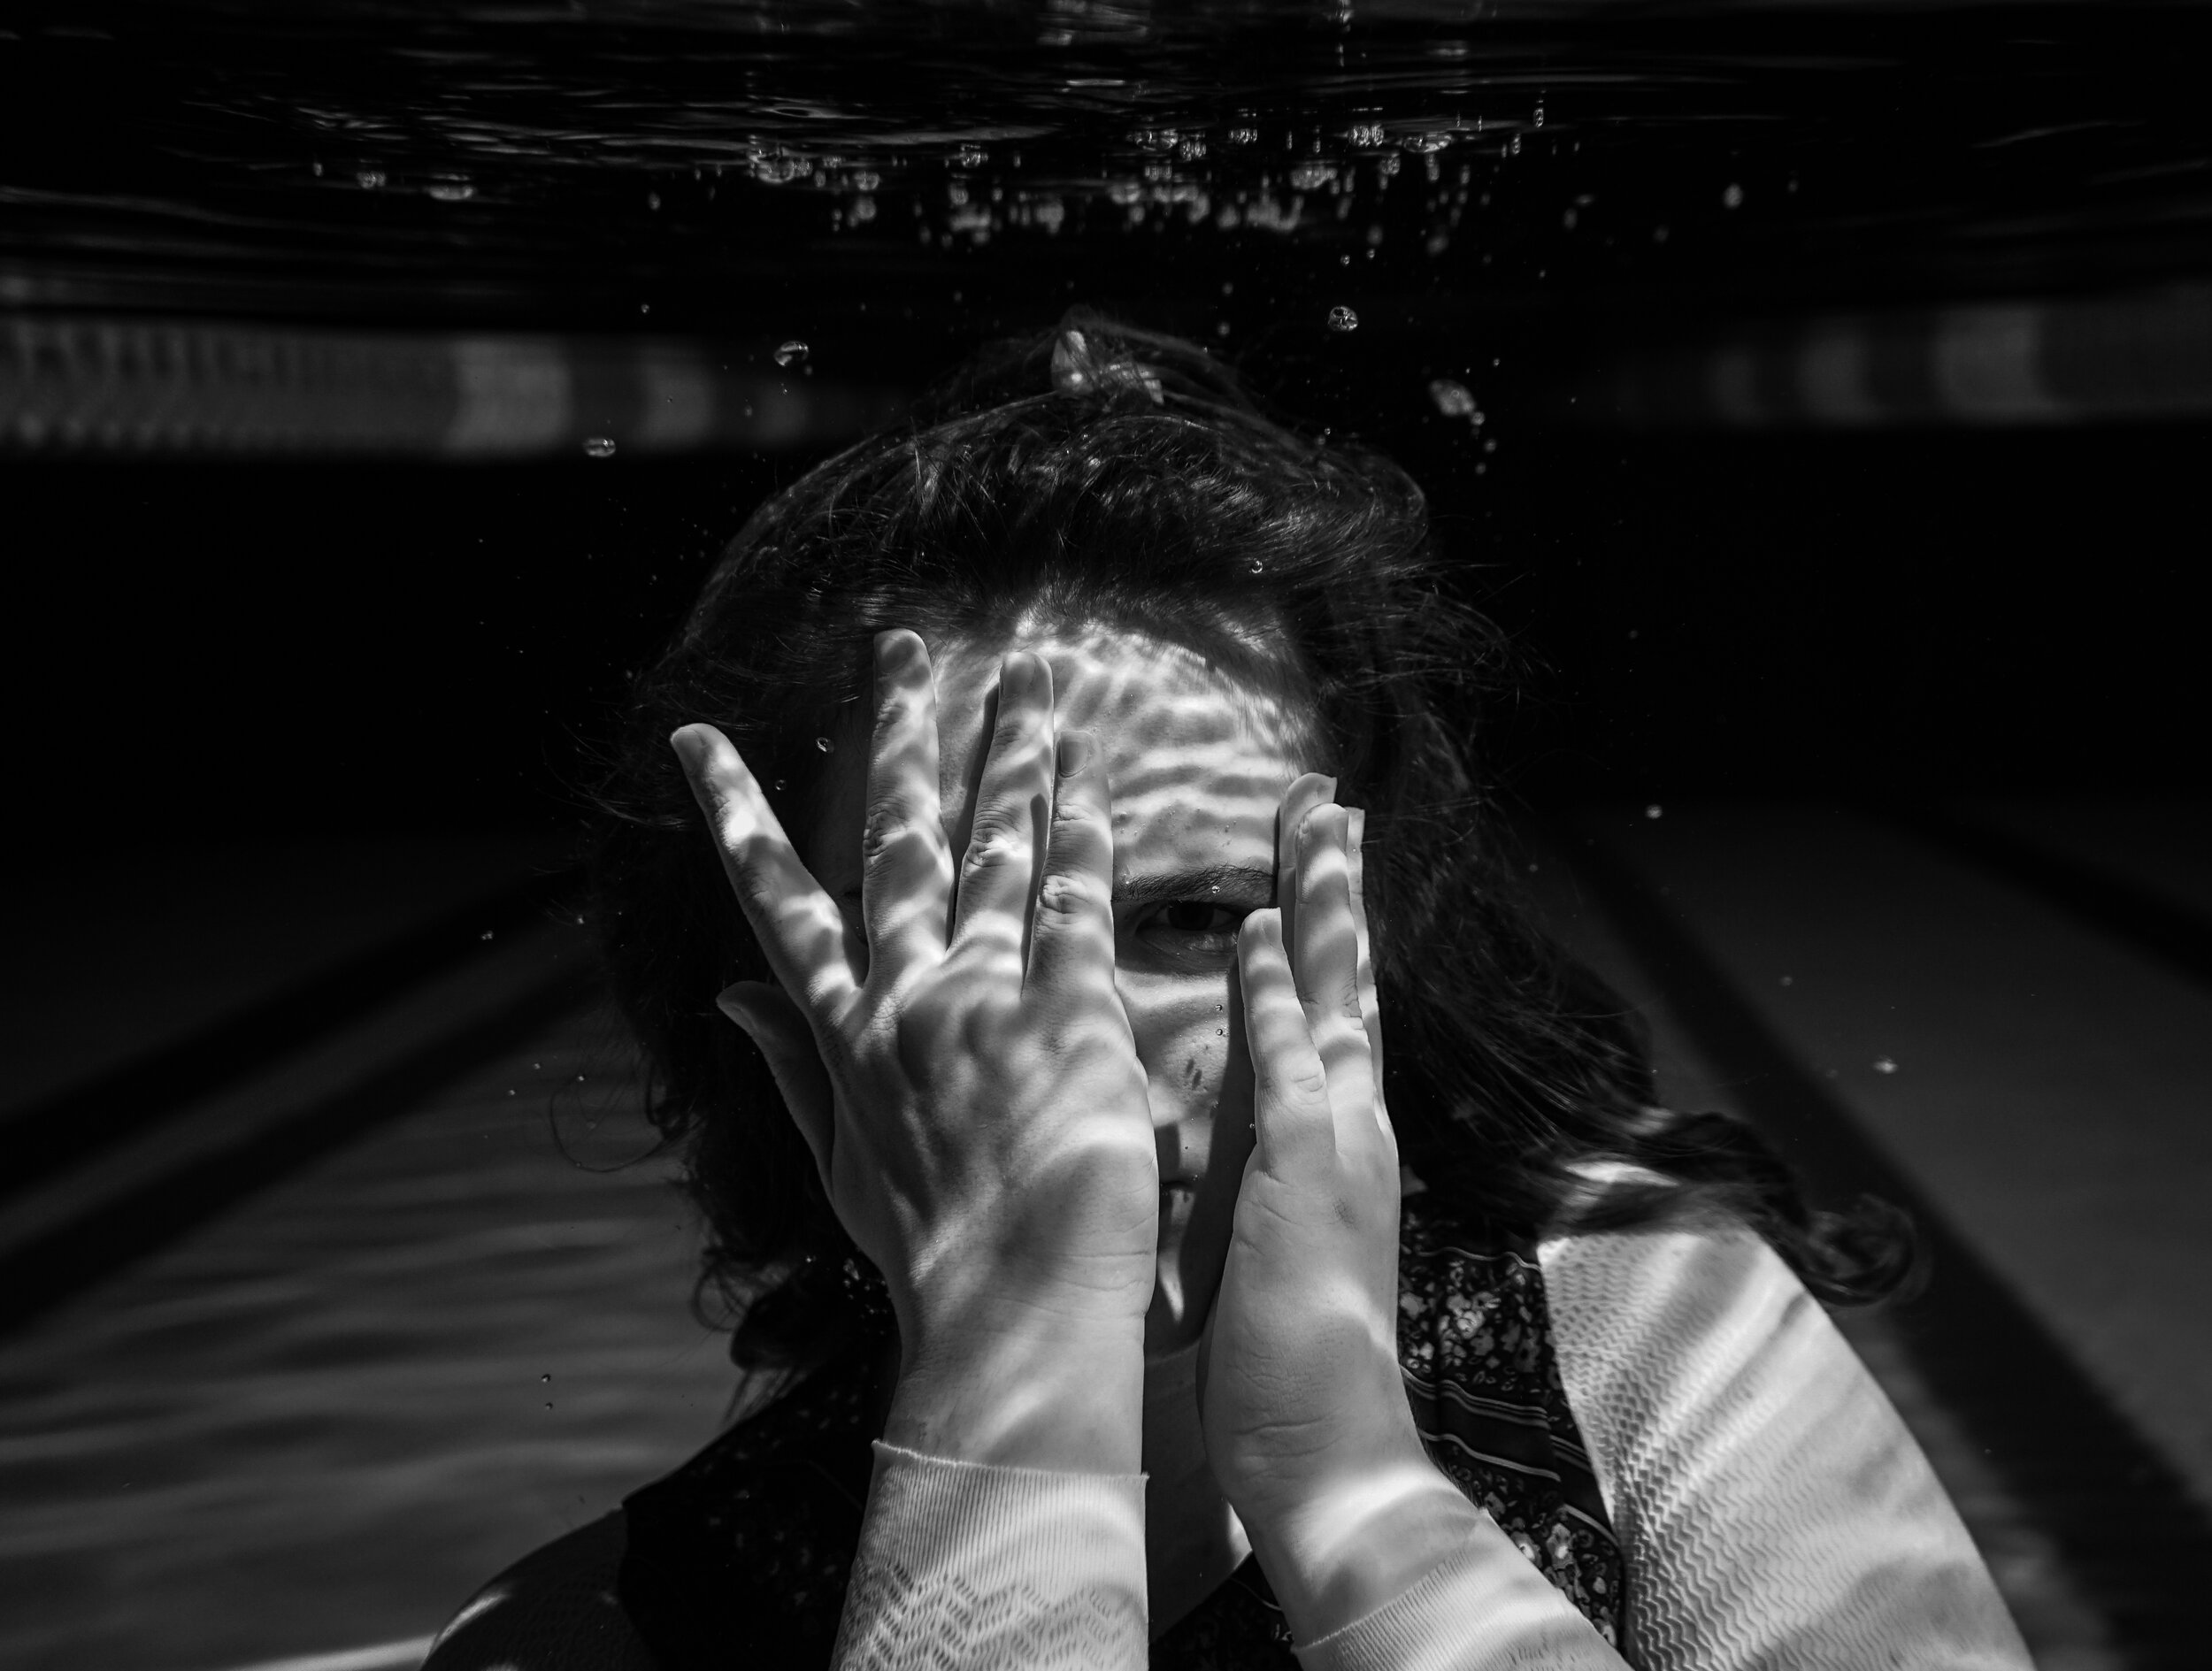
Step 2: Set up grid lighting close to the edge of the water where the lighting hits just above the subject
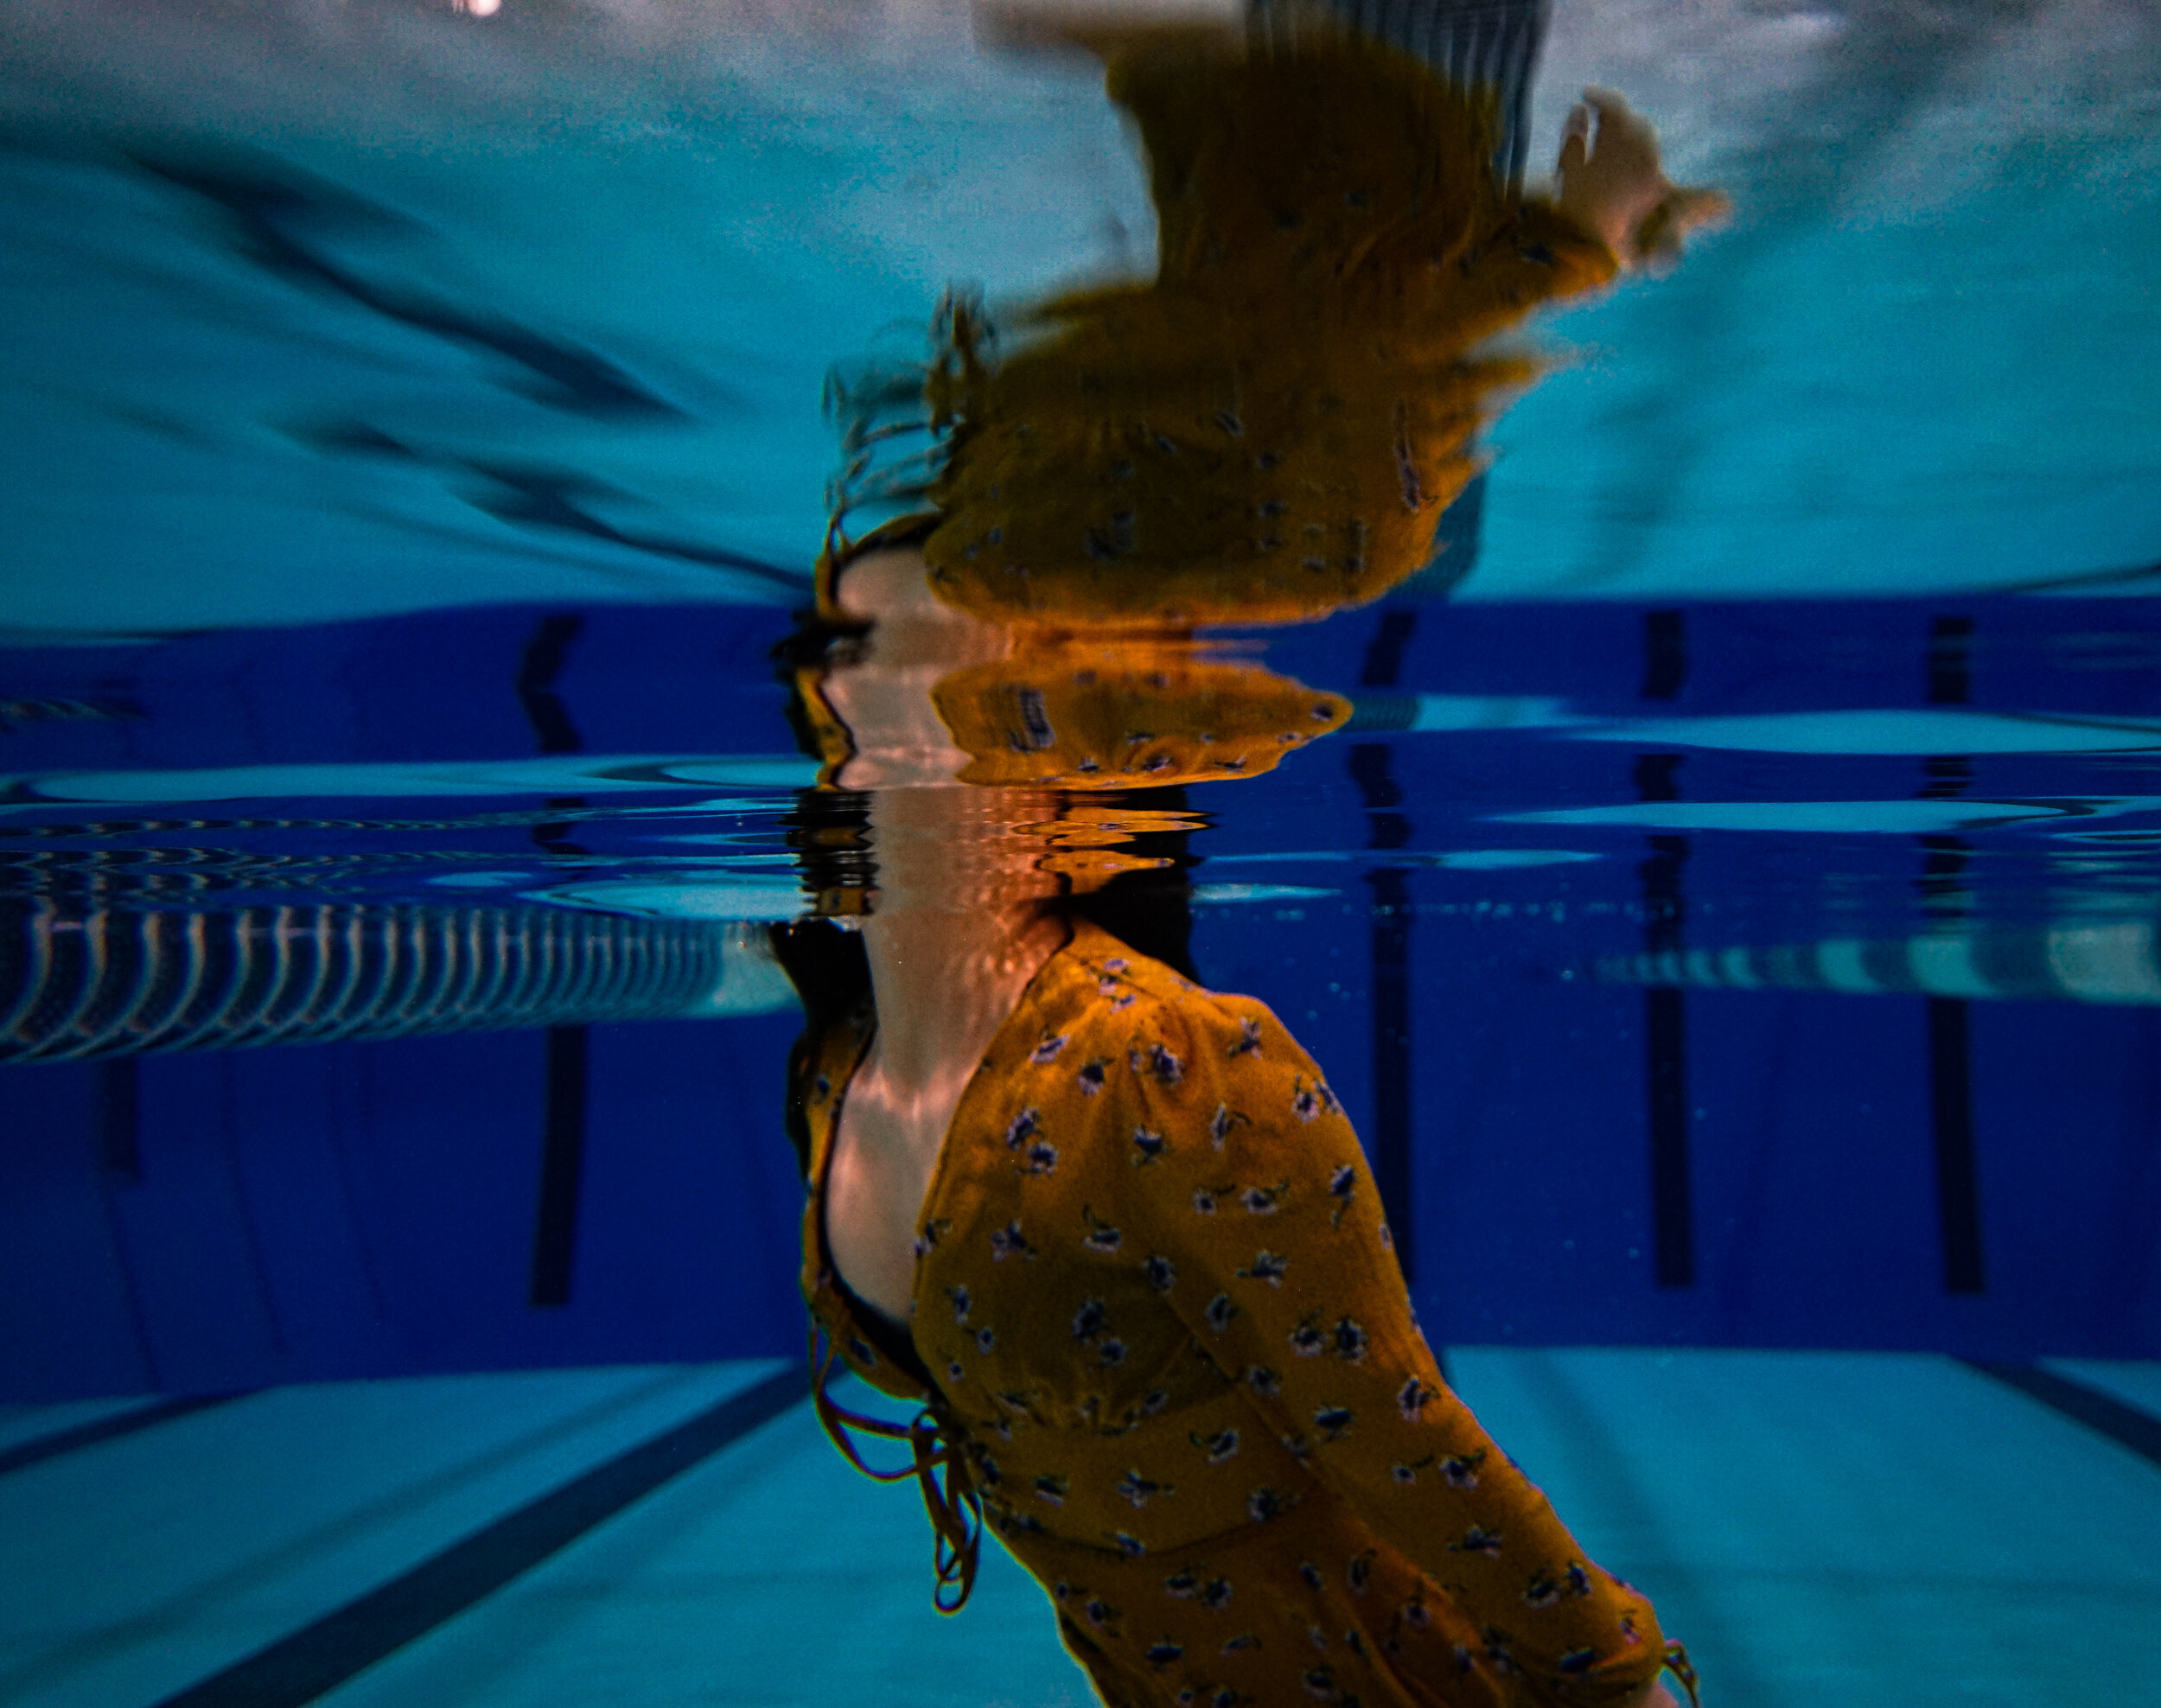
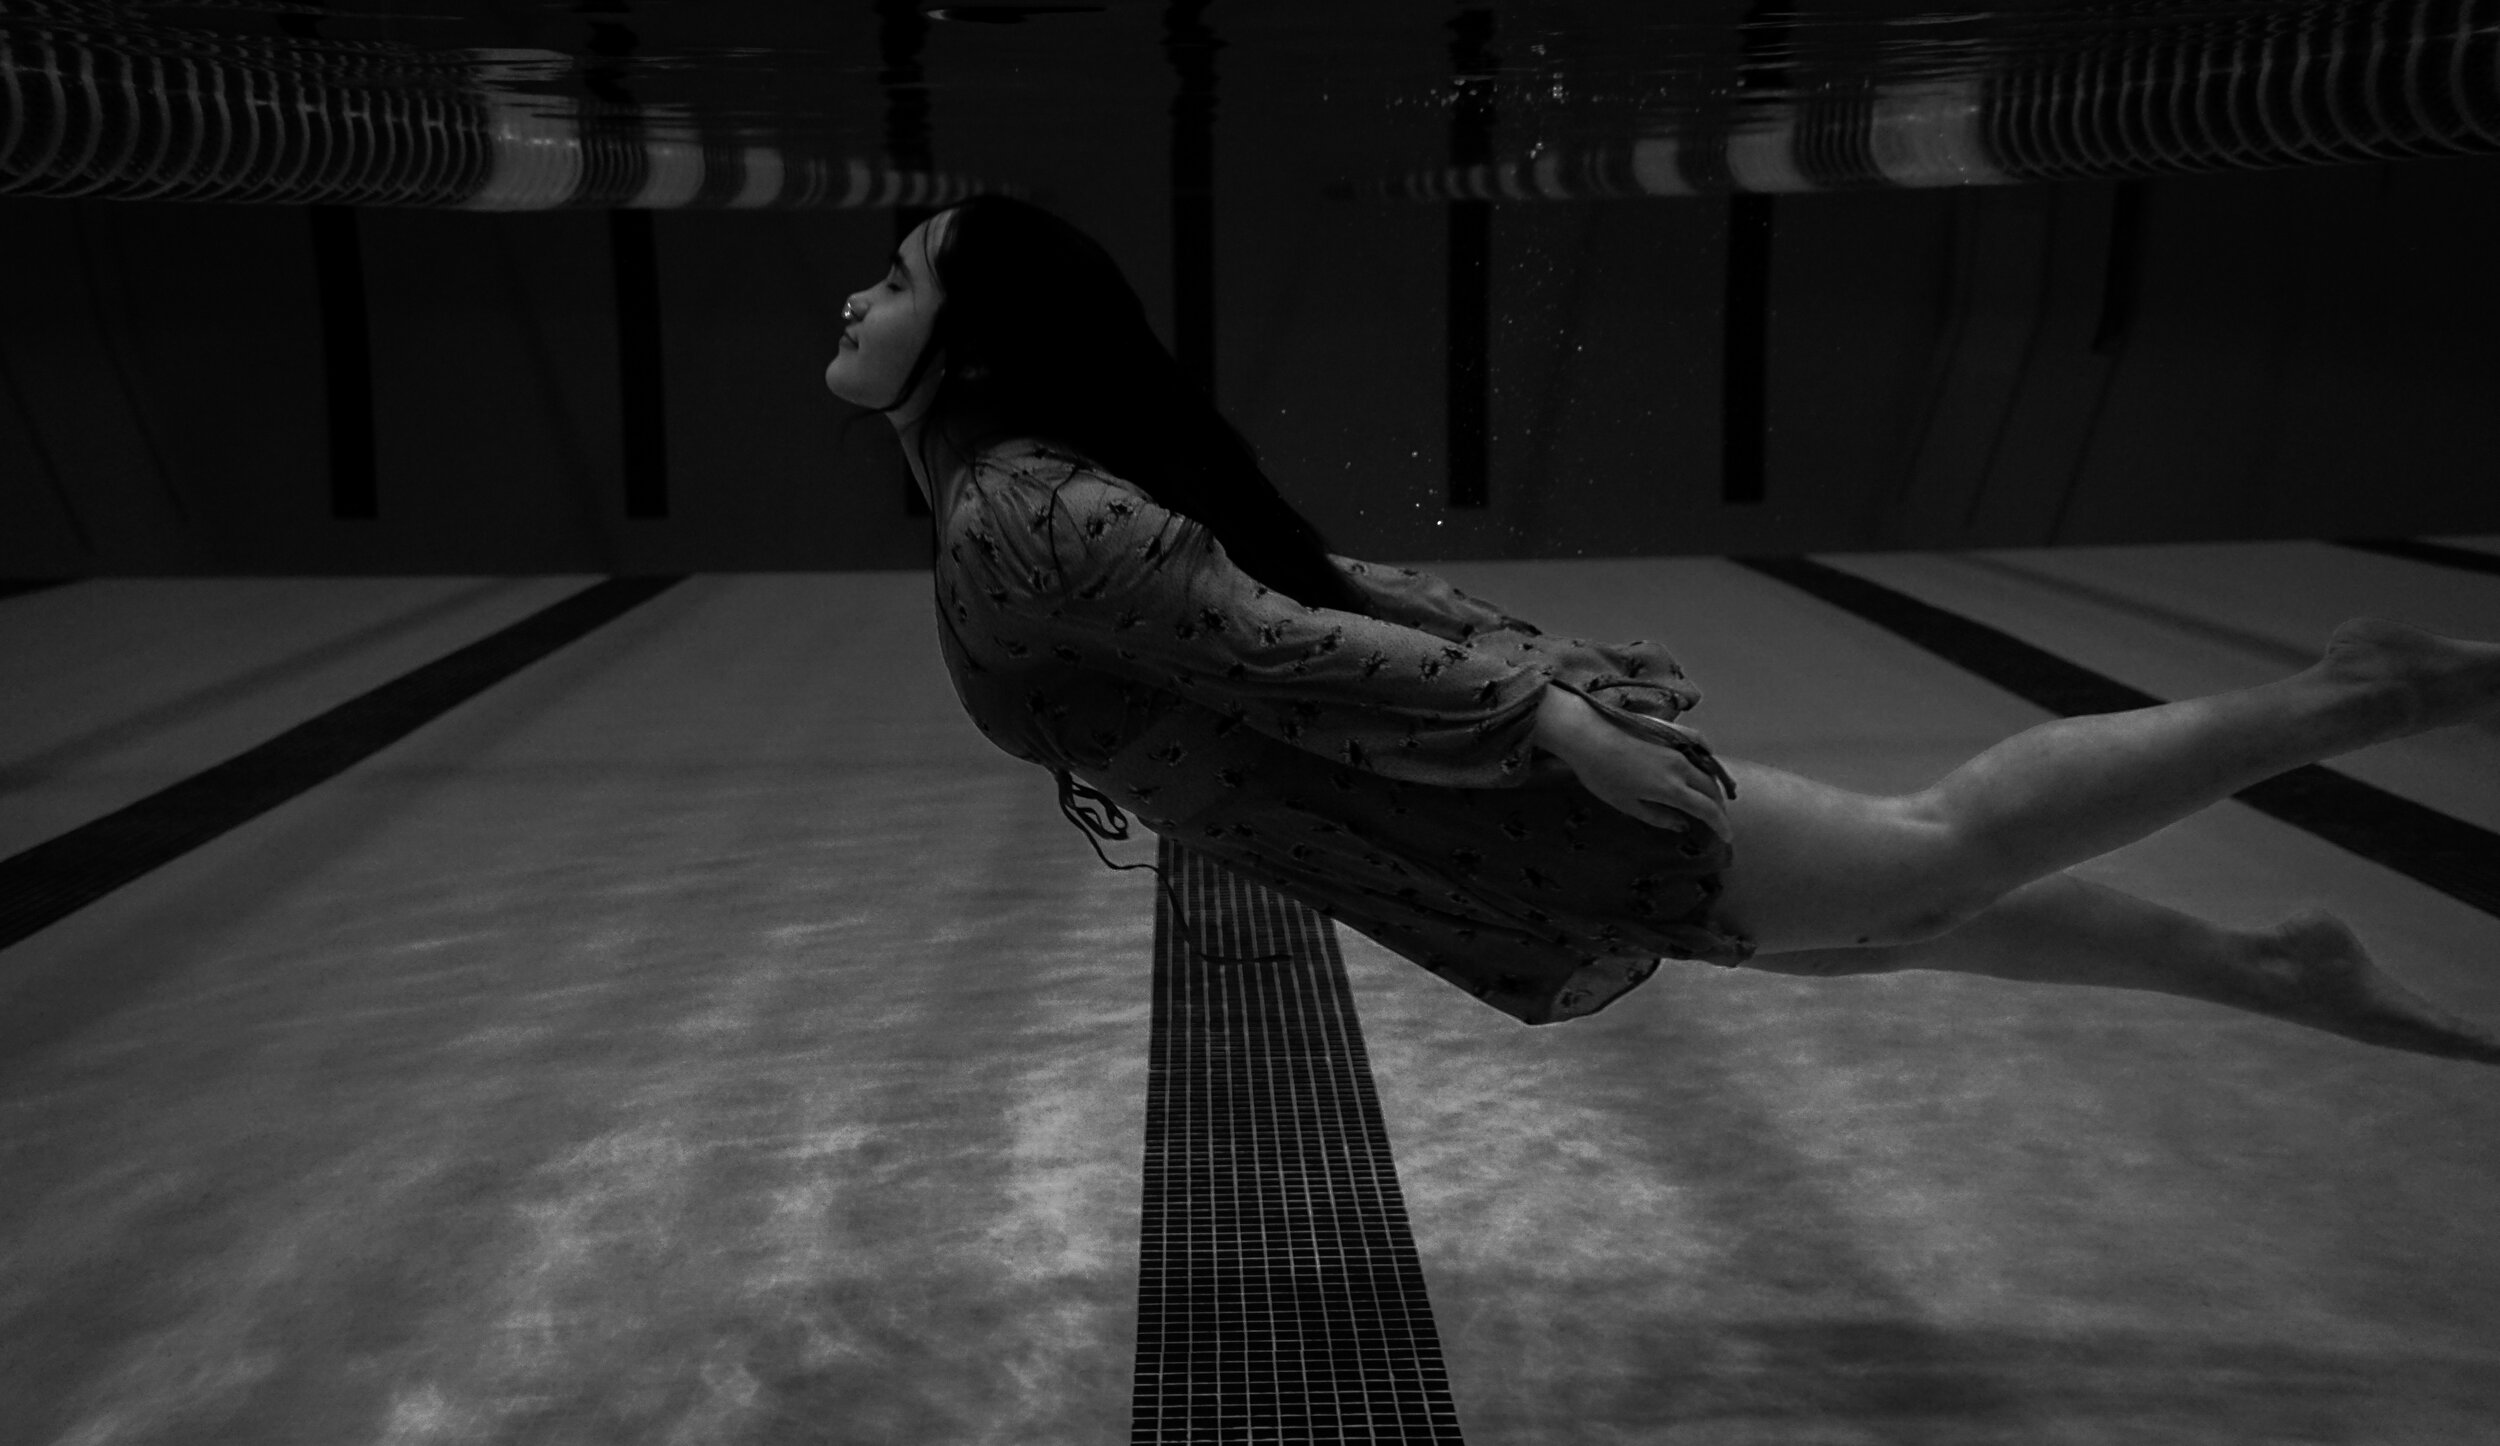
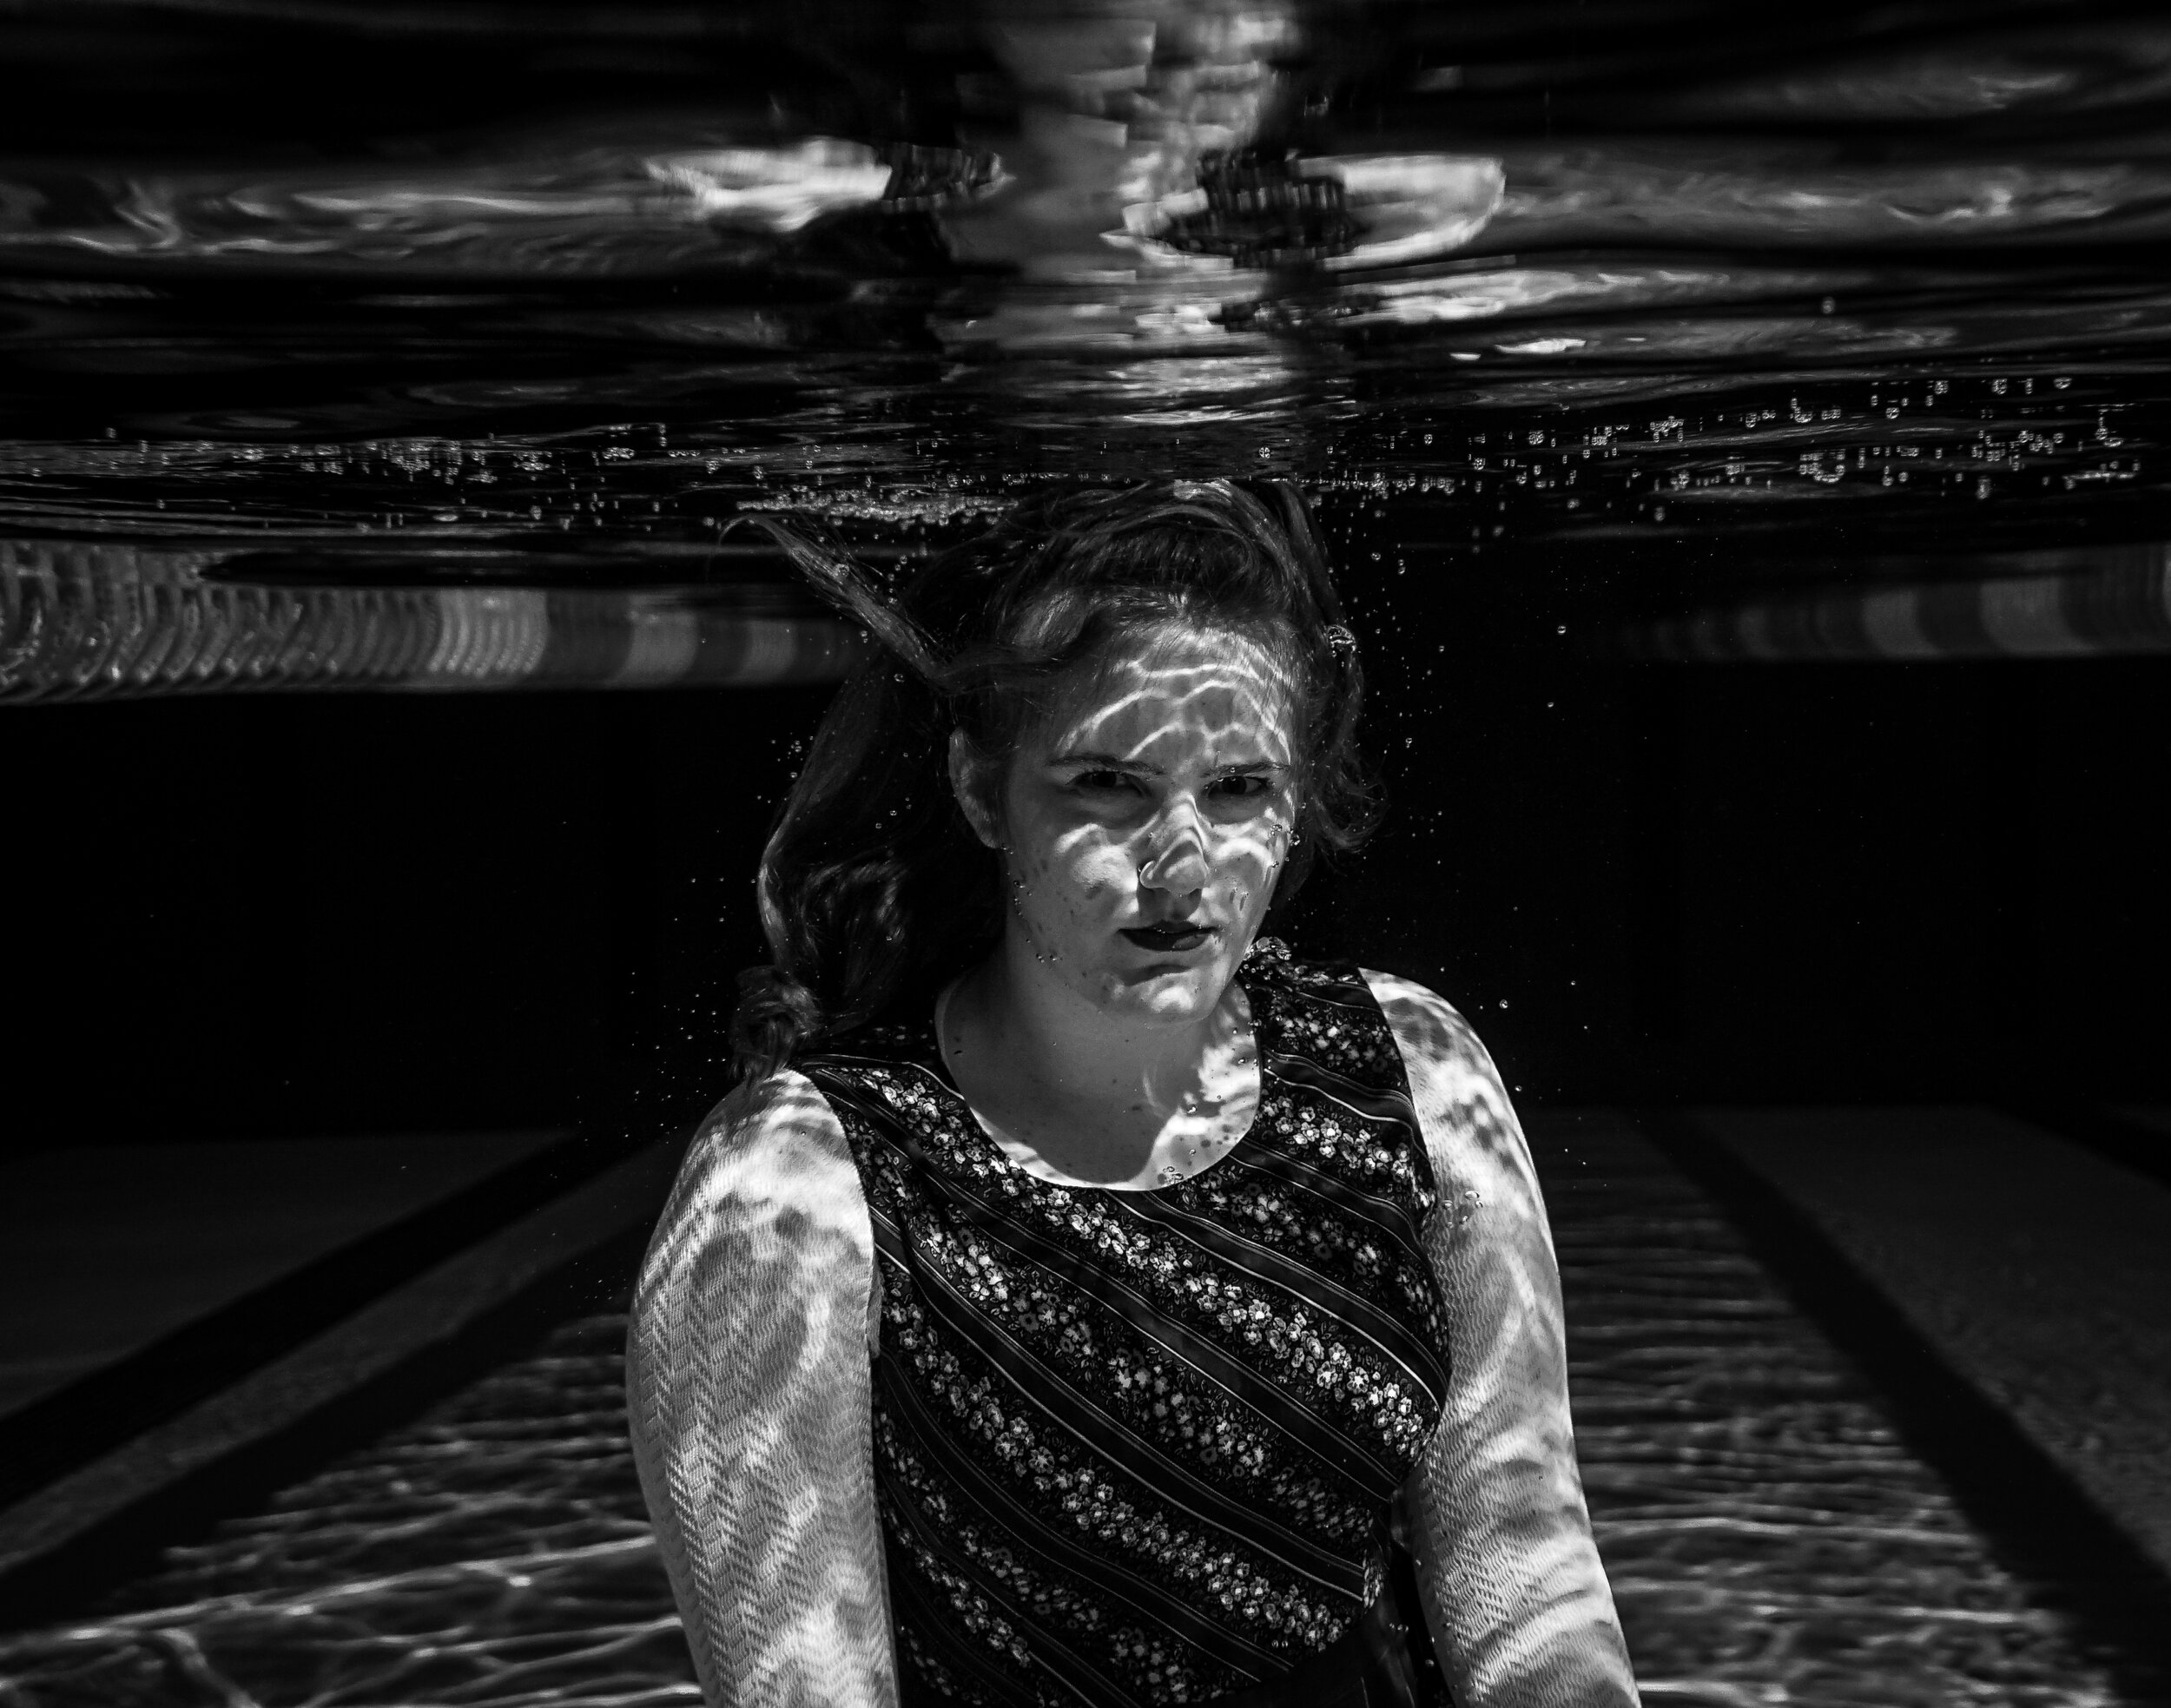
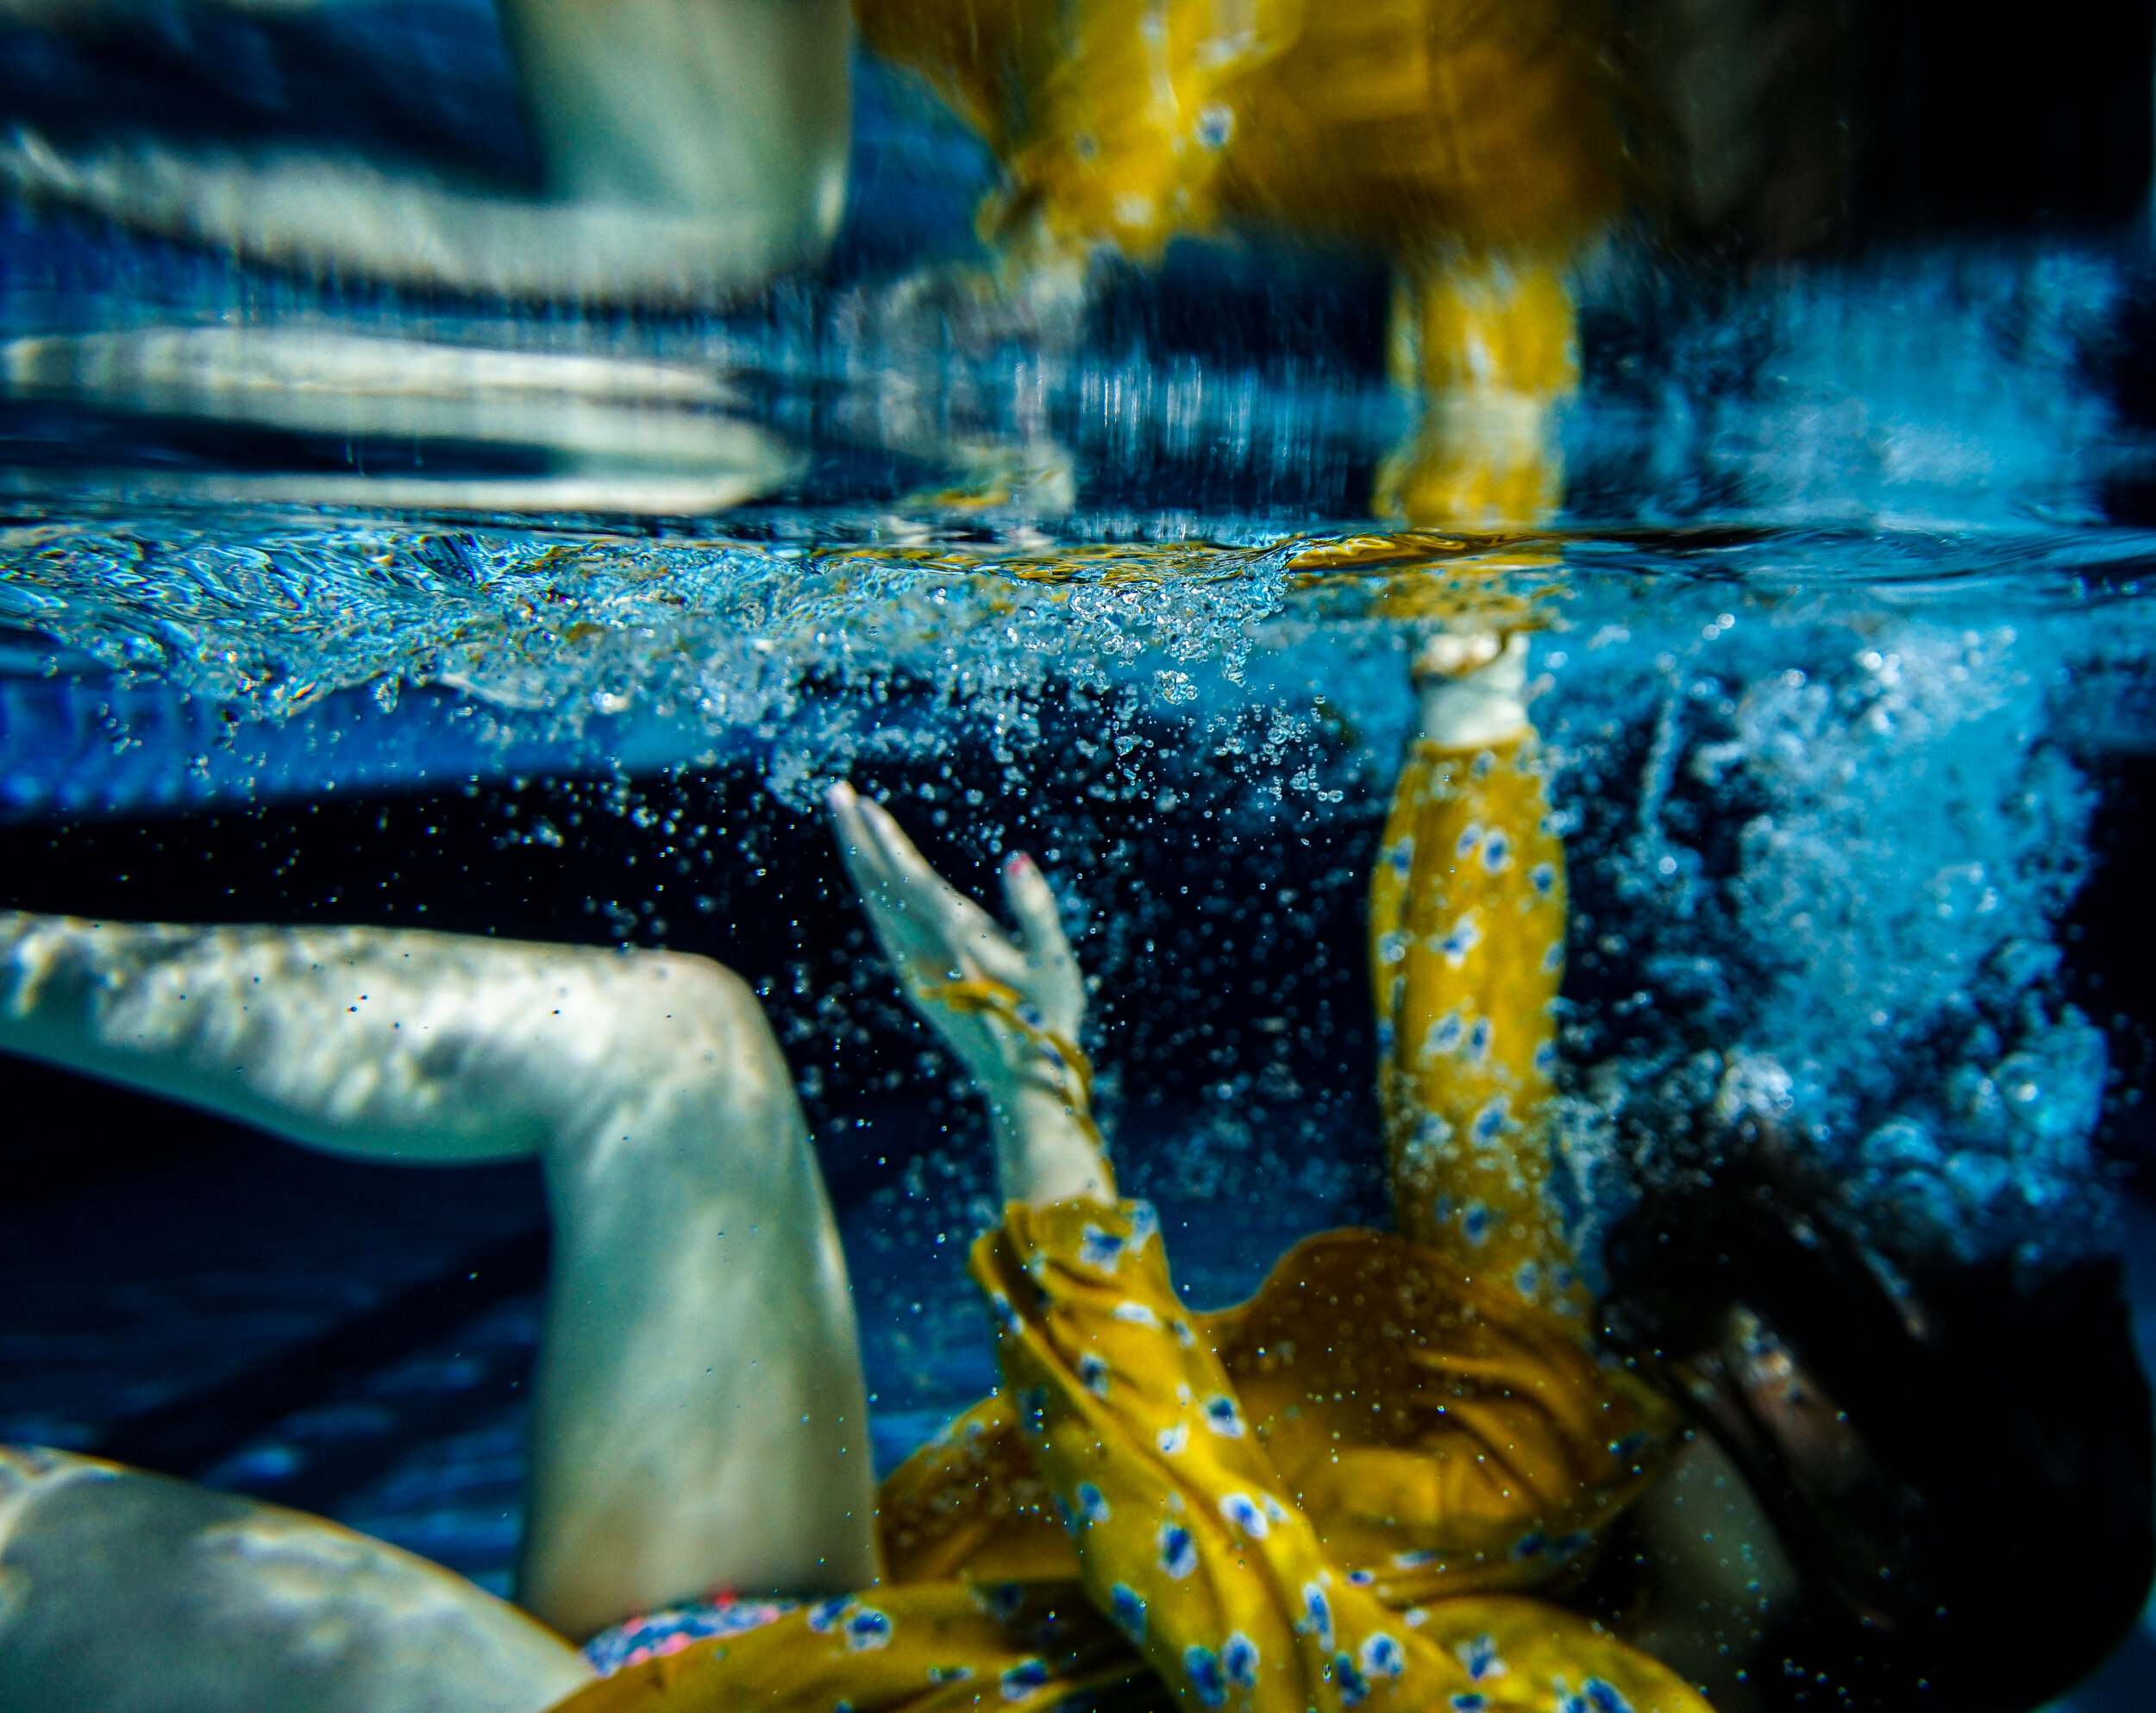
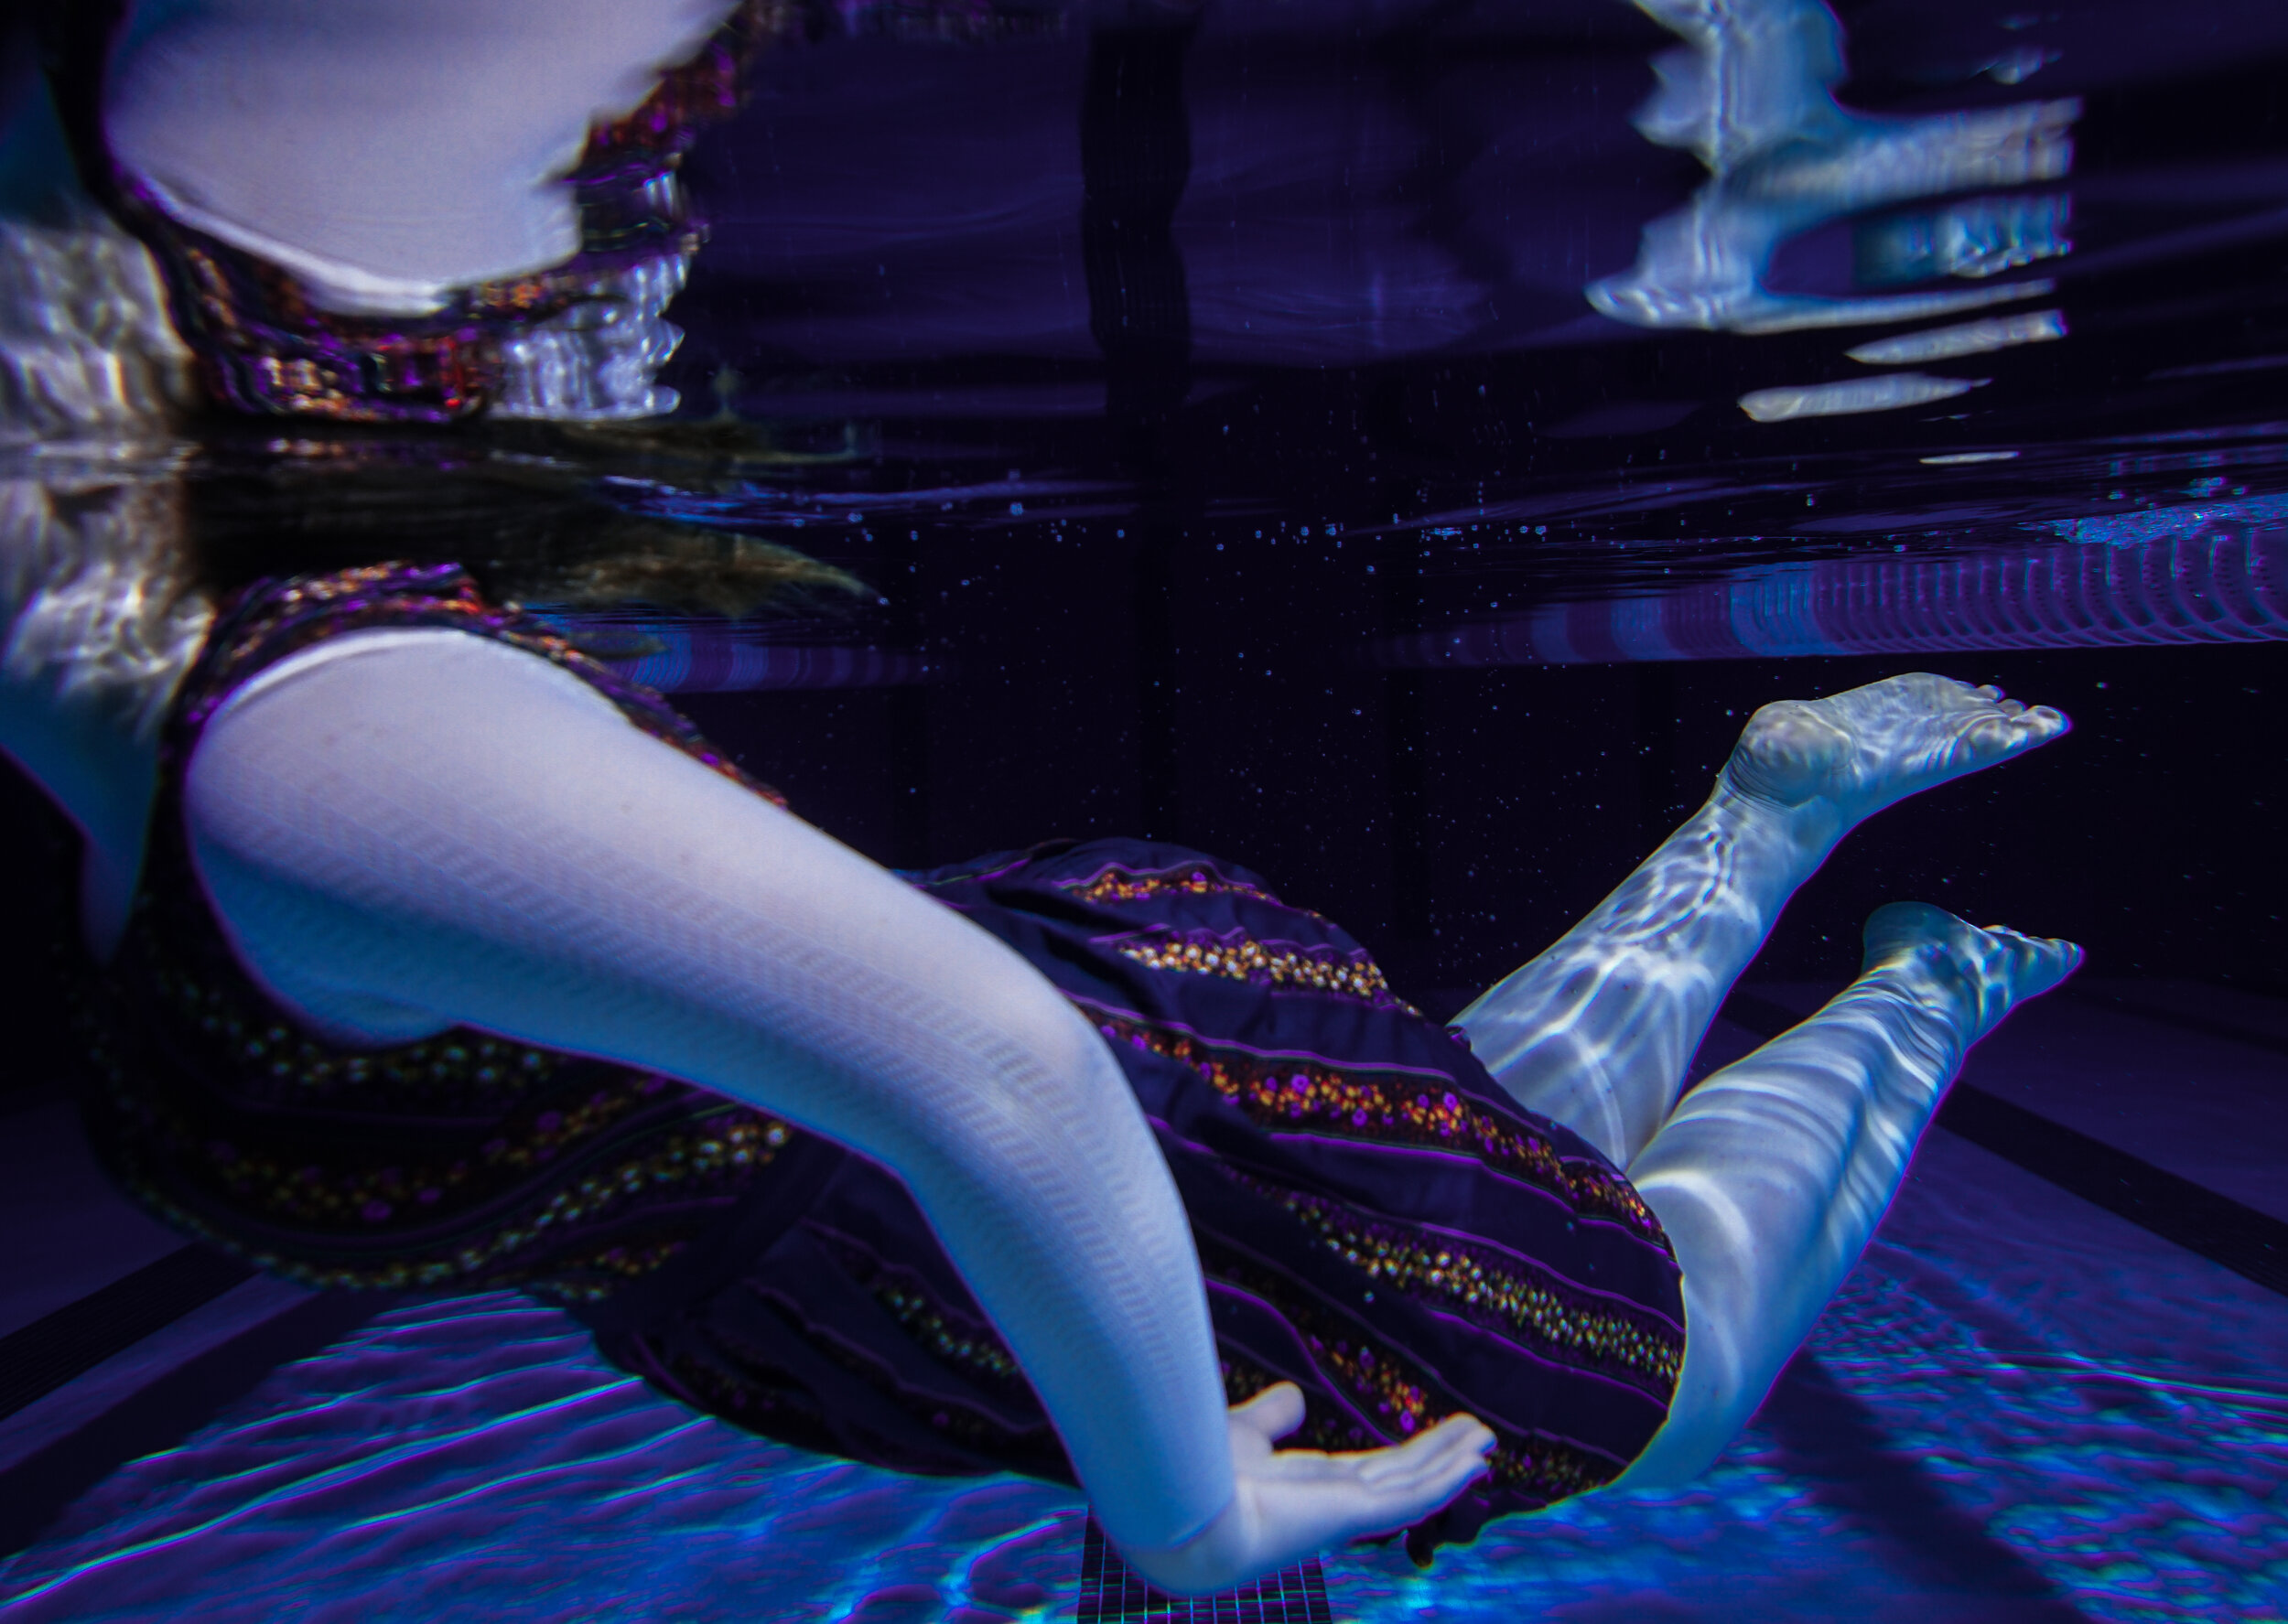
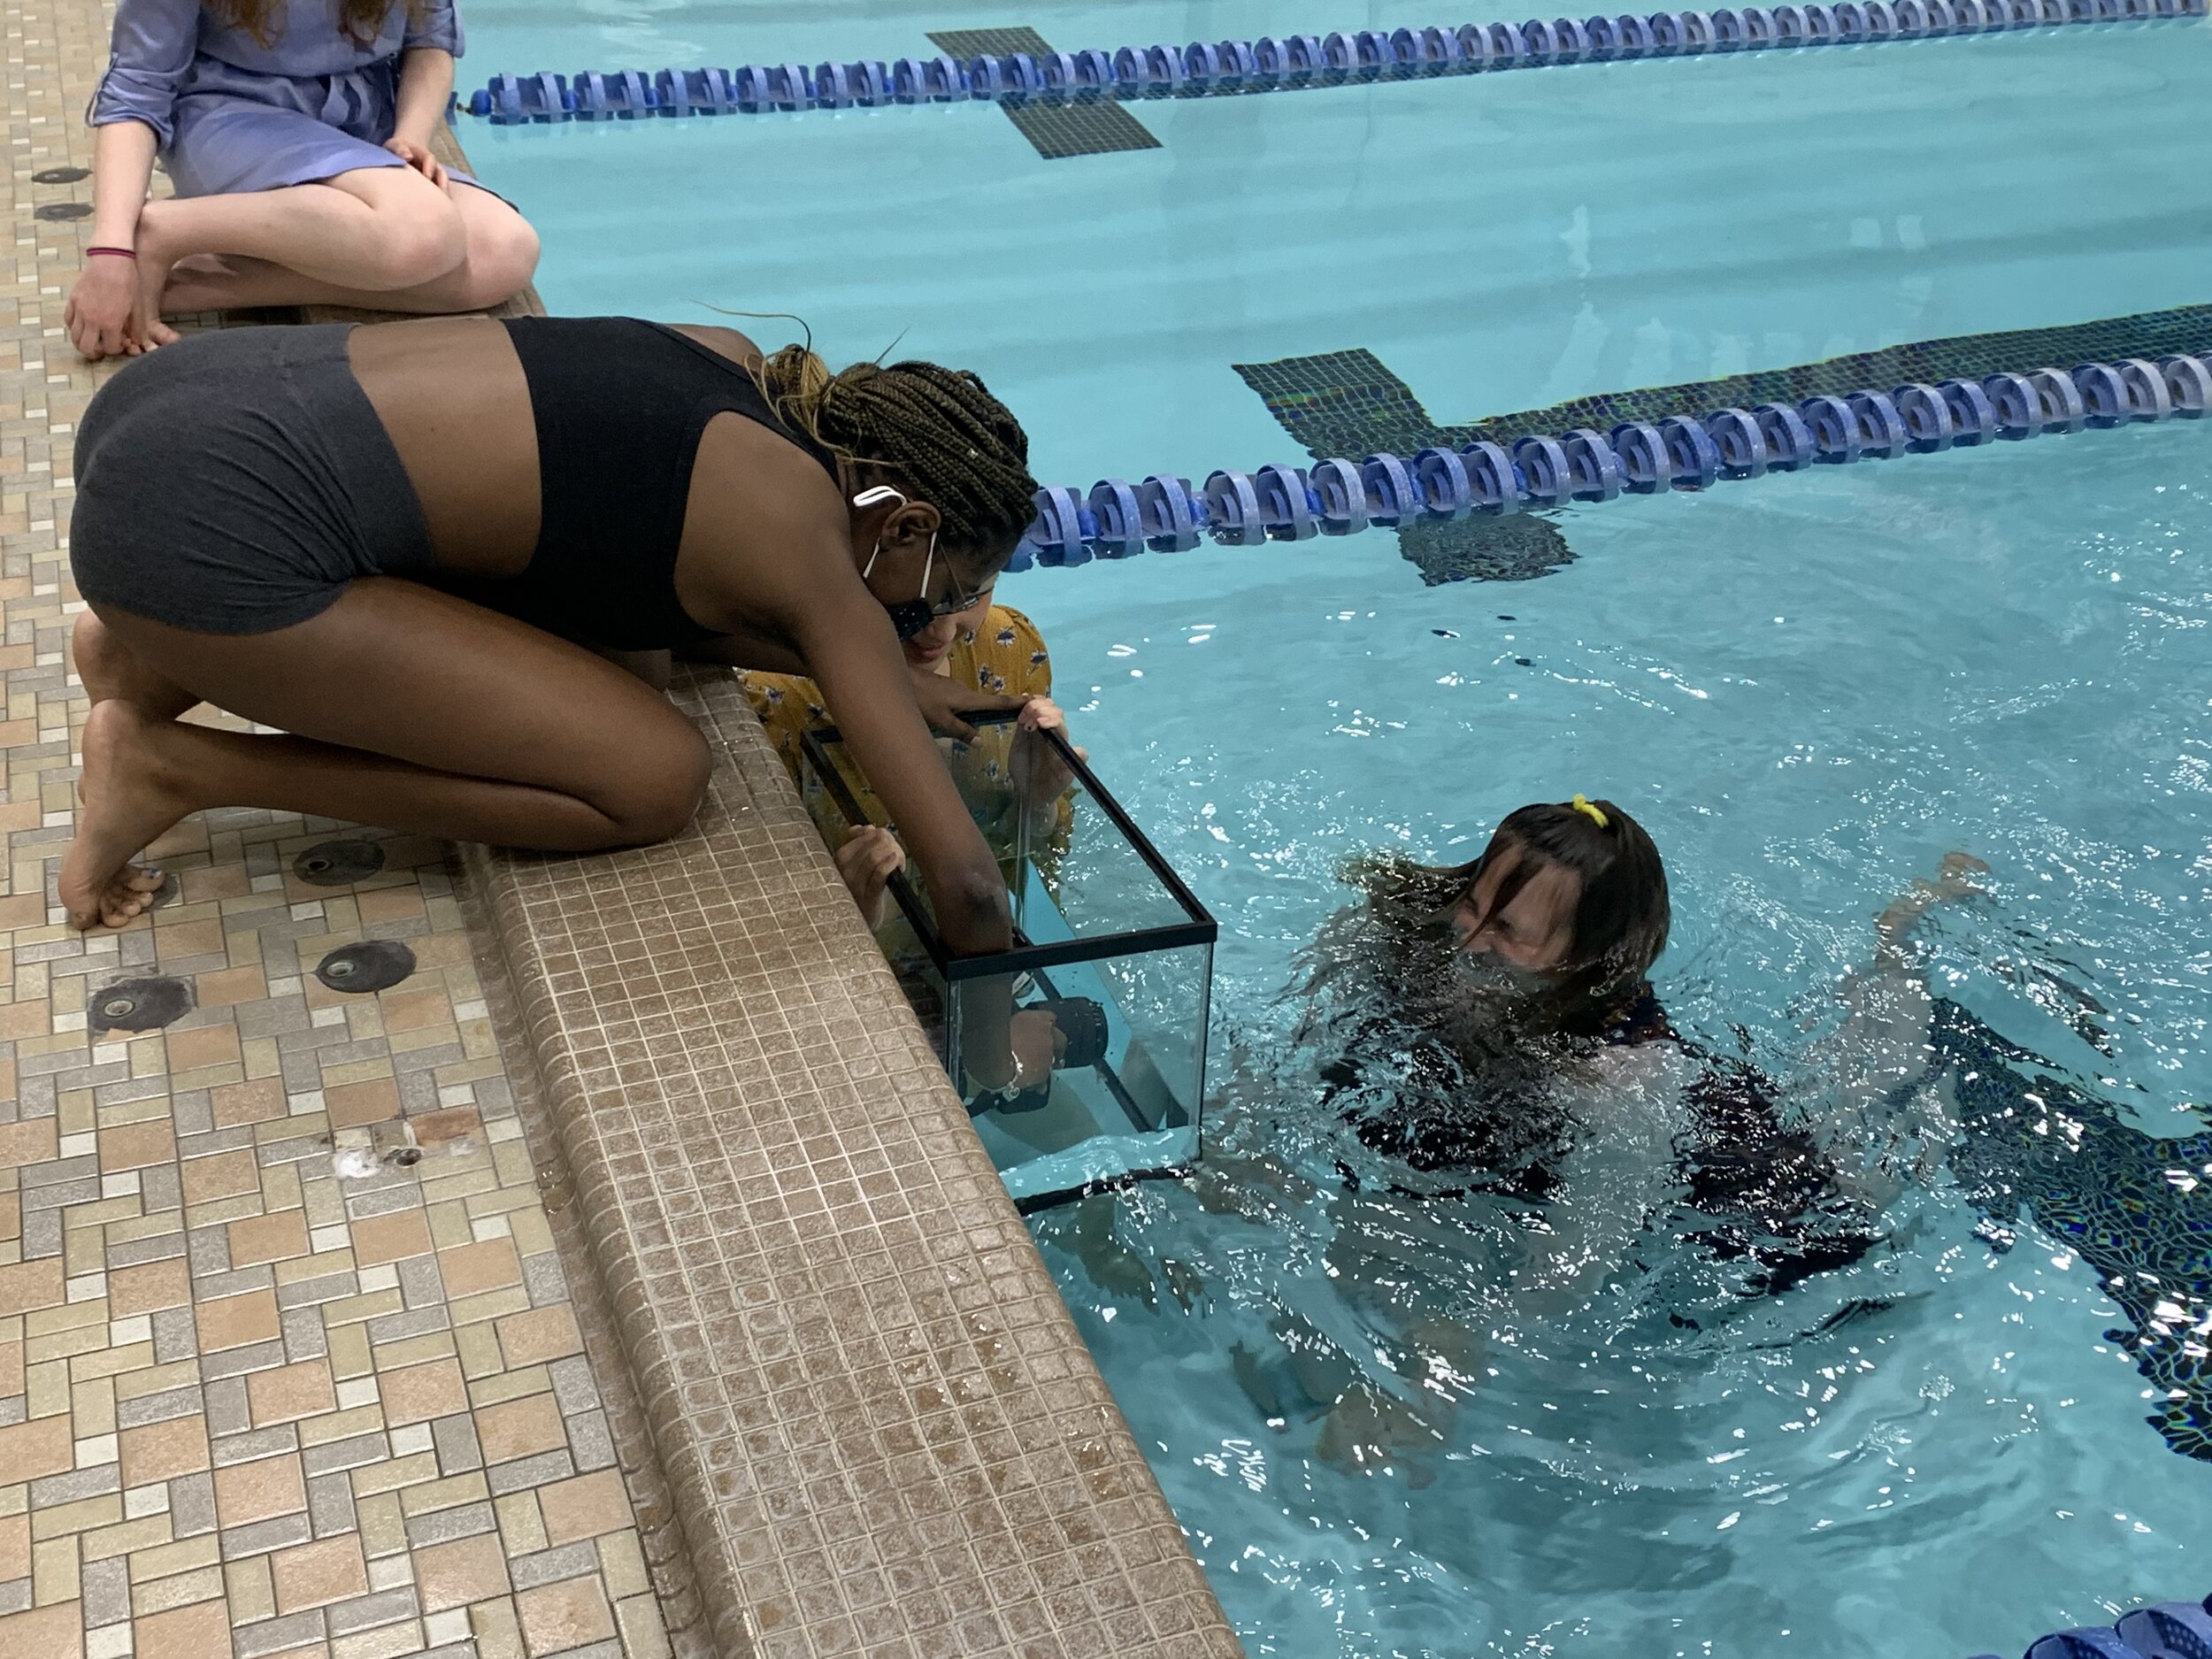
Step 4: Place subject in the water under the lighting
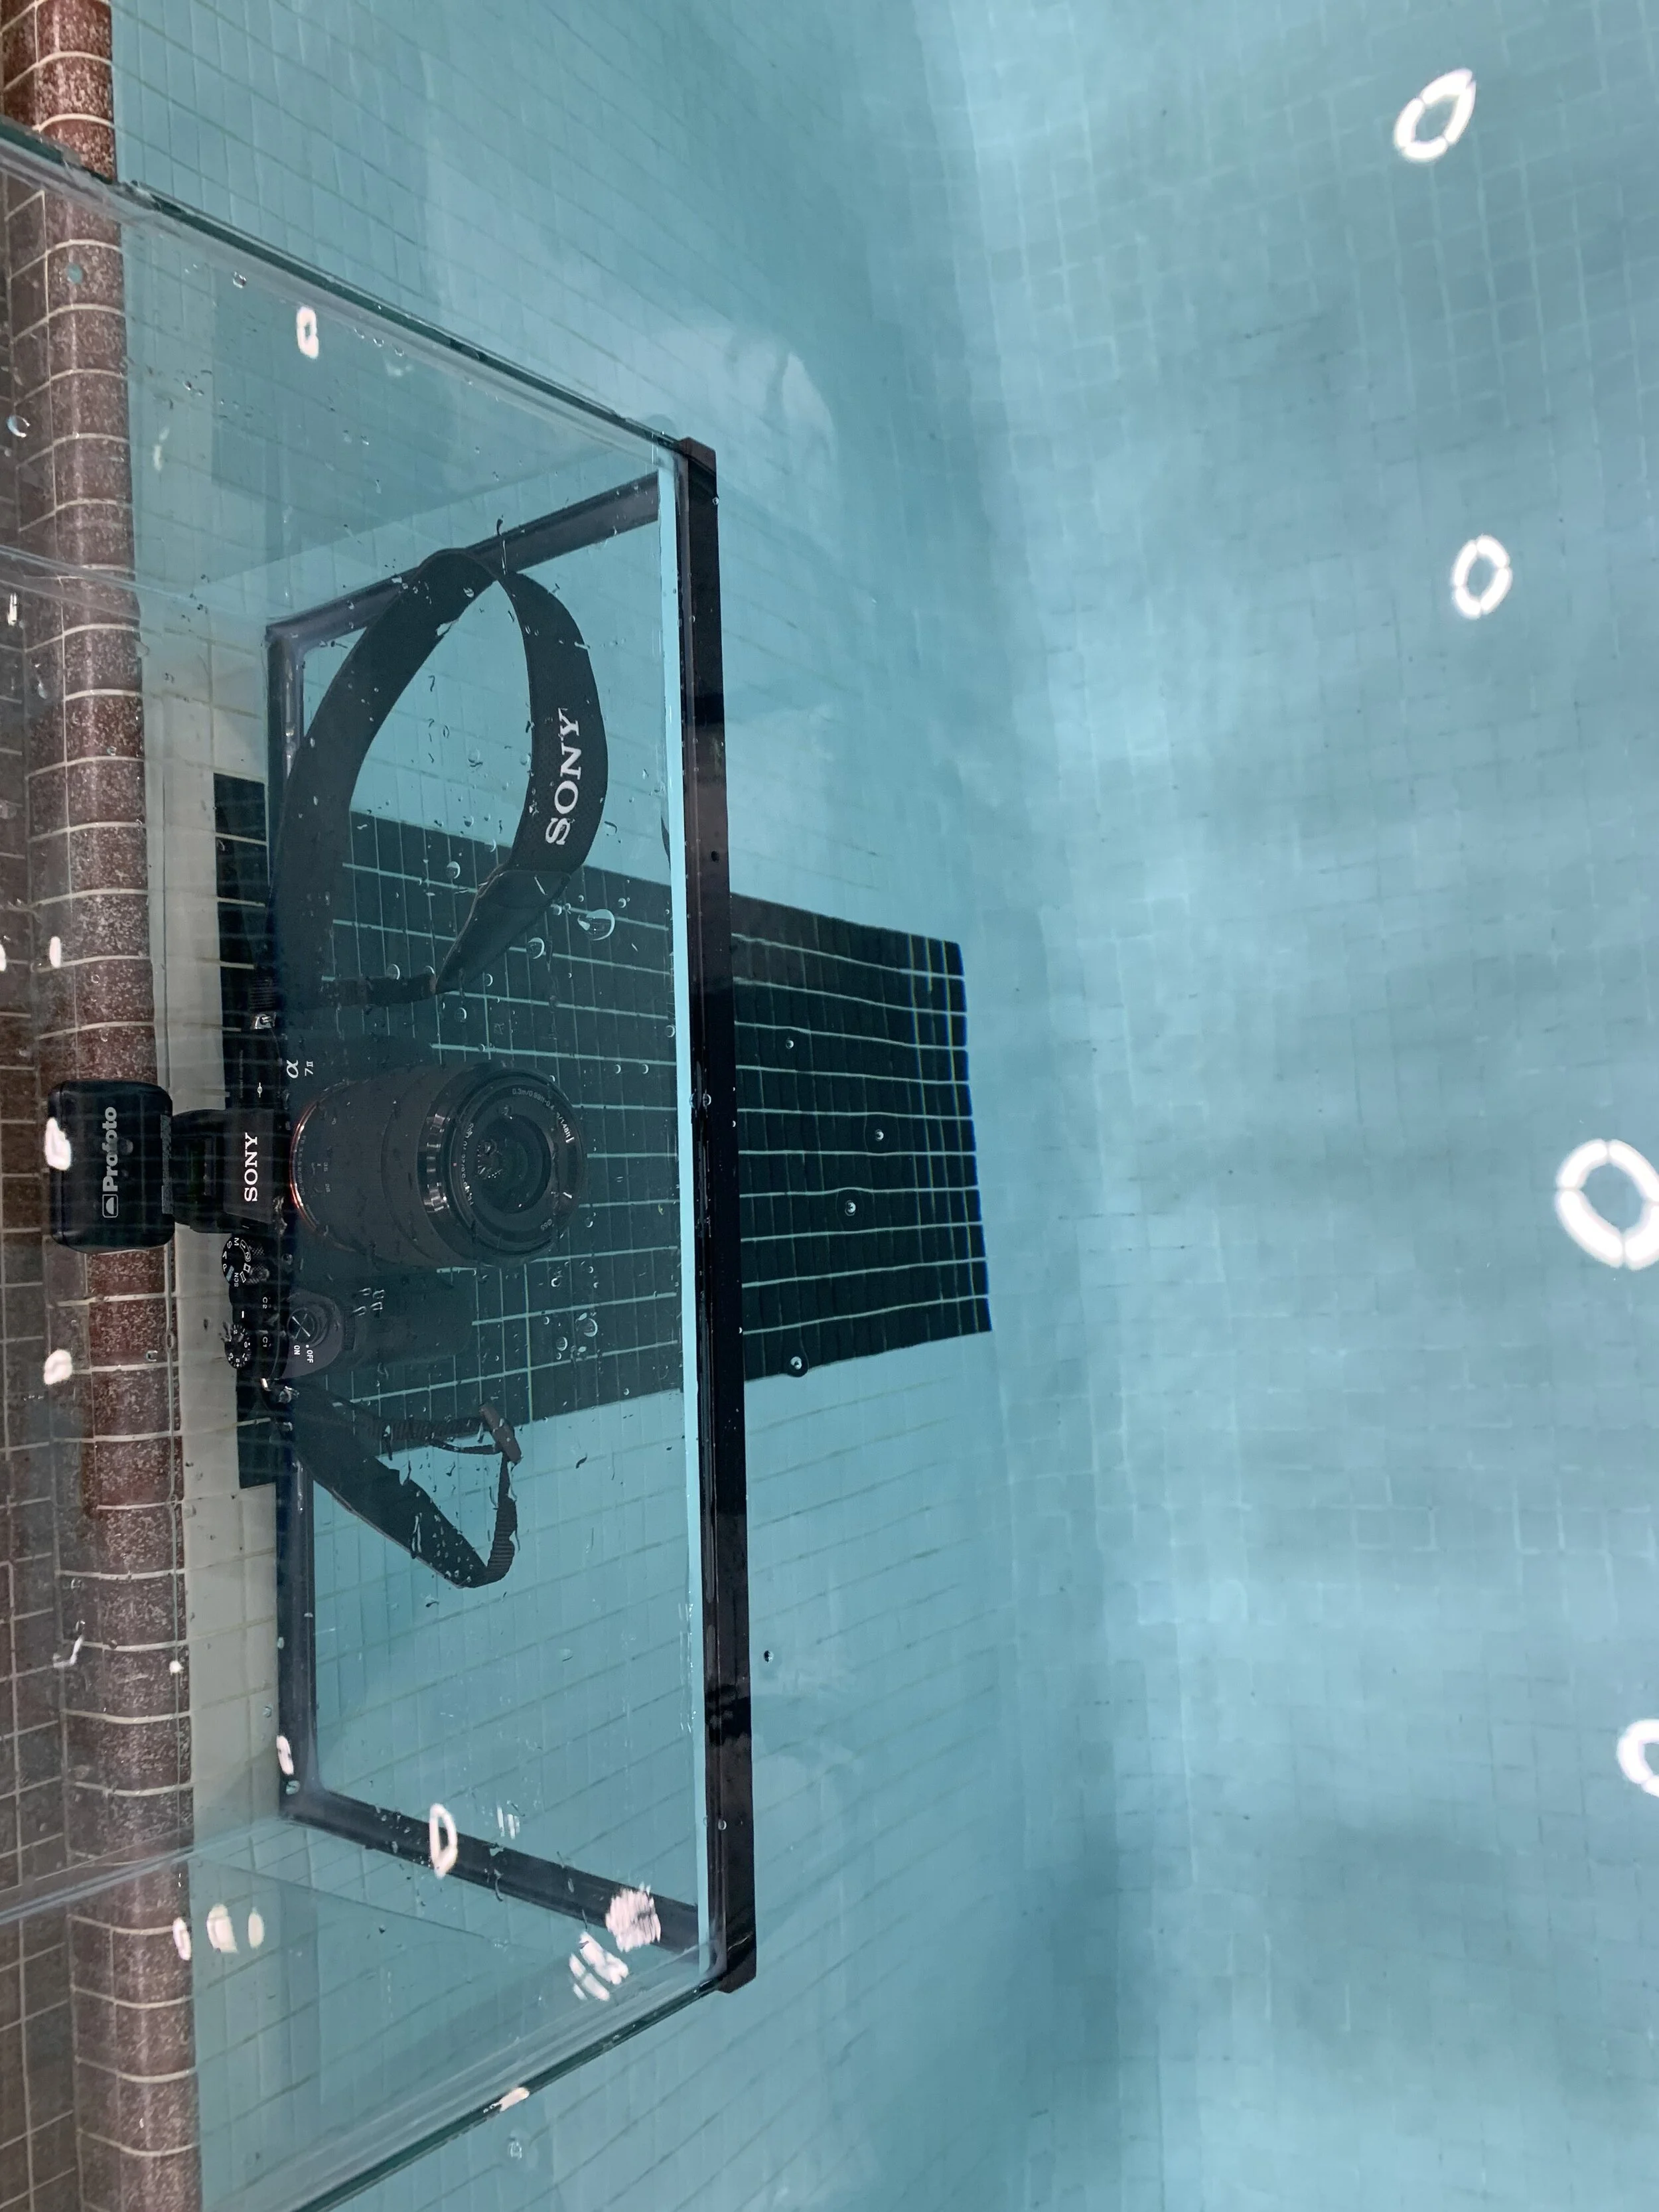
Step 4: Place camera in the tank in the water(it floats)
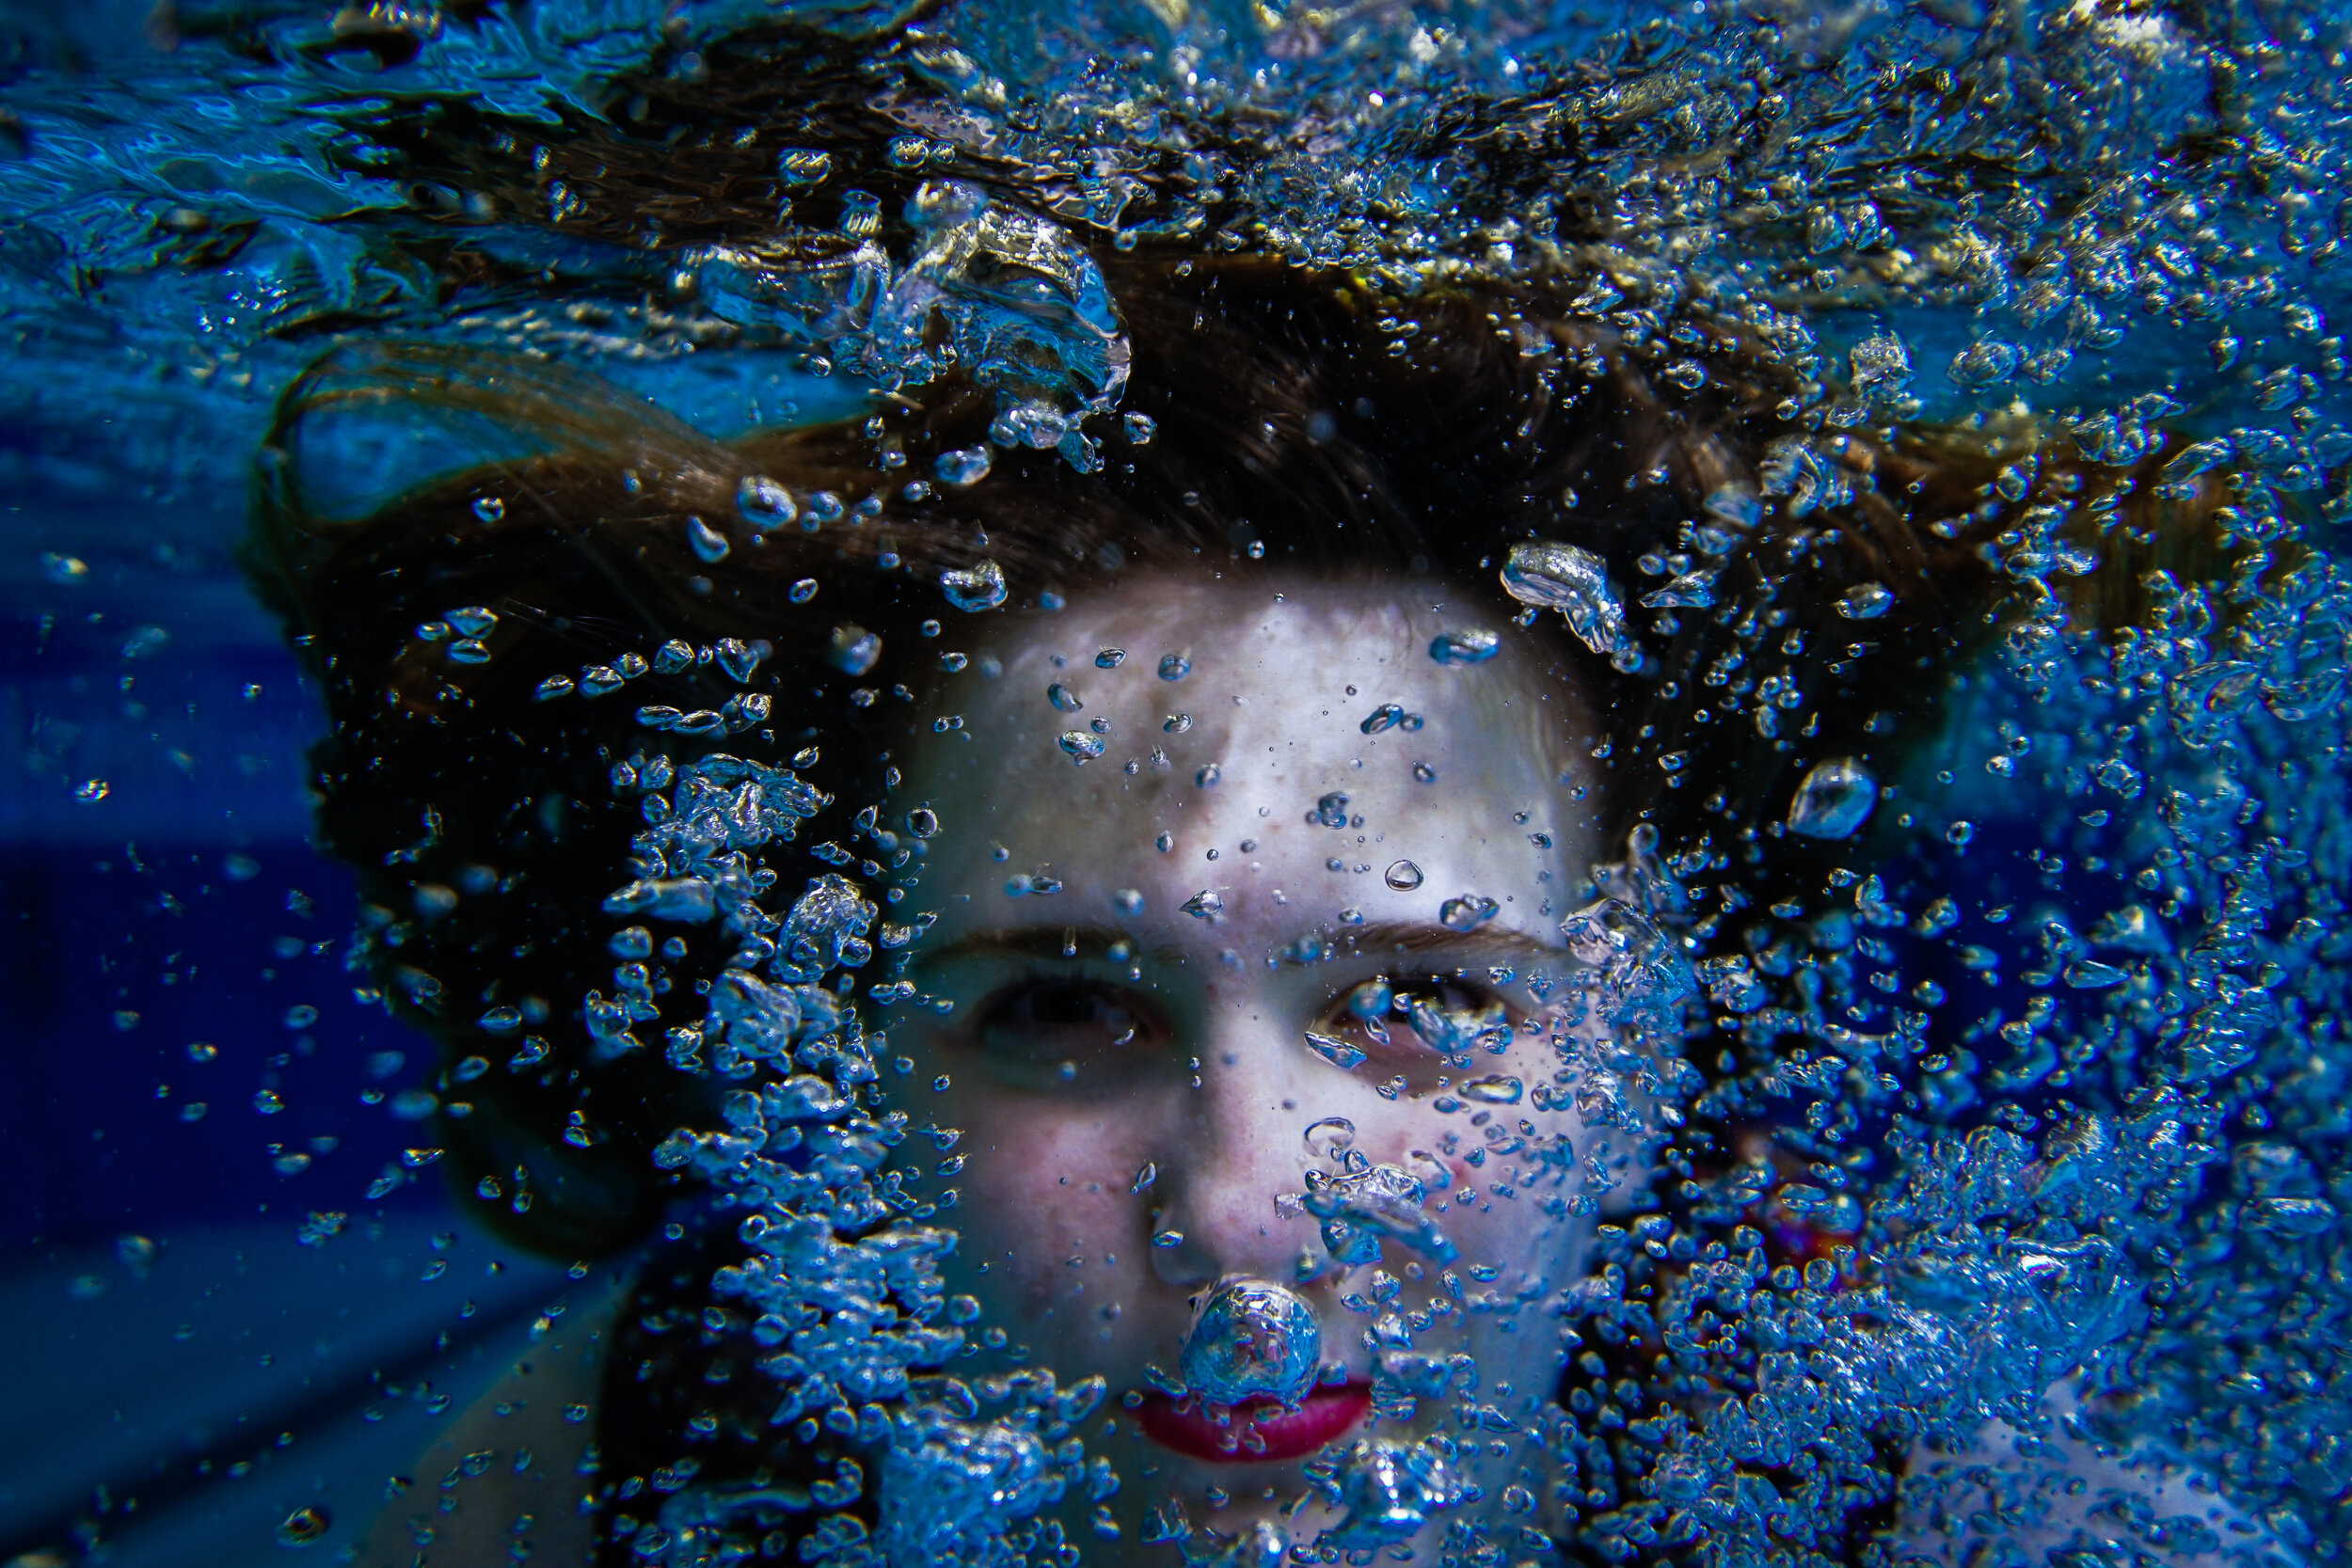
Step 5: I would set your camera ISO to 3200 if you have the pool lights on, if you’re just using the light from the grid then use an ISO of 800. For the shutter speed I would recommend between 1/100-1/200

Step 6:You can either use the side of pool and lay down and shoot the photos while two other people hold down the fish tank slightly in the water, or you can get in the water and have the other two people still holding the fish tank down from in the water

Step 7: Have your camera on continuous shooting and shoot some cool underwater photos!