
Blair Academy Photography
By: Archer Benedict
Disclaimer: A majority of this tutorial will handle the use of Adobe Lightroom
Set up:
To isolate color you must first concentrate your frame with color
The addition of object around the room or an altogether restructure of the frame are the most efficient means of bring color into your photo
(If you desire the isolation of one or two specific colors, make sure you juxtapose them against dull or contrasting backgrounds)
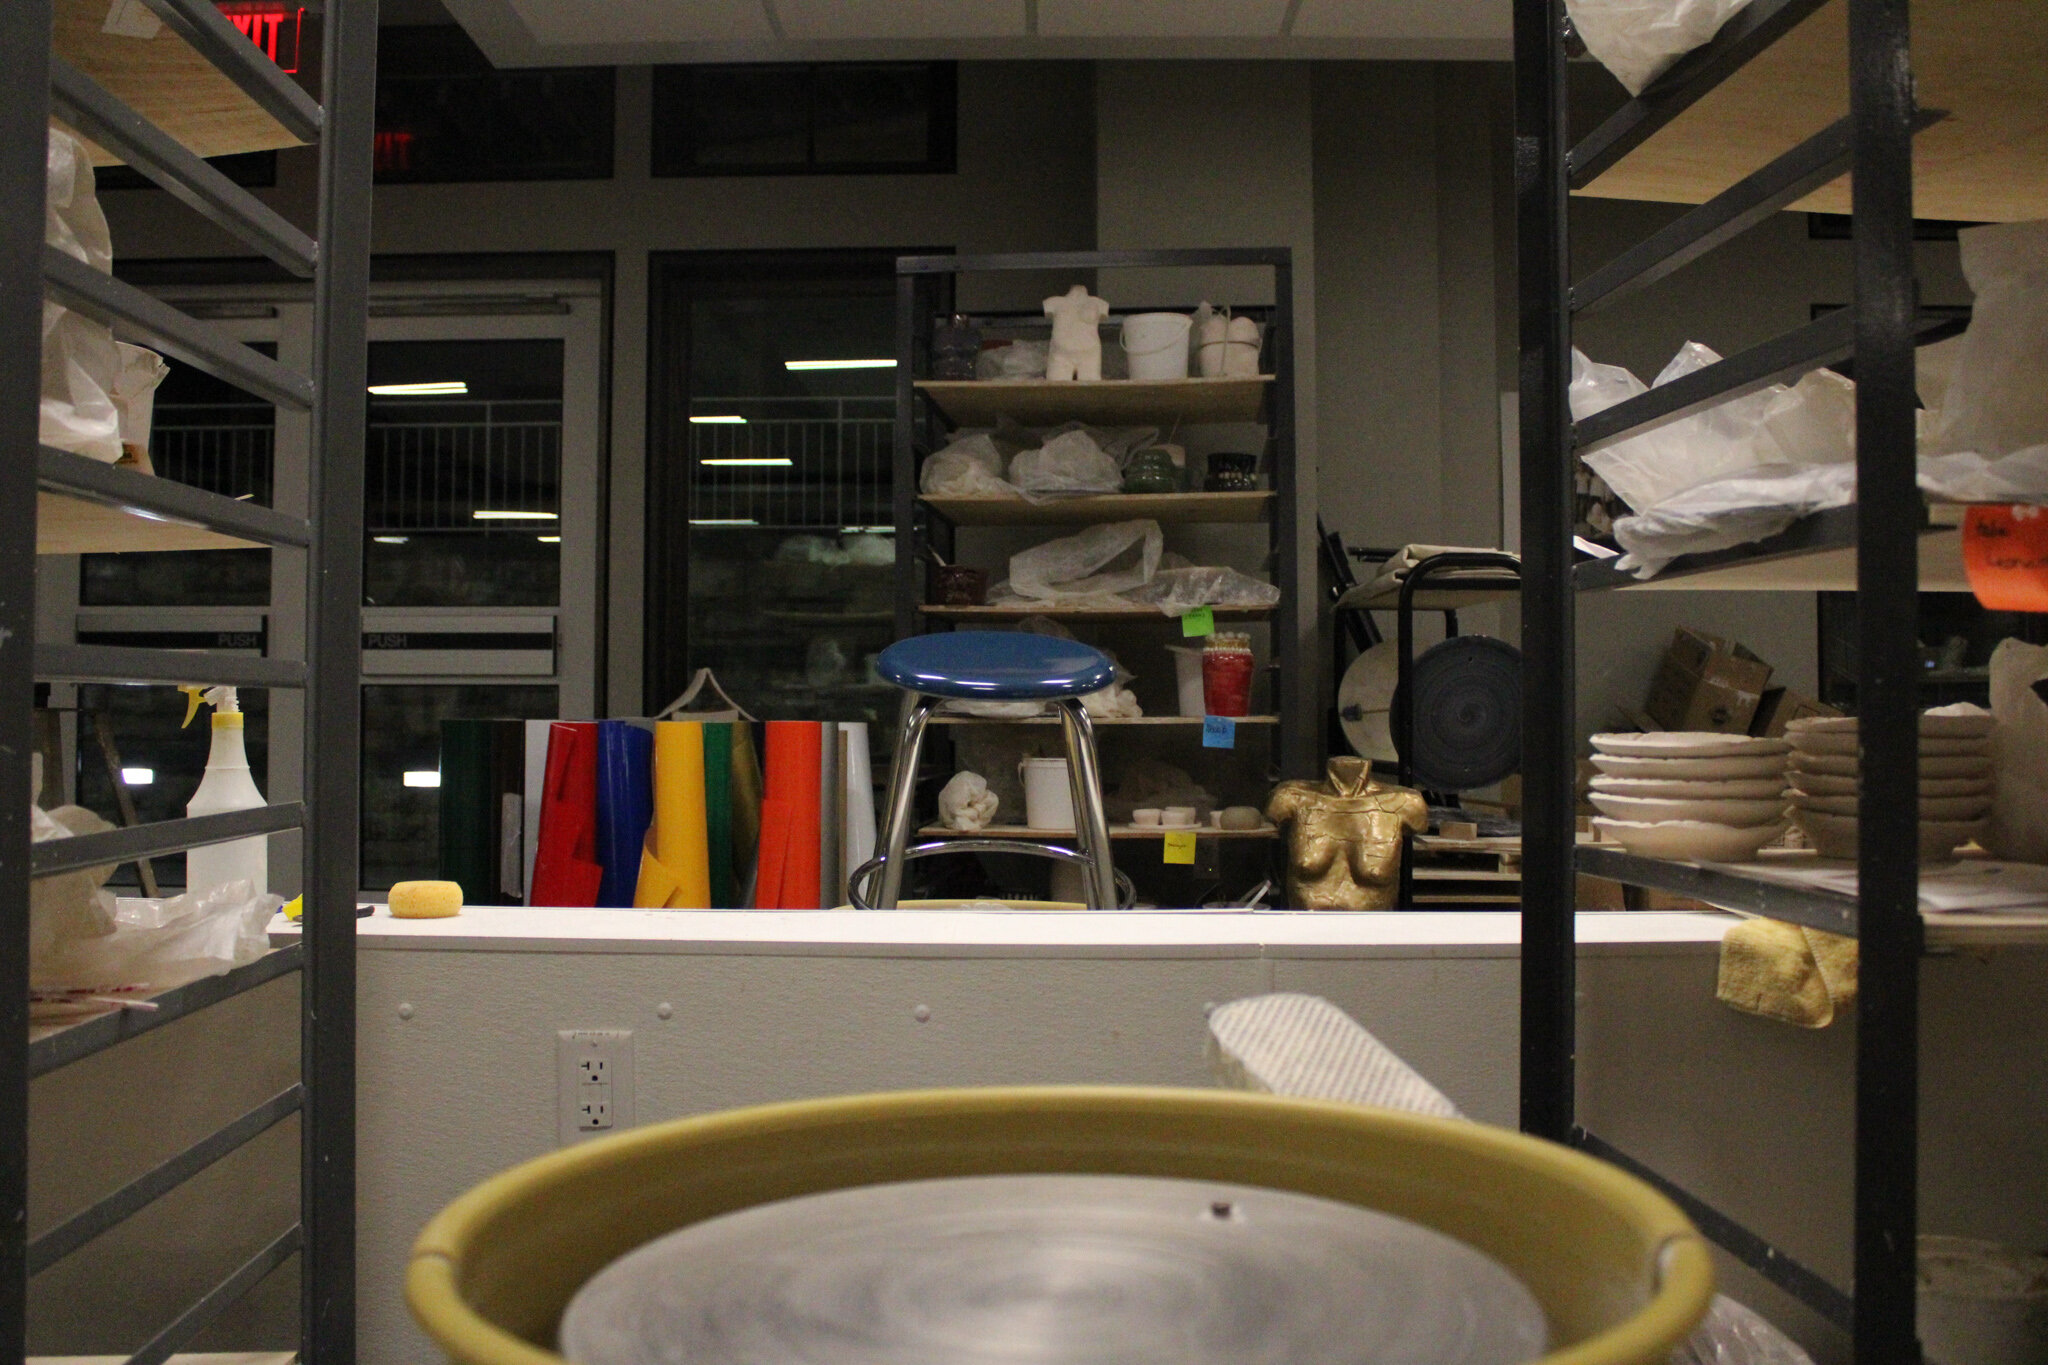
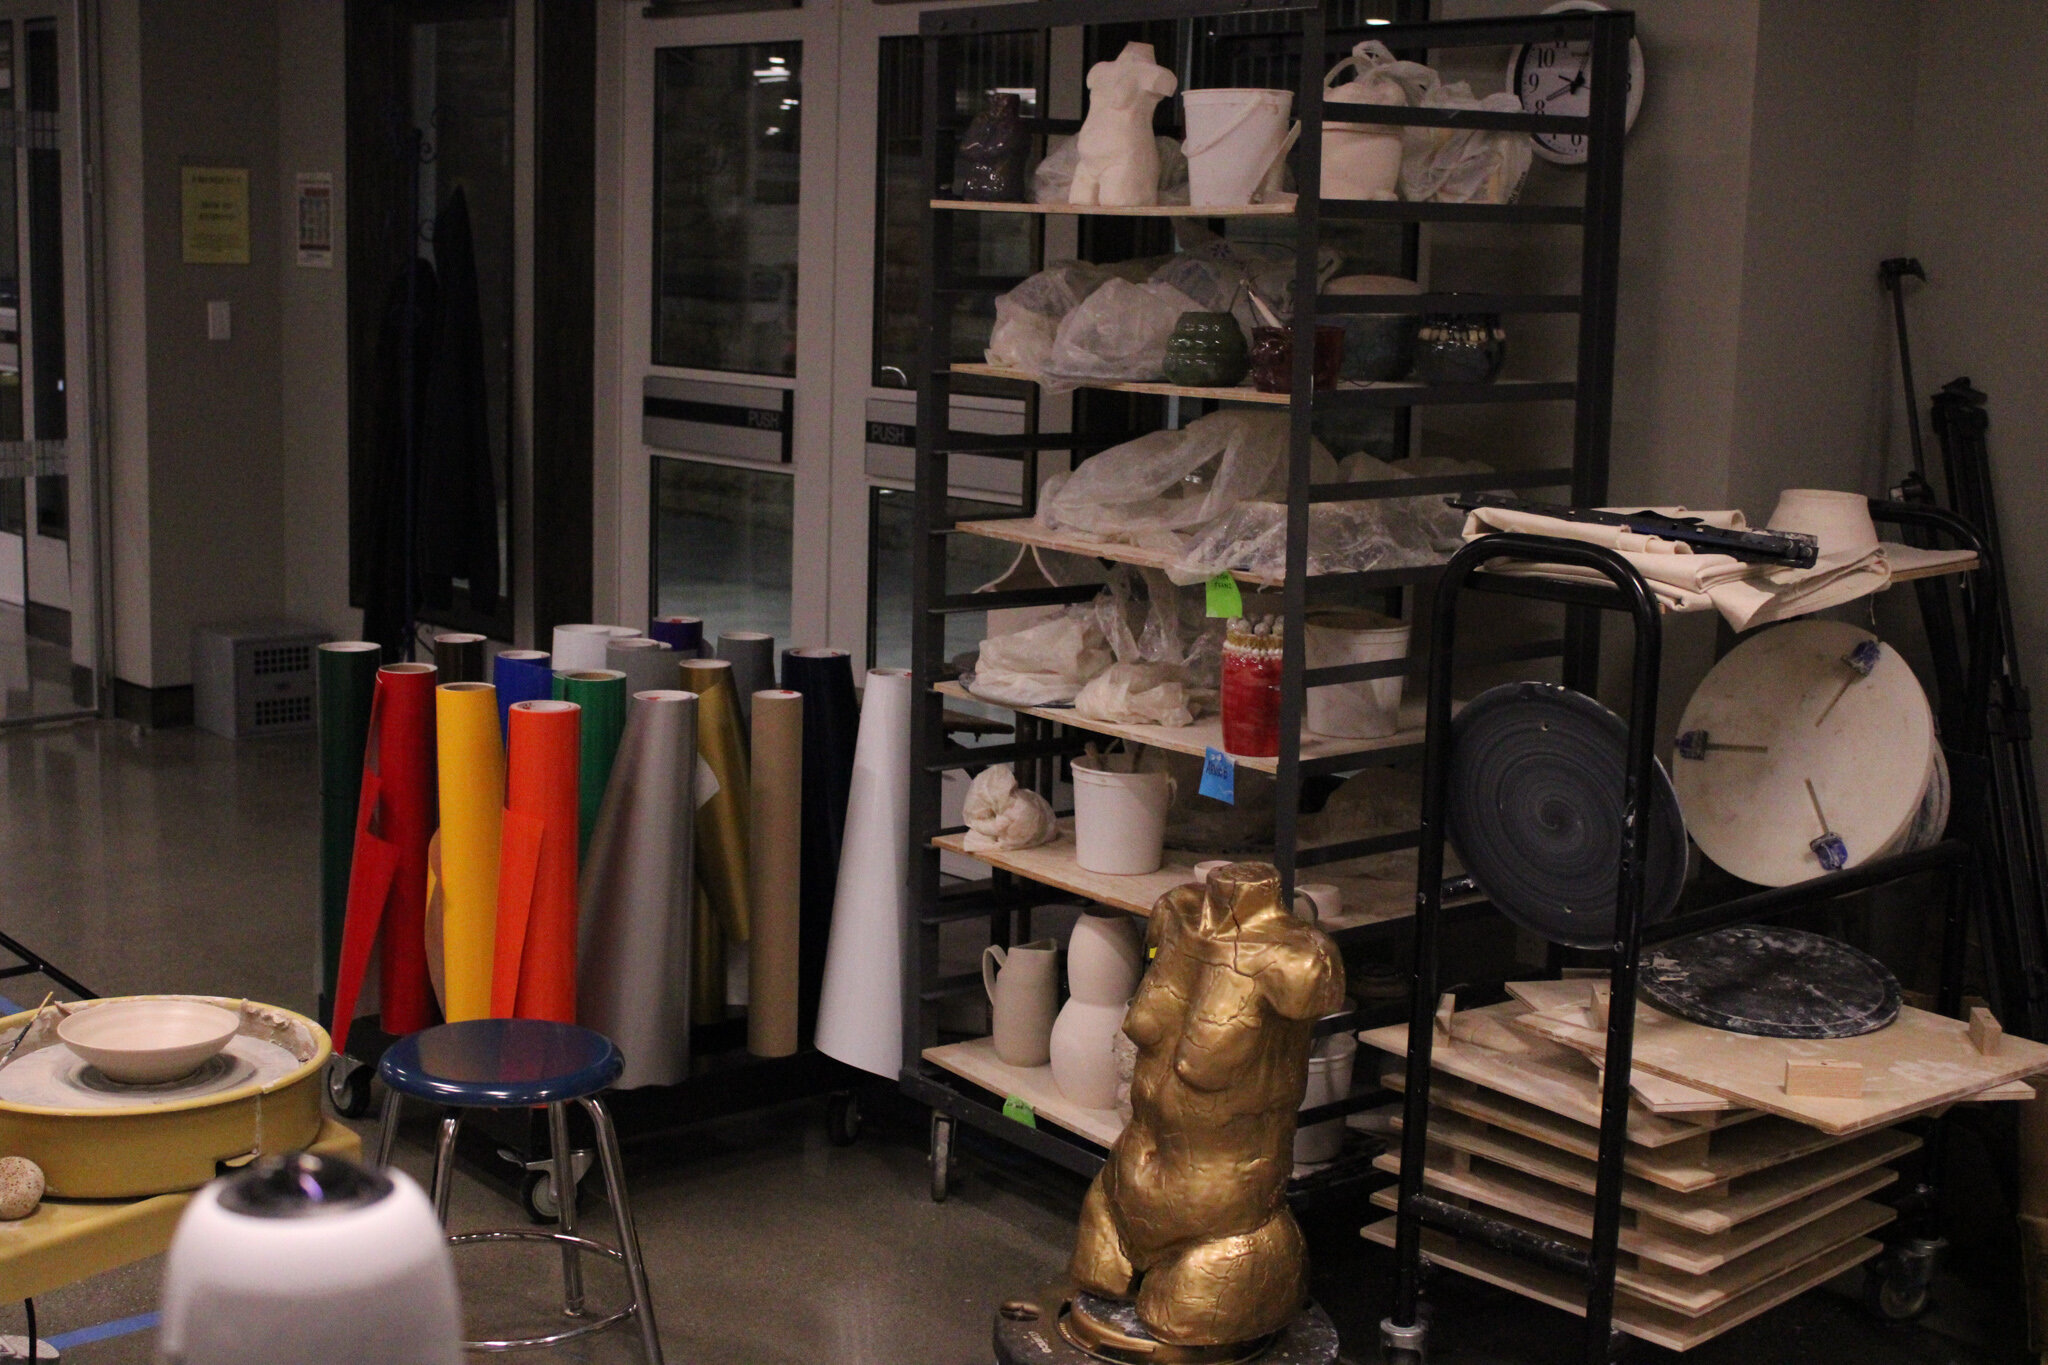
Once you’ve captured your image, decide which colors you will be isolating.
Isolating a singular color
Scroll to the “Color Mixer” header of the edit tab
Drag the saturation of the unwanted colors down to zero
Select the “Brush” tool
Drag the saturation slider to 0
Paint over objects that have the desired color, that you wish to grey out


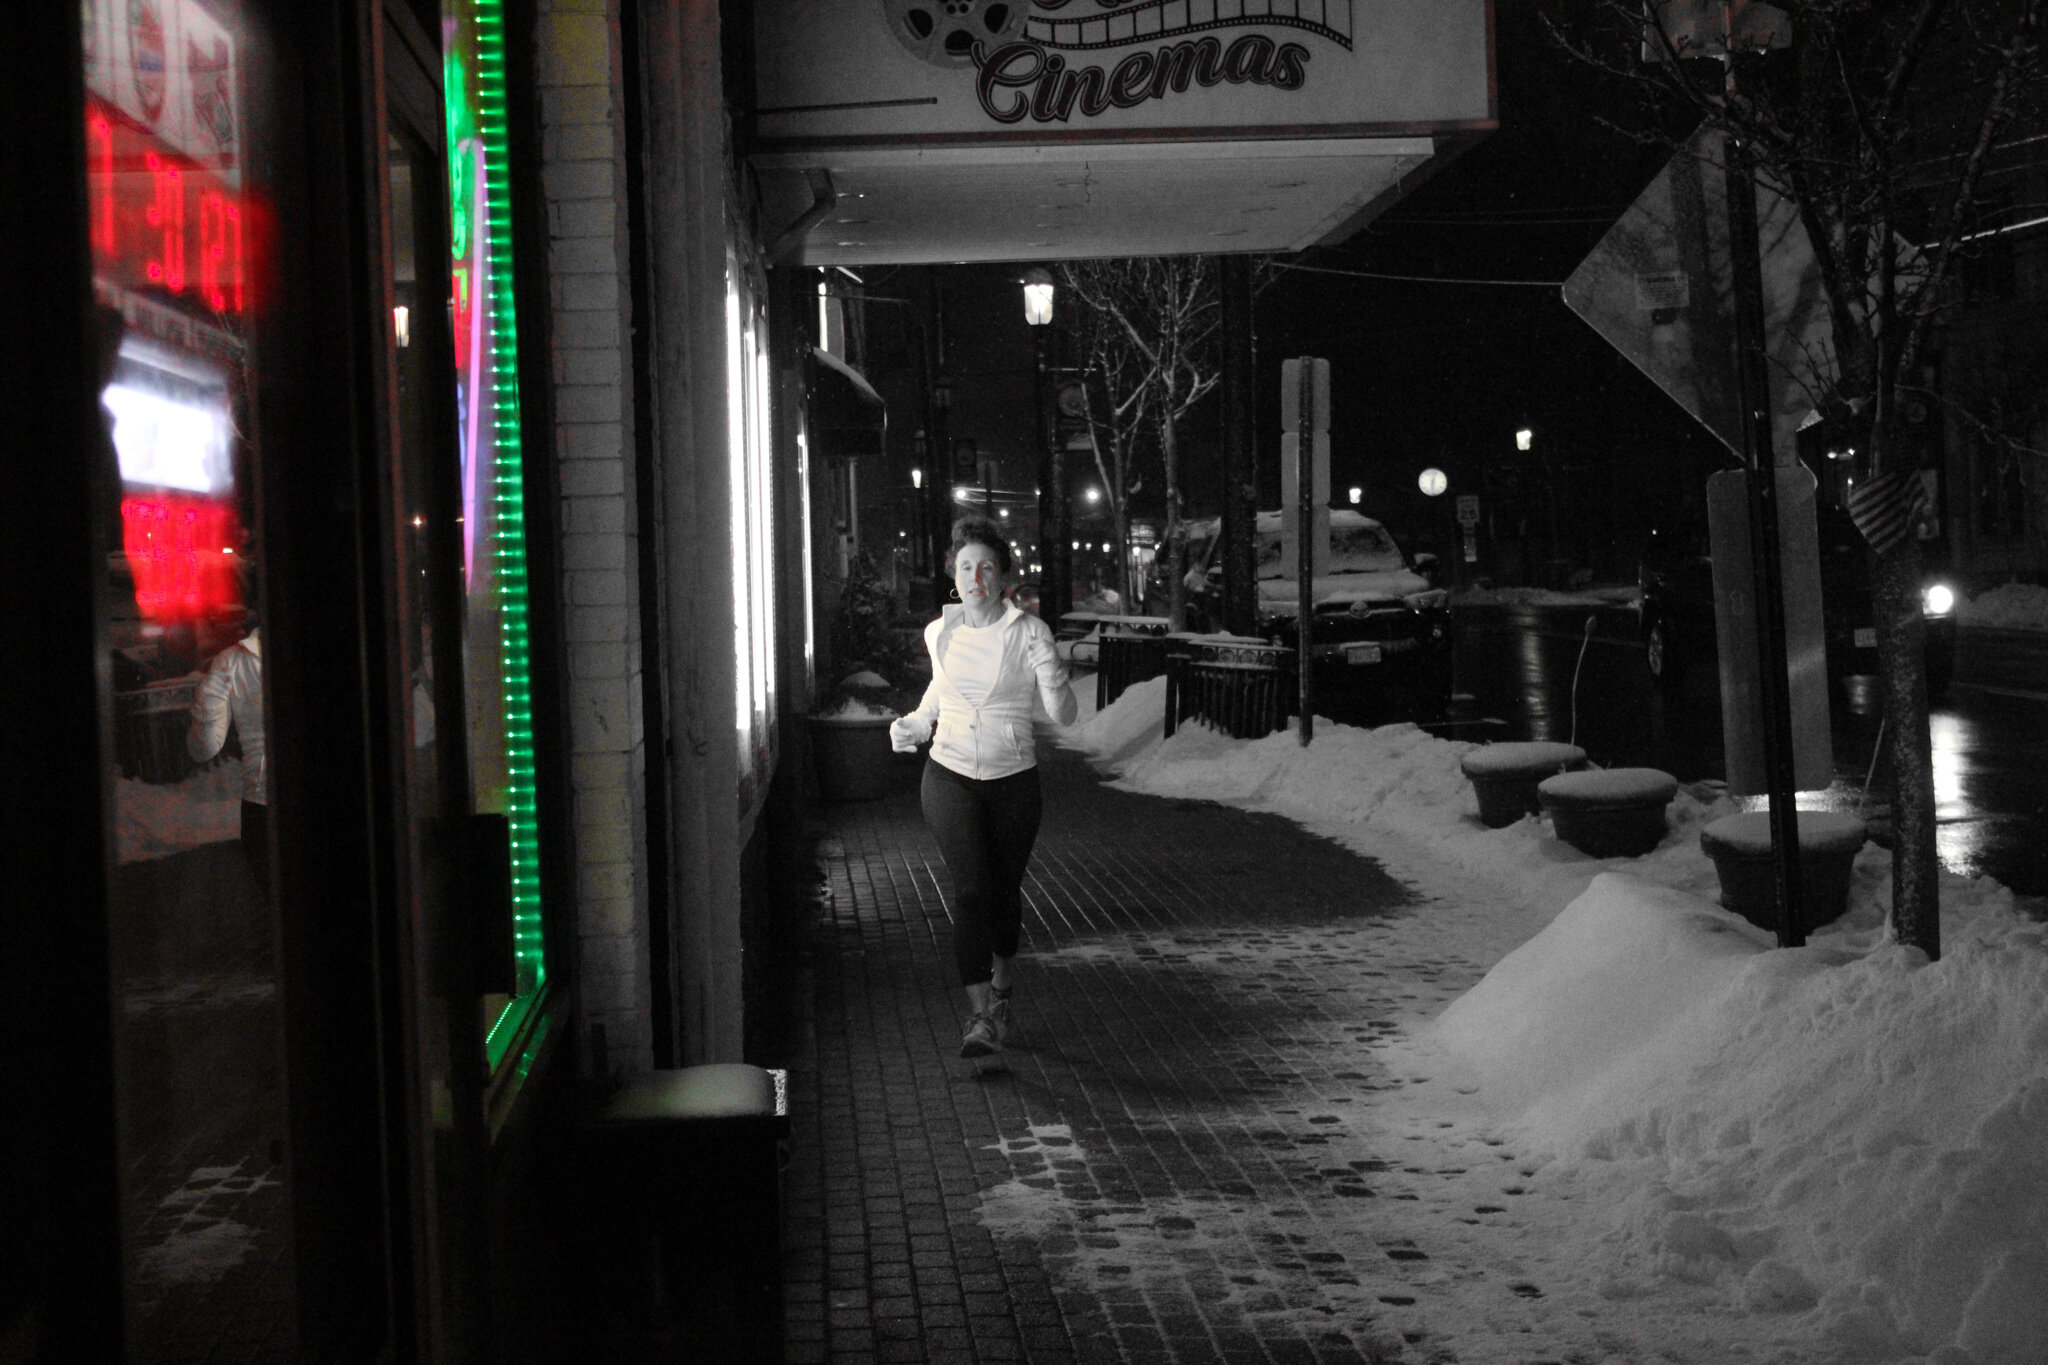
Isolation of individual objects
Select the “Brush” tool
Drag the saturation slider to 0
Paint over all objects/areas, excluding the desired objects
(To maximize efficiency without sacrificing precision, use a larger radius to eliminate larger areas of color before switching to a smaller radius to clean up any remaining edges)


The manipulation of color 1
Scroll to the “Color Mixer” header of the edit tab
Adjust the Hue of the isolated color
(This method of manipulation cannot go beyond the bounds of the Hue slides)


The manipulation of color 2
Select one of the B&W presets
Select the “Brush” tool
Scroll down to the color option and select the desired color
Paint over the object

