Blair Academy Photography
Software needed: Photoshop, Editing application (Lightroom, VSCO, etc.)

Step 1:
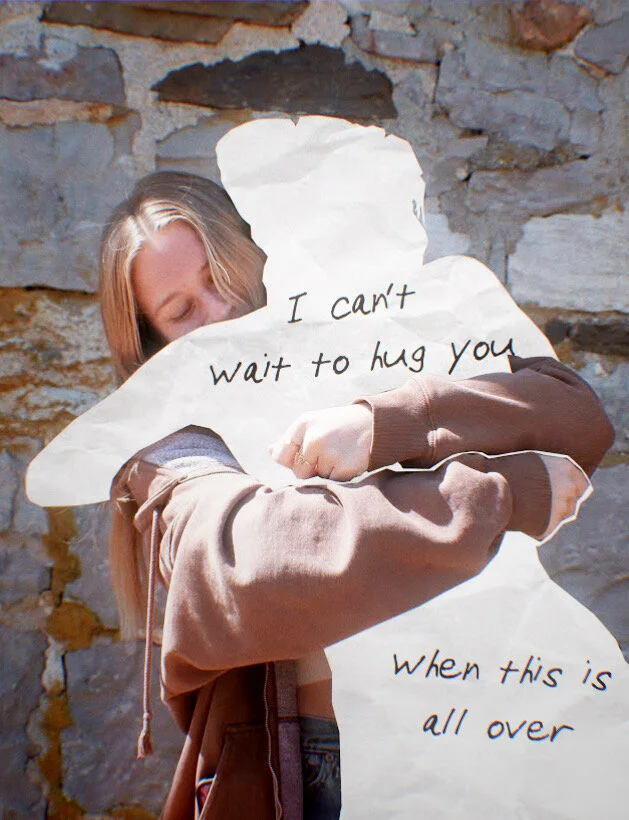
Choose or take photos that have potentially interesting negative space
Examples: Subject sitting on the road, utilizing the sky in a photo, subject interacting with someone else, etc.

Step 2:
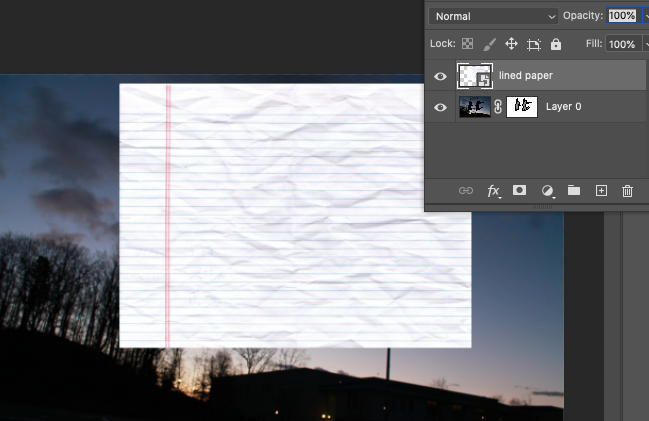
Open that photo in Photoshop and go to the layer page of the sidebar, if there is a small lock icon next to your existing layer click it once to unlock the layer.

Step 3:
Use the pen tool to start cutting out pieces of your photo. Once you’ve created a path around the part you want to cut out, double click and select ‘Create Vector Mask.’ Repeat this process until you have cut out the negative space you will be filling.
Step 4:
Drop in the image that will fill the space you just cut out, arrange it in the way you like, making sure it is in another separate and unlocked layer.
![Step 5:Bring the first image to the front (Shift+Command+ ] )](https://images.squarespace-cdn.com/content/v1/59126ba9db29d6c782569d36/1617599507756-35L6EUNGJ5TH8ERJXKMG/unnamed.png)
Step 5:
Bring the first image to the front (Shift+Command+ ] )

Step 6:
Now add text if applicable

Step 7:
Save the image you have made and use another software to edit the photo to your liking.