
Blair Academy Photography
Tutorial: How to Create a Silhouette Portrait with Backlight and UV Details
--
Portraiture is a vast and explorative method of employing photography to express features of the human face and body. There are many ways to uniquely depict a person’s character or emotions, even if they may seem unconventional at first. In my tutorial, I will be using silhouette portraiture with UV details to add a new twist on traditional portraits. Silhouettes are beautiful because although facial features are not displayed in the portrait, the body position of the subject and different added elements can equally show the nature and characteristics of the subject. The UV detail gives way for the usage of a different type of light. This type of portrait is interesting, unique, and easy to replicate.
--
Materials Needed:
Camera

Lens (Portrait lens not required)

Studio strobe

Grid

Gel Color modifier

UV Paint

UV light

--
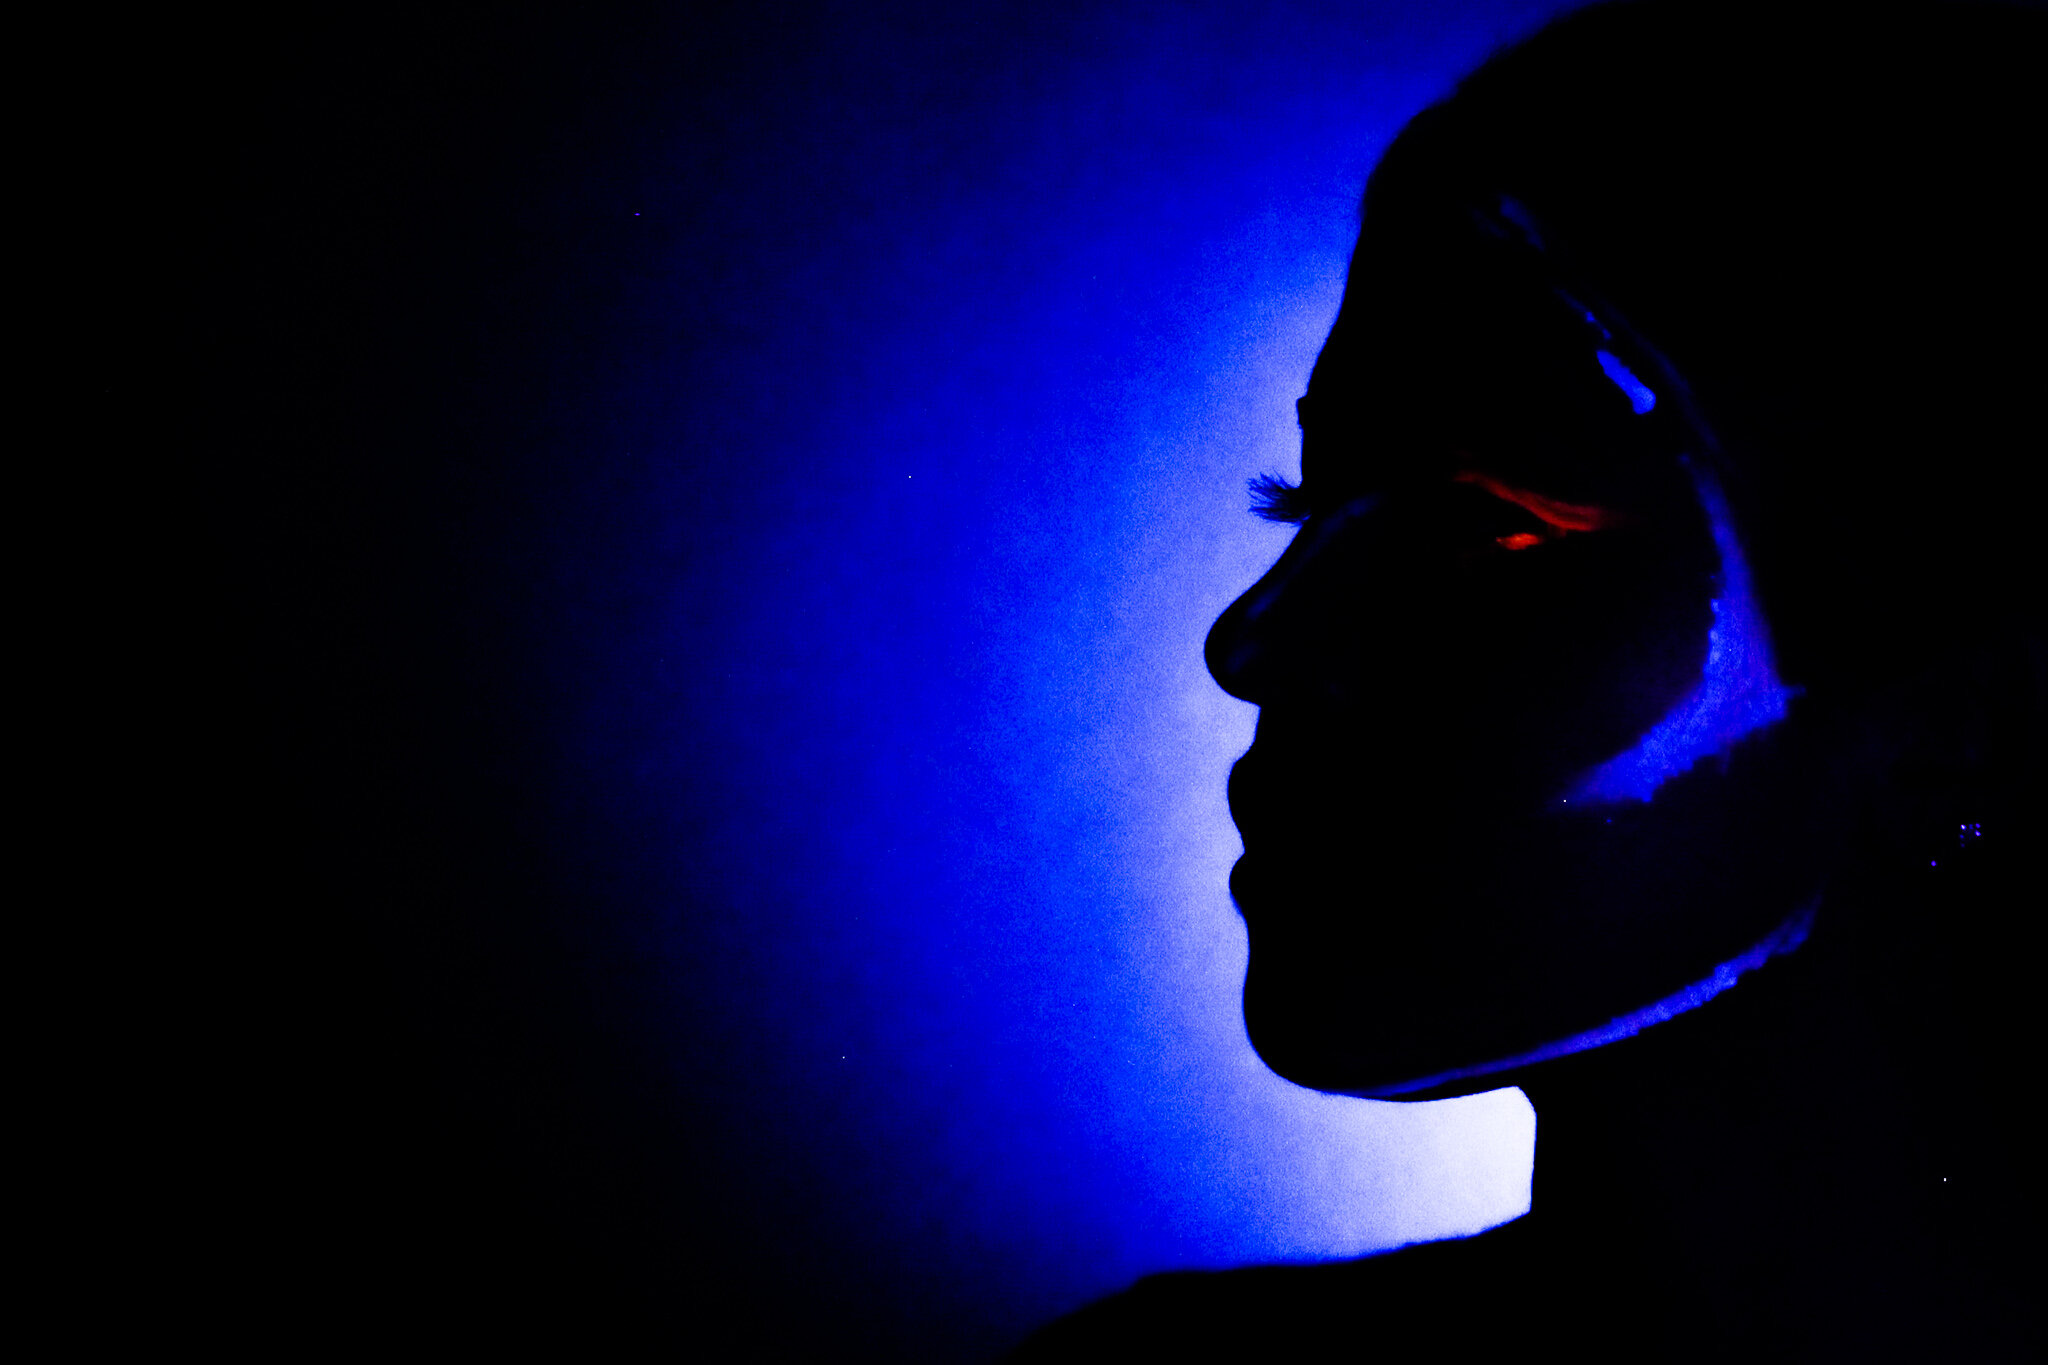
Section 1: Creating the Silhouette
Step 1: Set up the lighting and photography equipment

Step 2: Put the grid on the studio strobe and tape gel modifier of your choice over the grid.
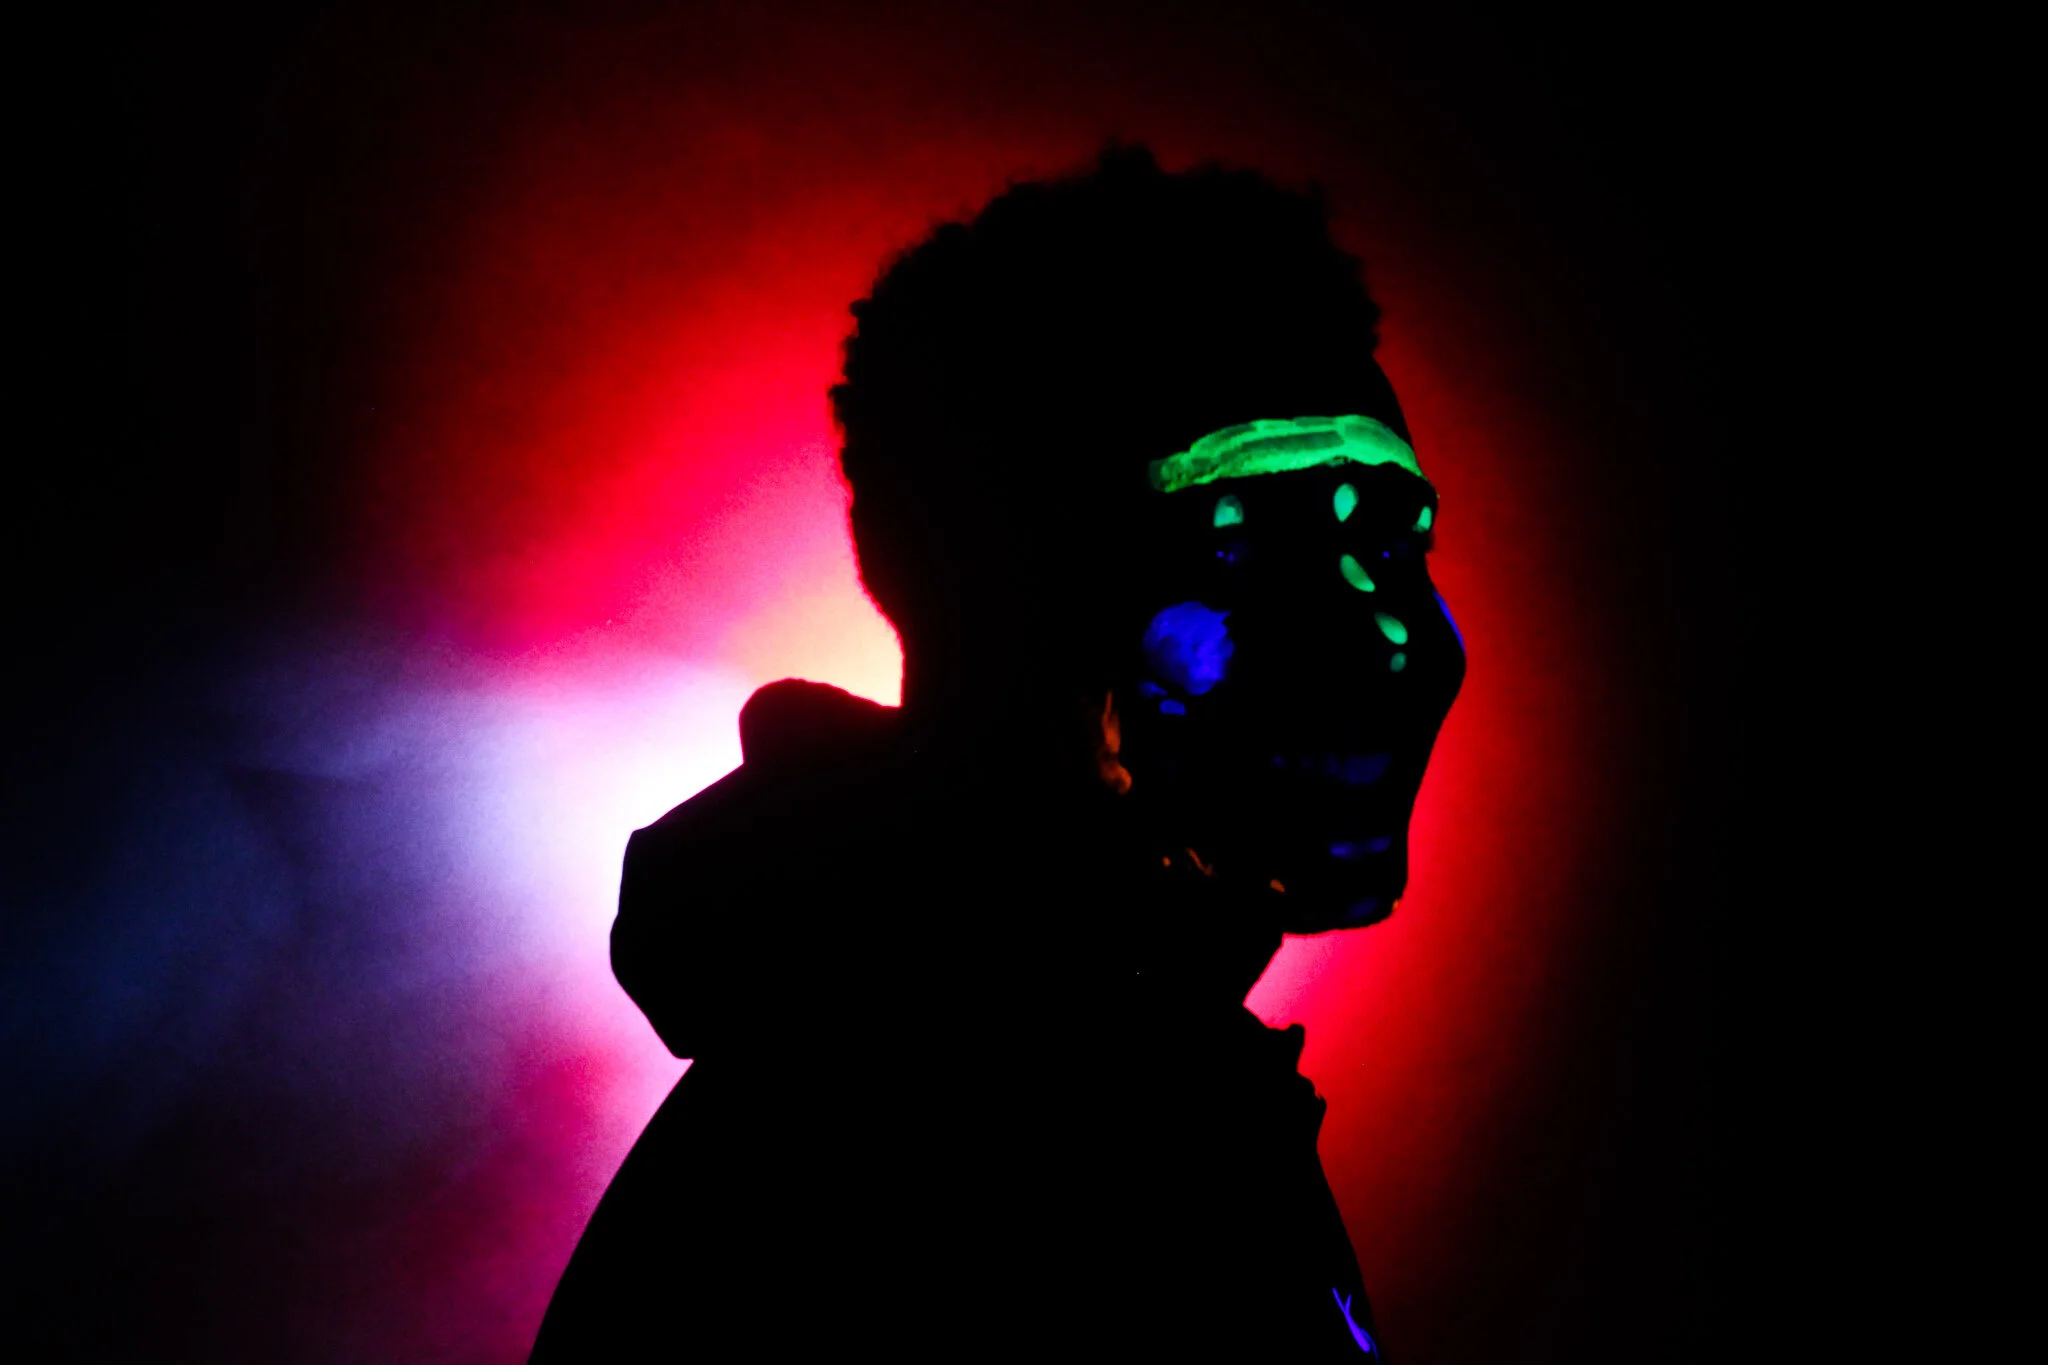
Step 3: Position the studio strobe pointed toward the background, creating a backlight. The backlight is the light behind the subject.
Step 4: Position your subject in front of the strobe, so the strobe is between the backdrop and the subject
Step 5: This will create a silhouette effect, as there is little to no light directly on the subject and is instead creating a shadow of the subject
Step 6: Make sure the light setting is between 4.5 and 6.0. These strobe settings are in relation to the camera settings mentioned below.
Tips:
Make sure the subject is covering the whole strobe when you shoot, or position the strobe lower than your subject and pointed up
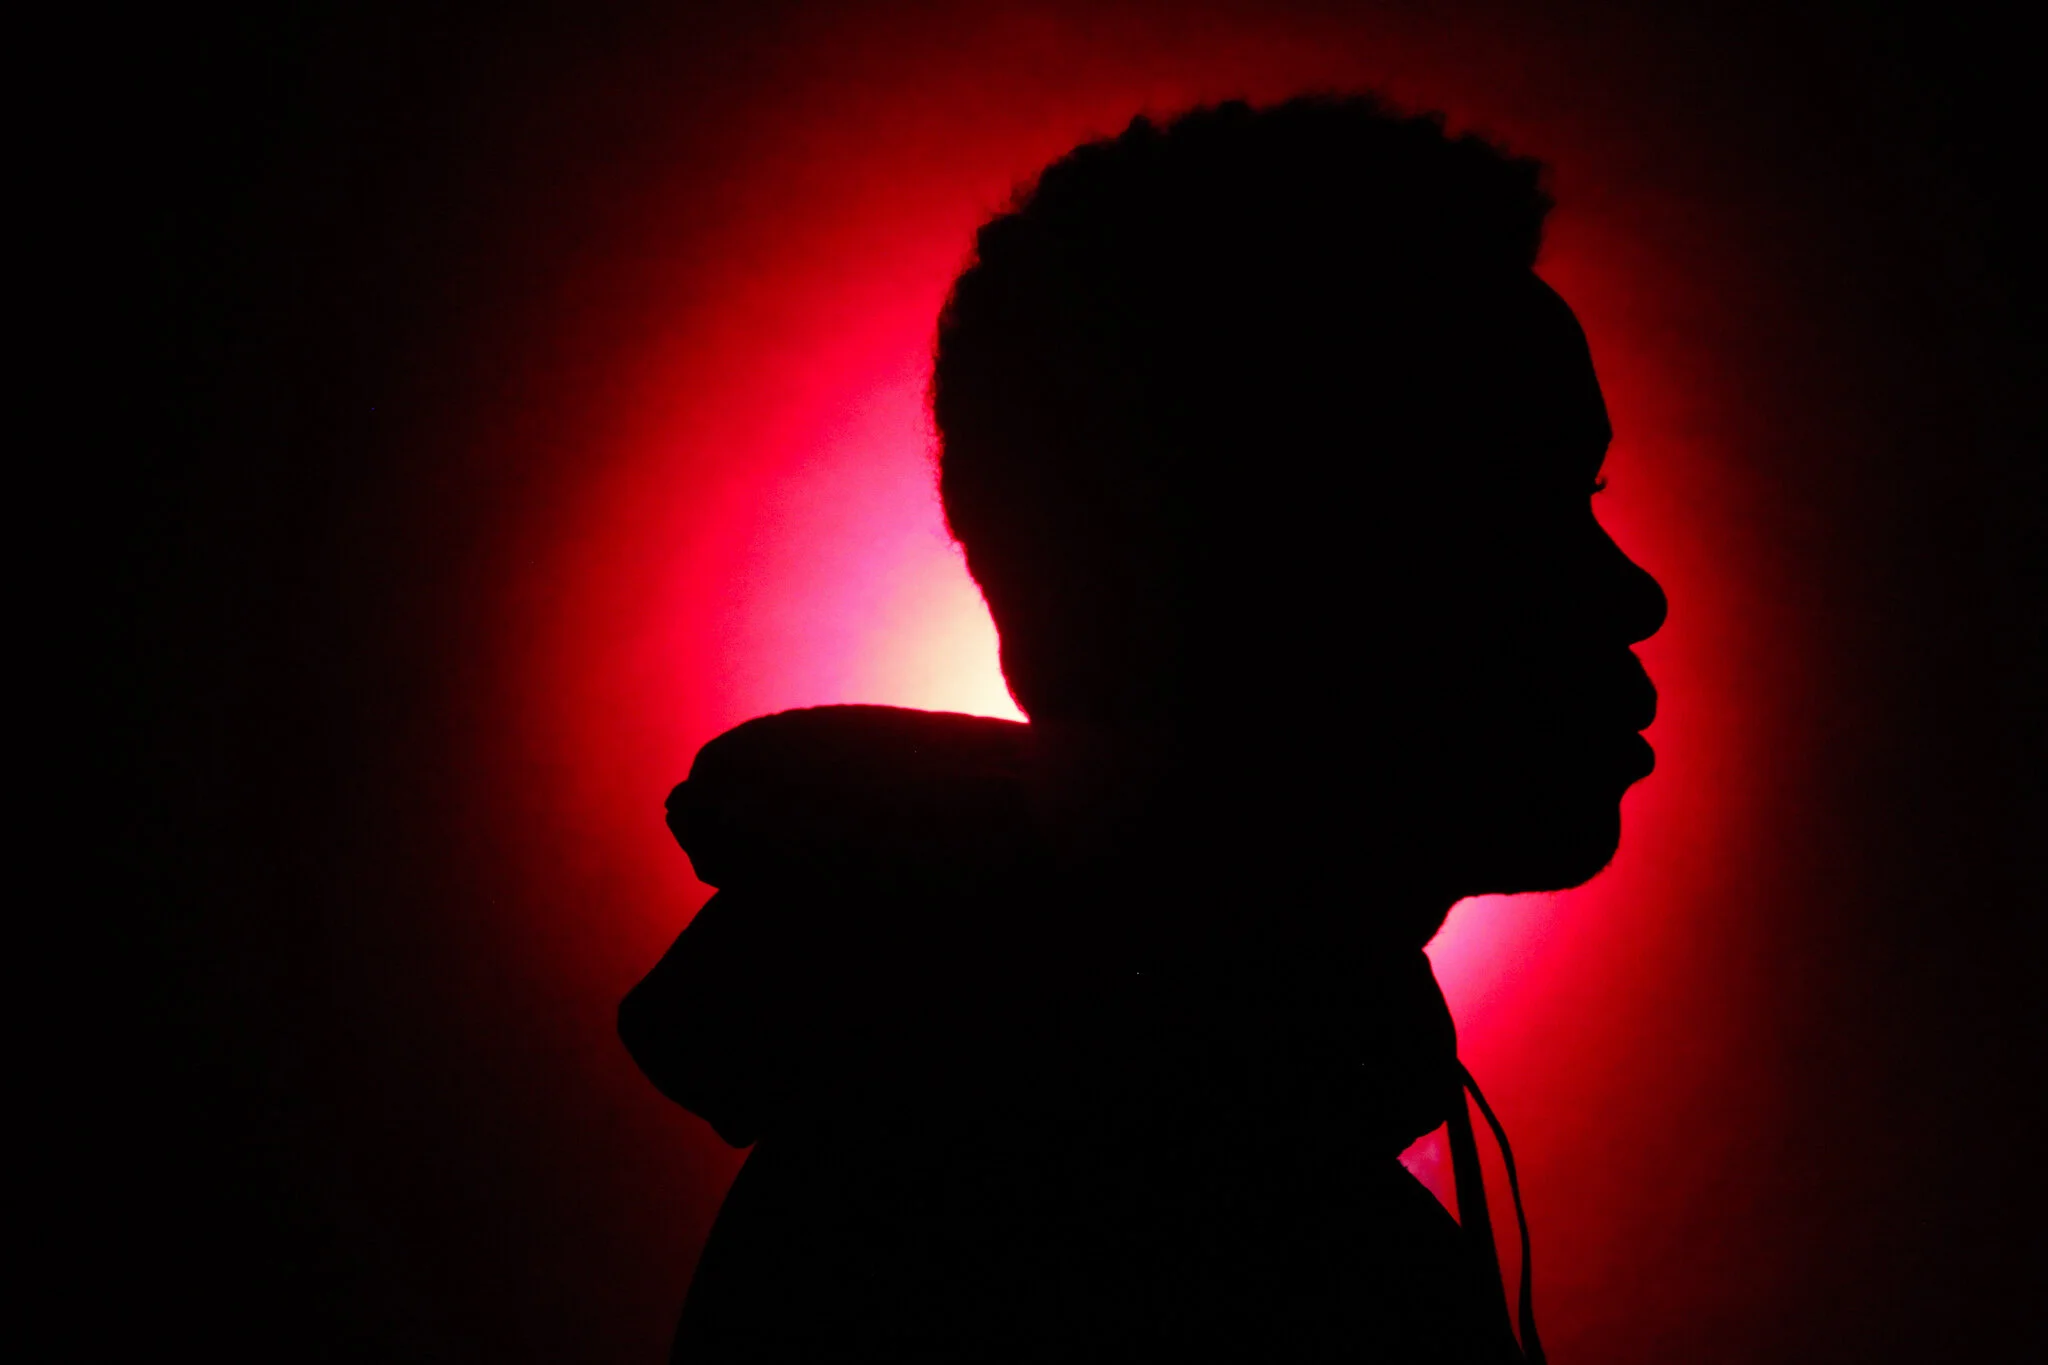
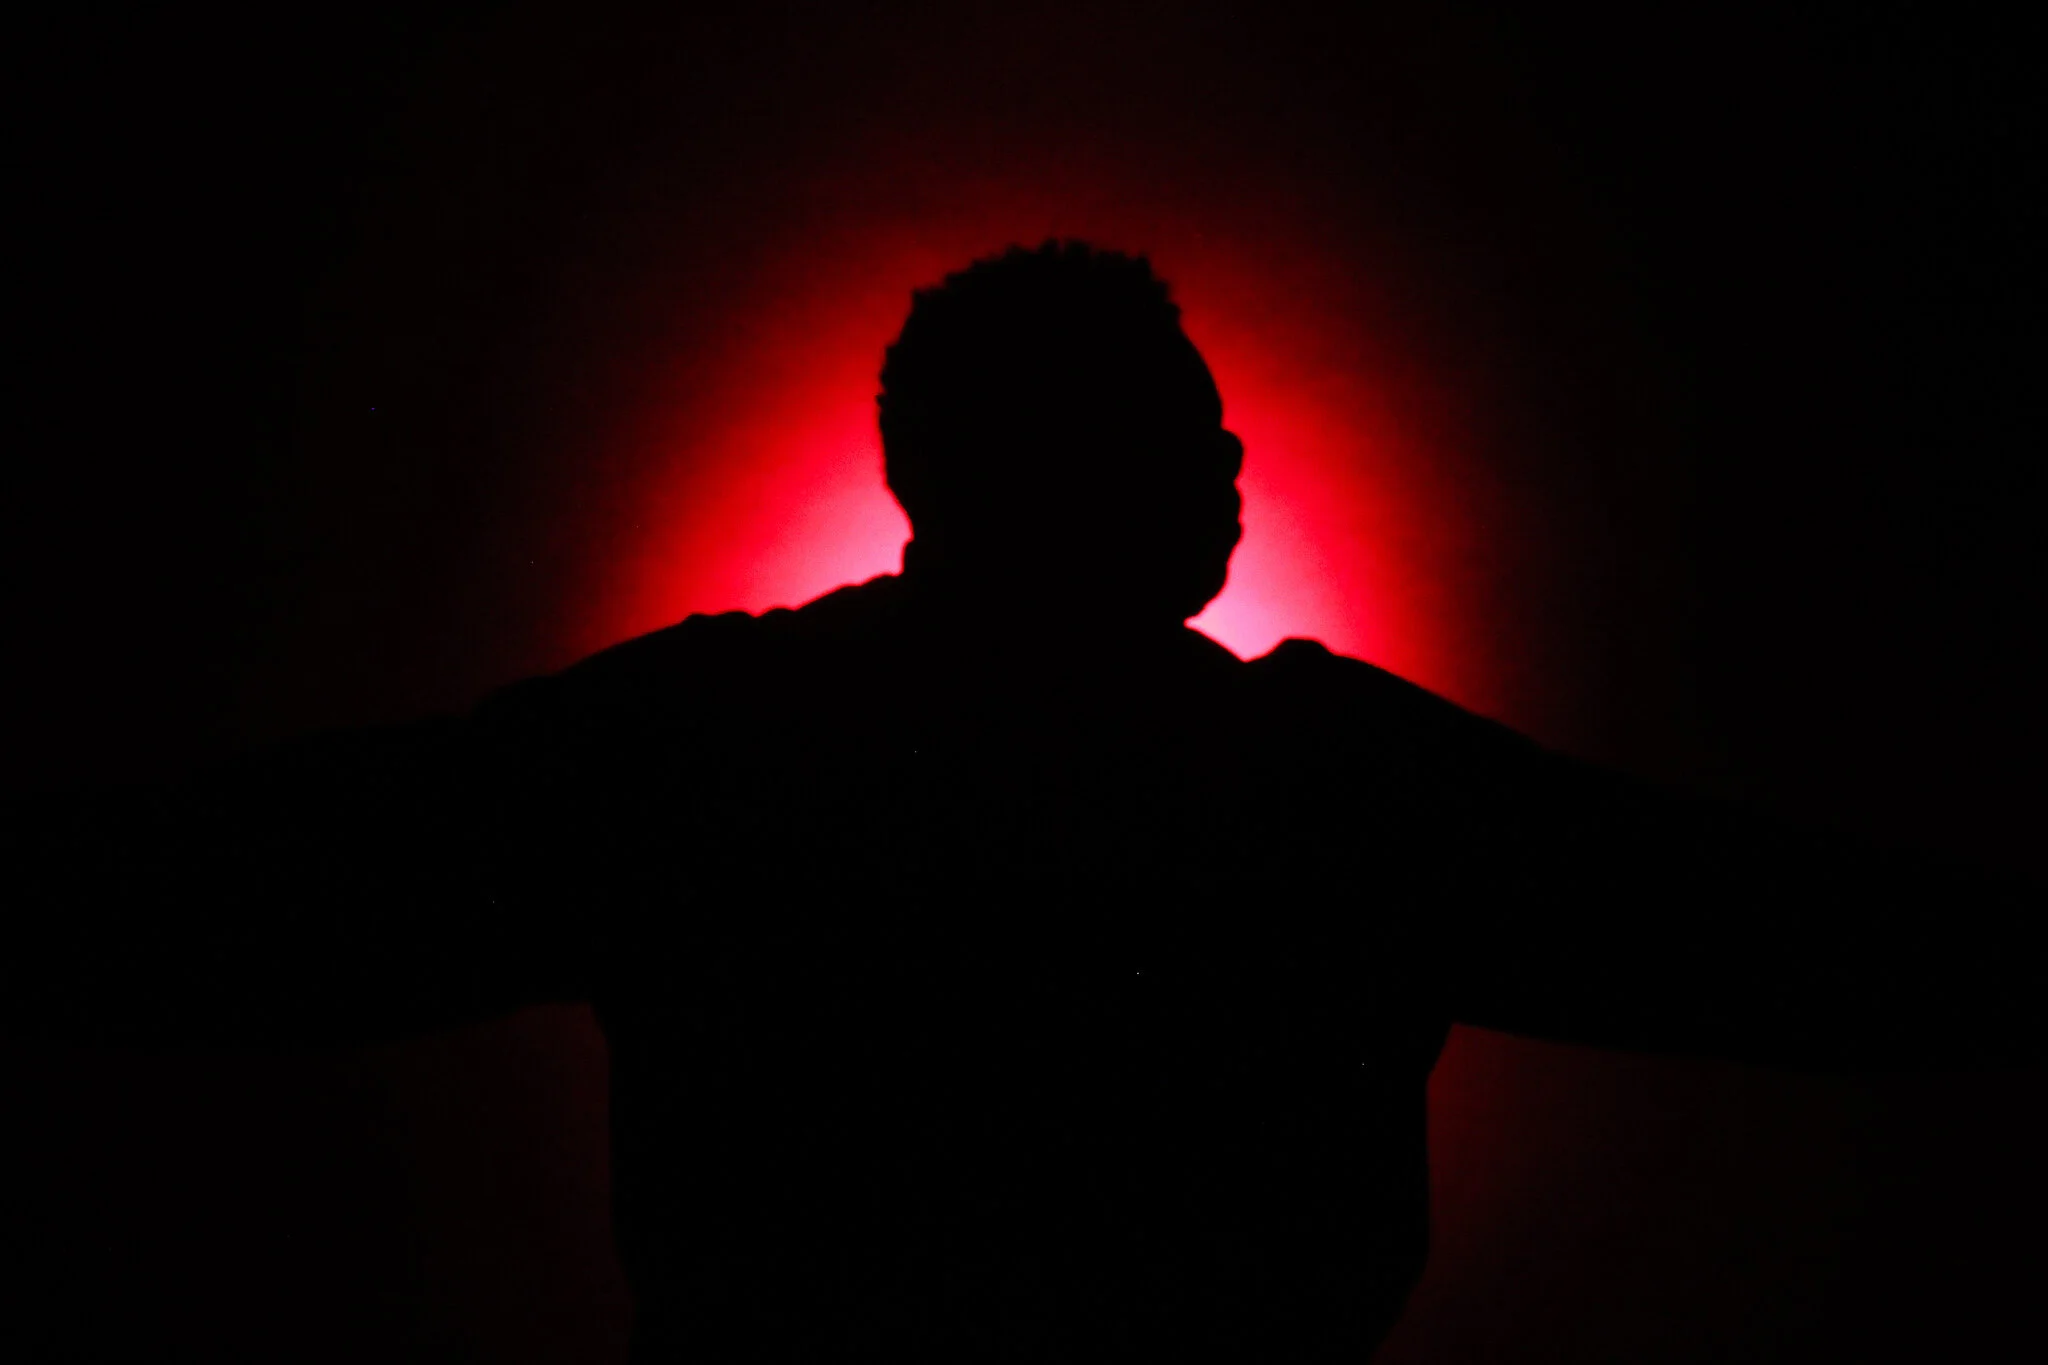
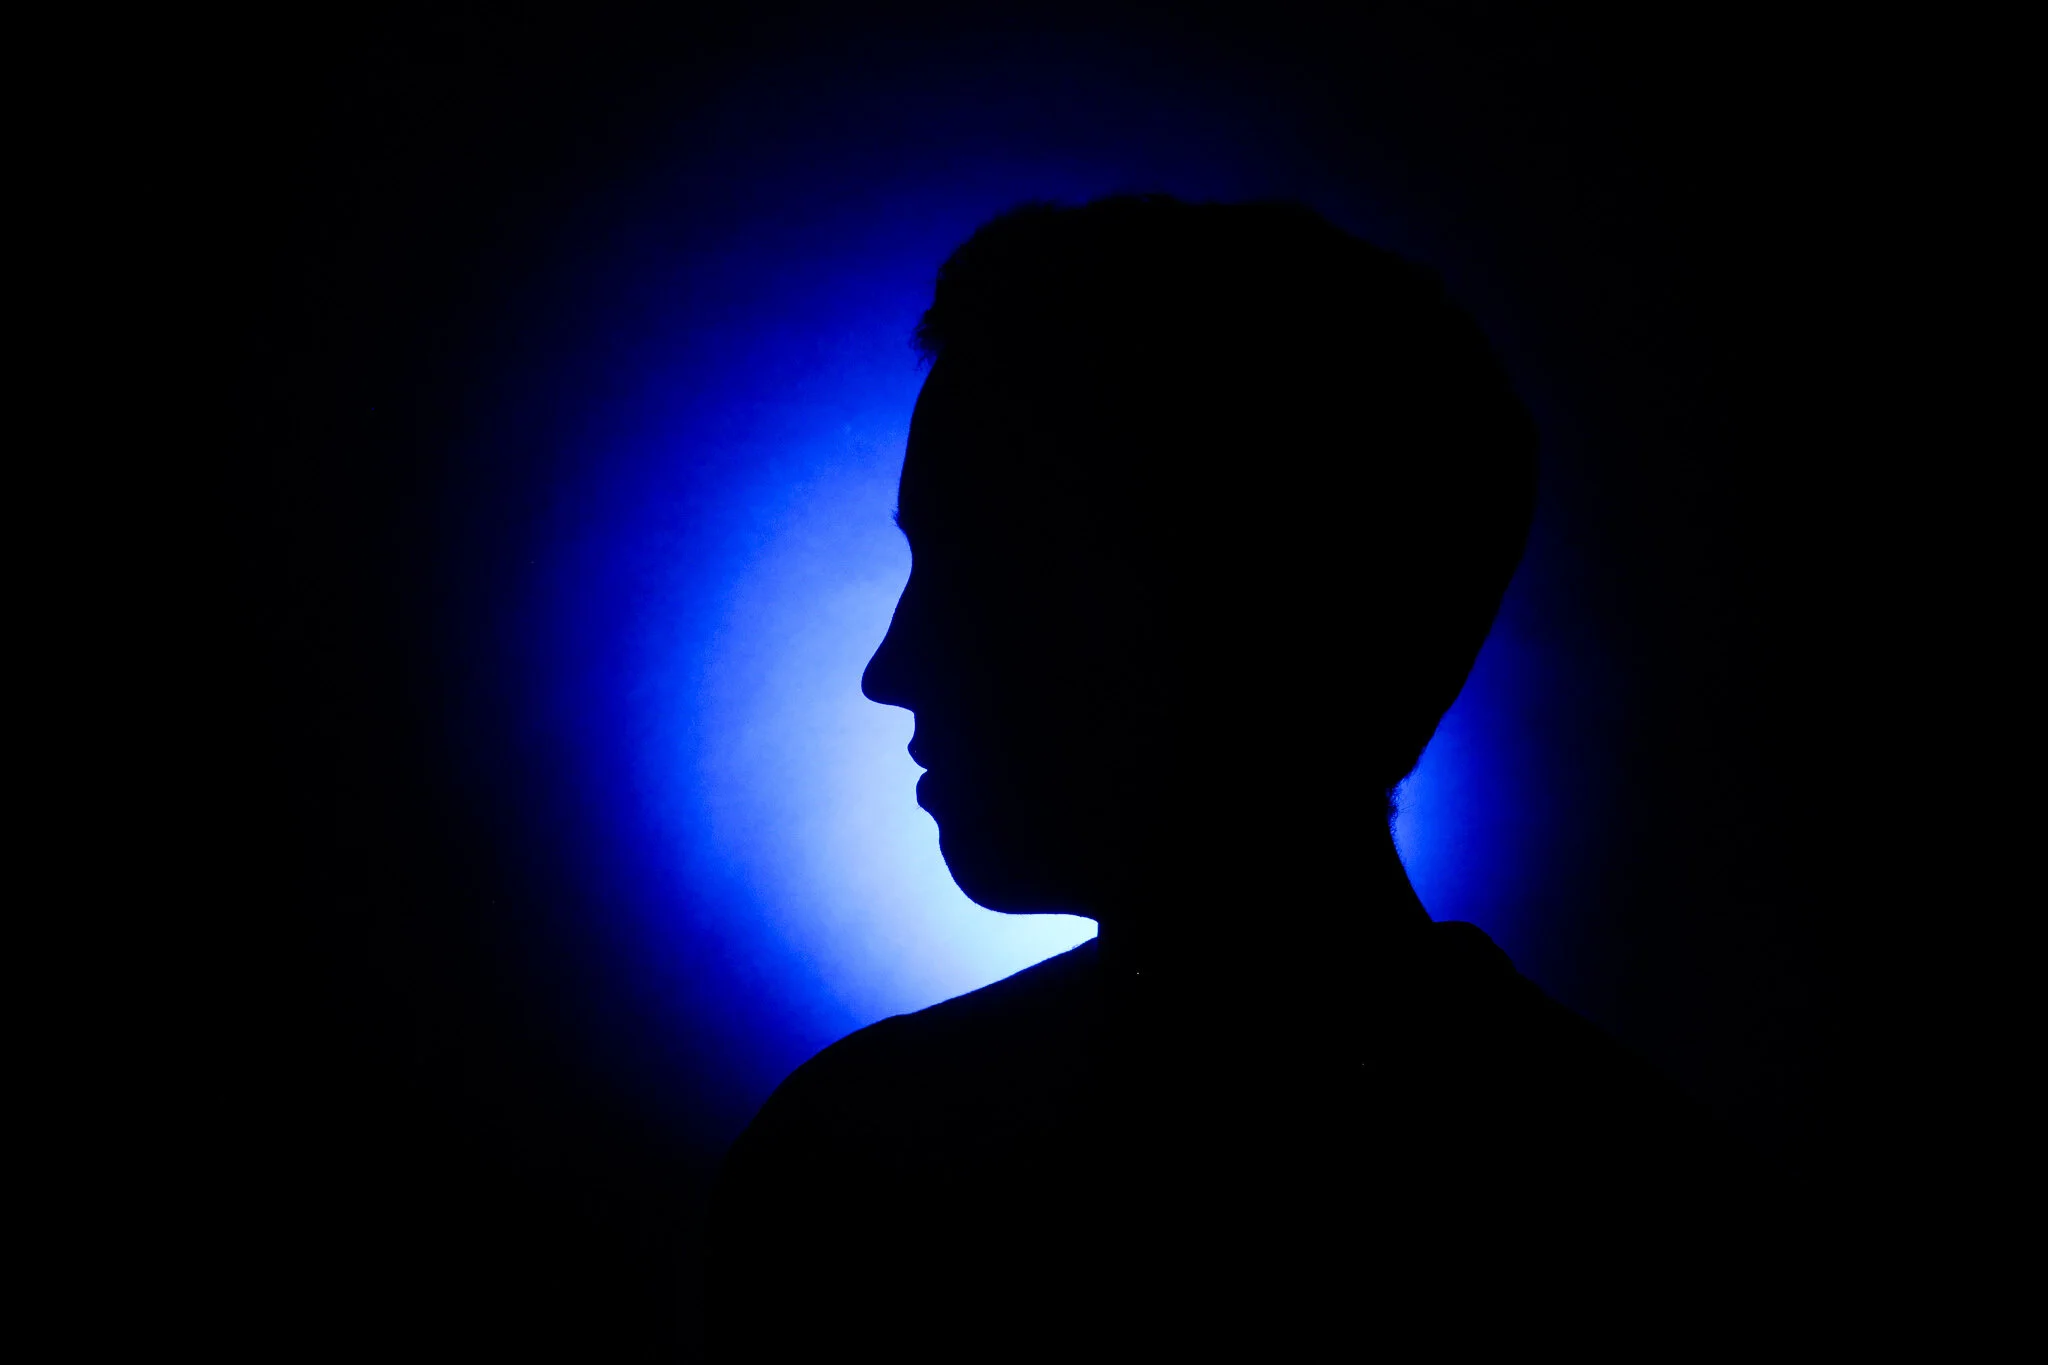
Be creative with your subject’s positions! Try profile shots and bodies in movement. Try to avoid direct head-on shots, as they do not show angles and contours.
My examples:


--
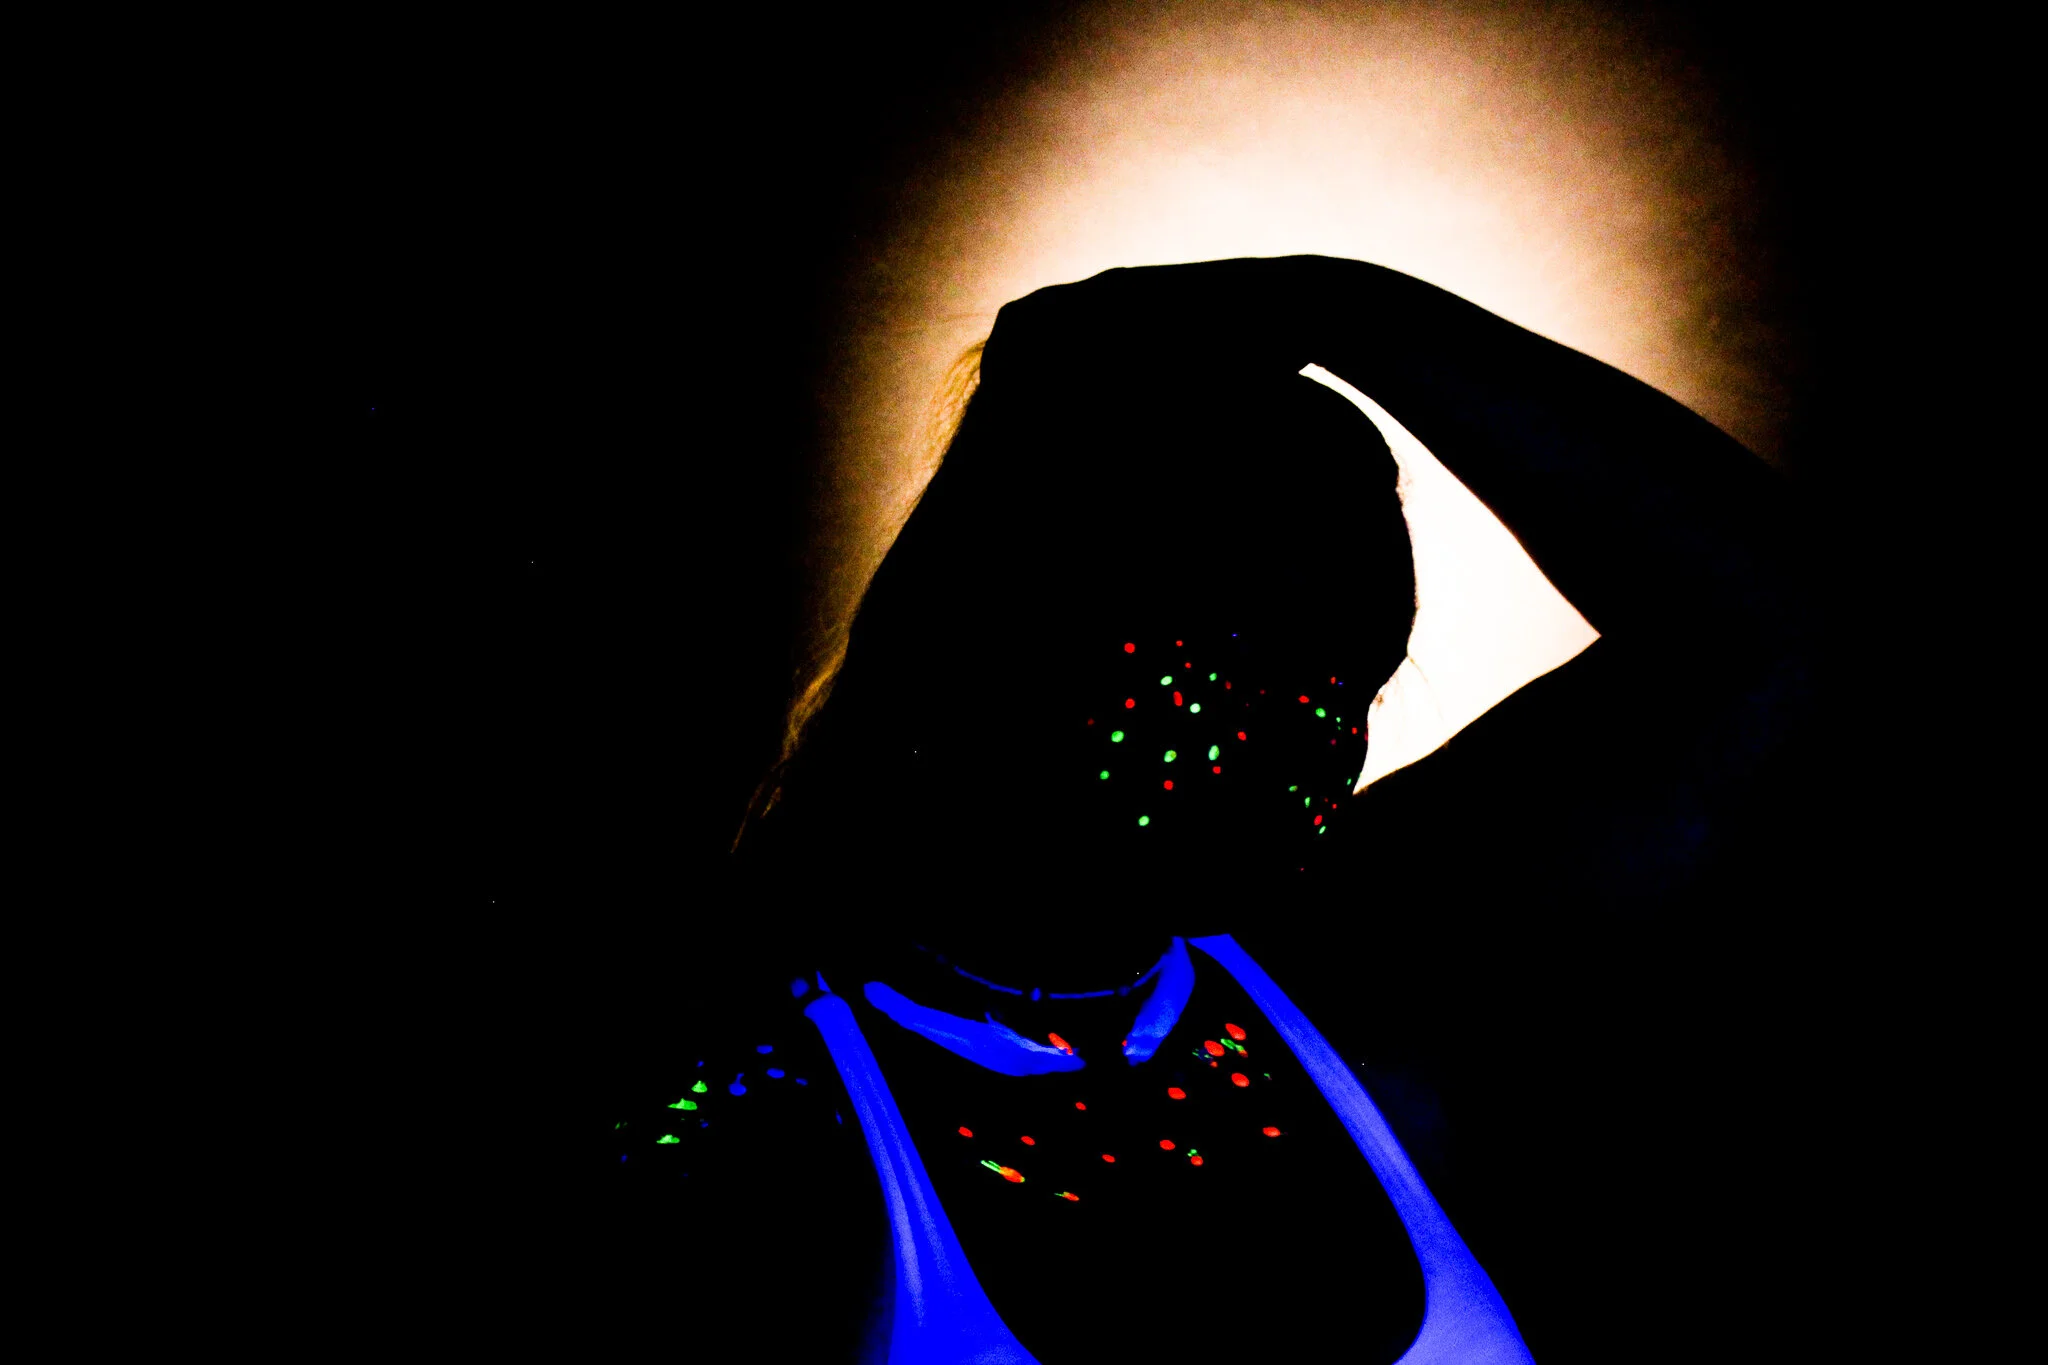
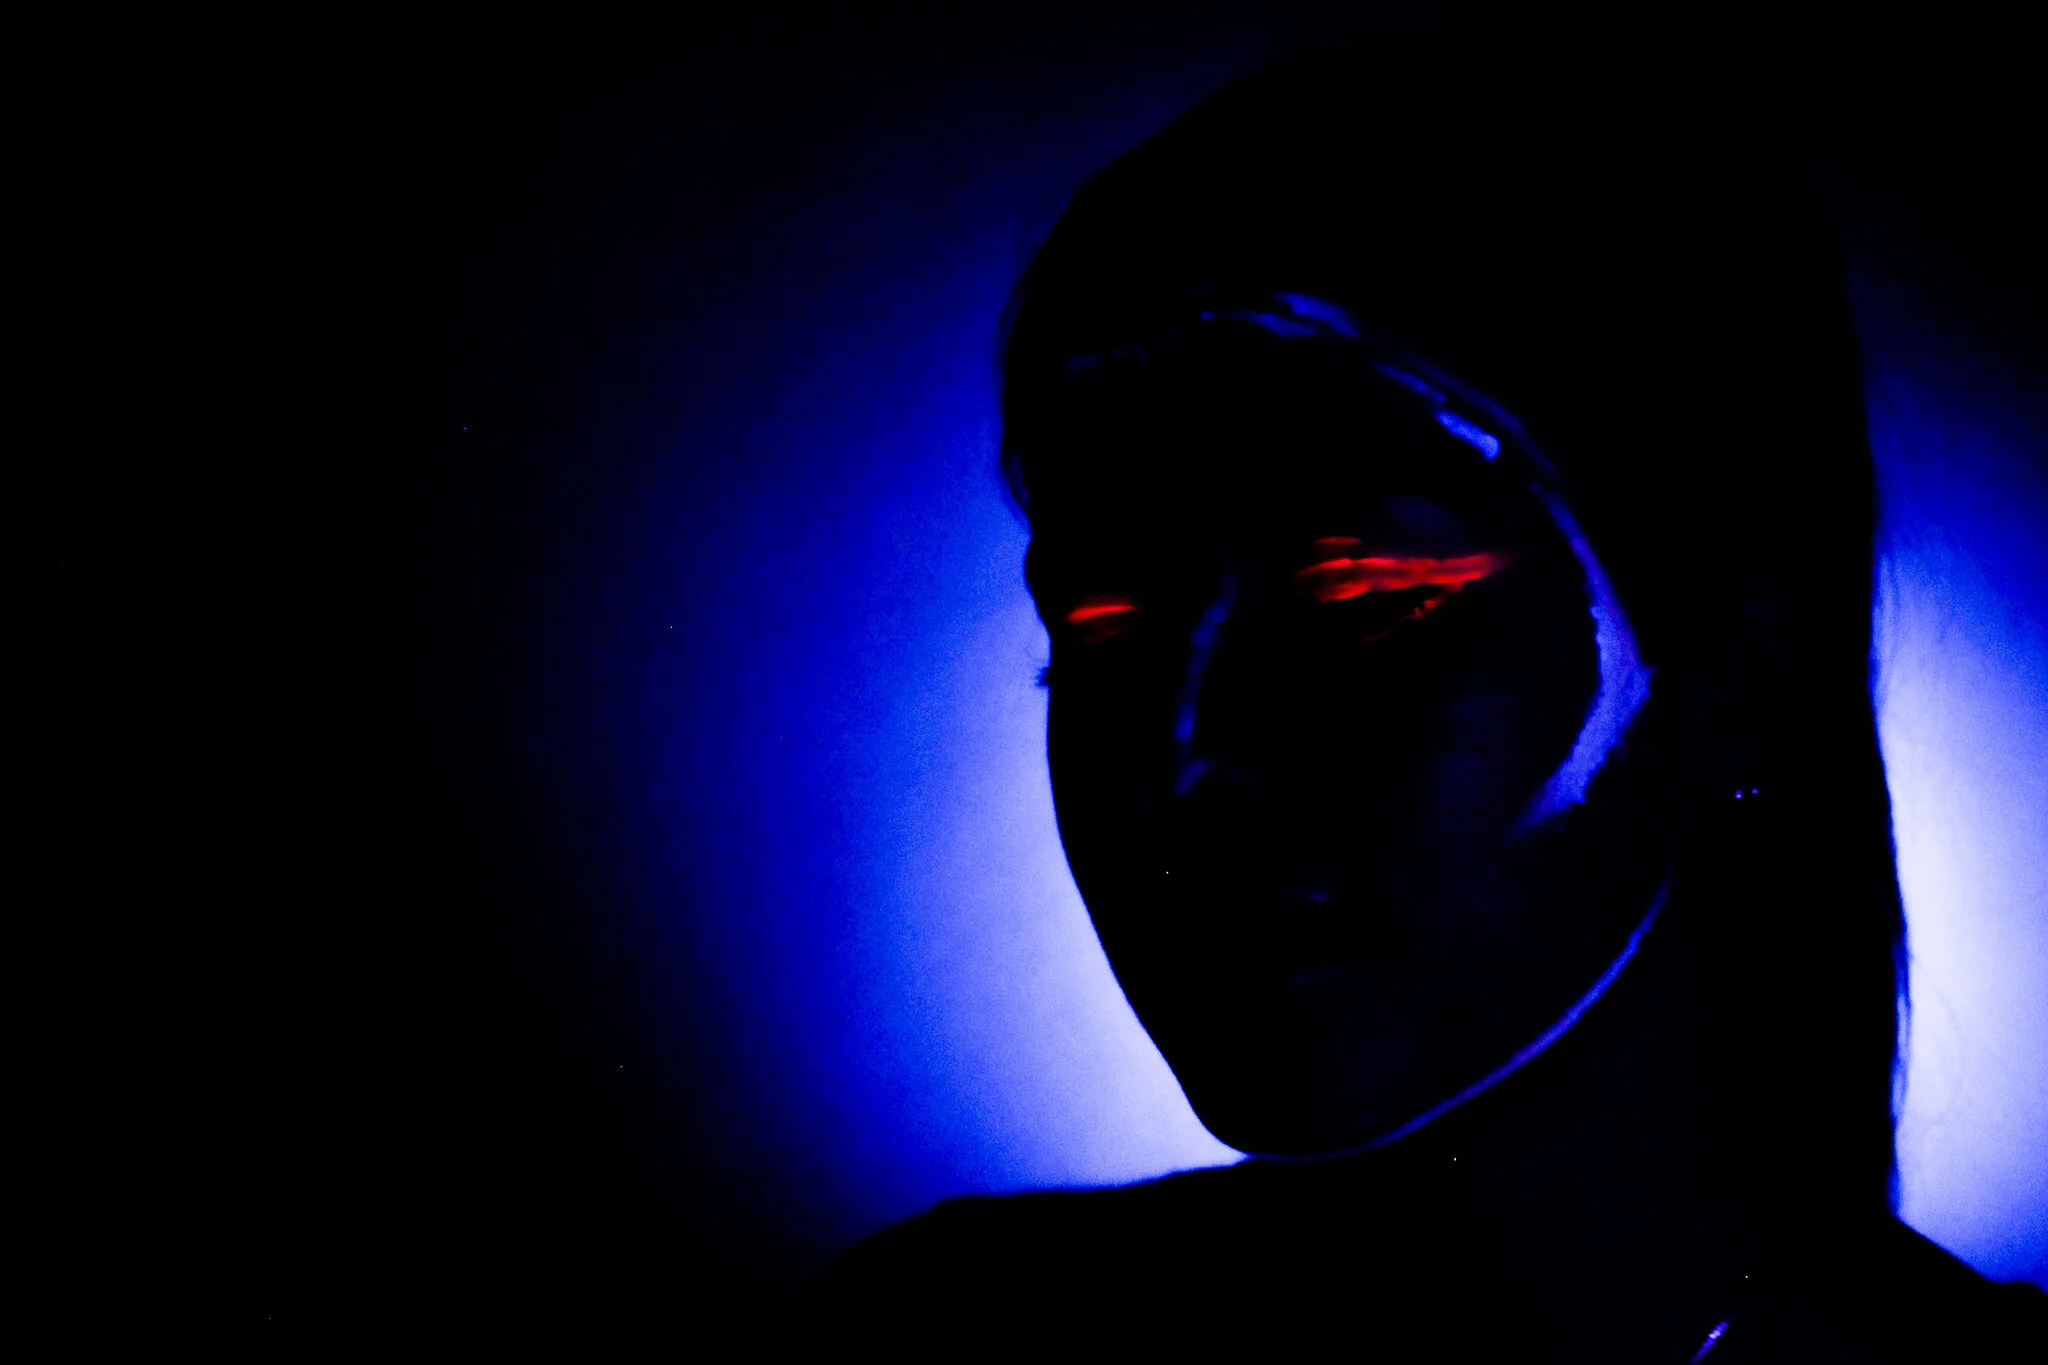
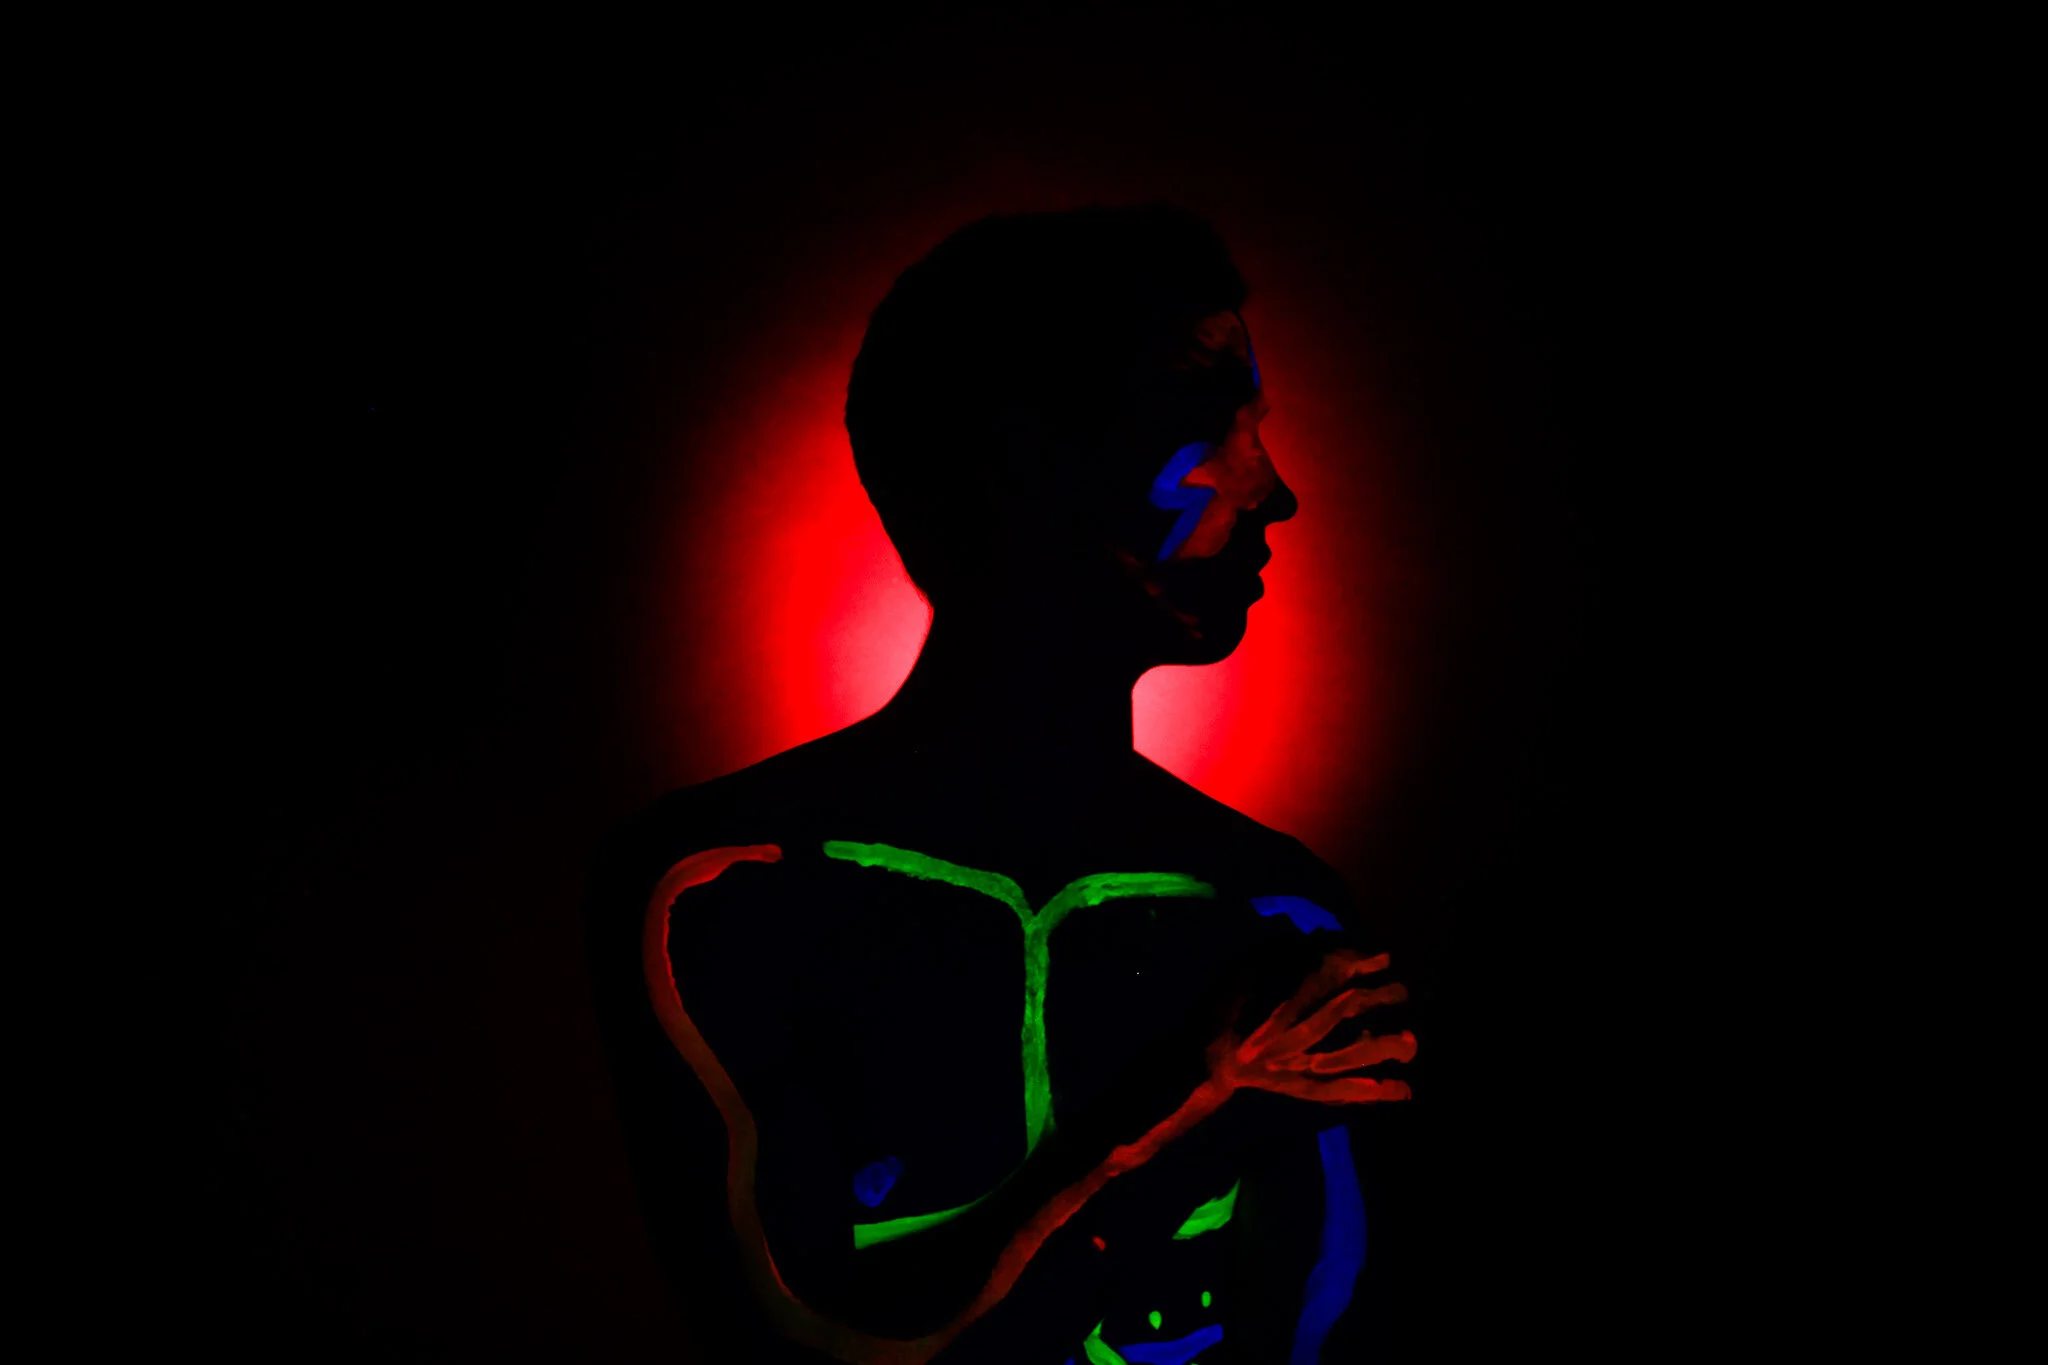
Section 2: Adding UV Paint and Light to a Silhouette
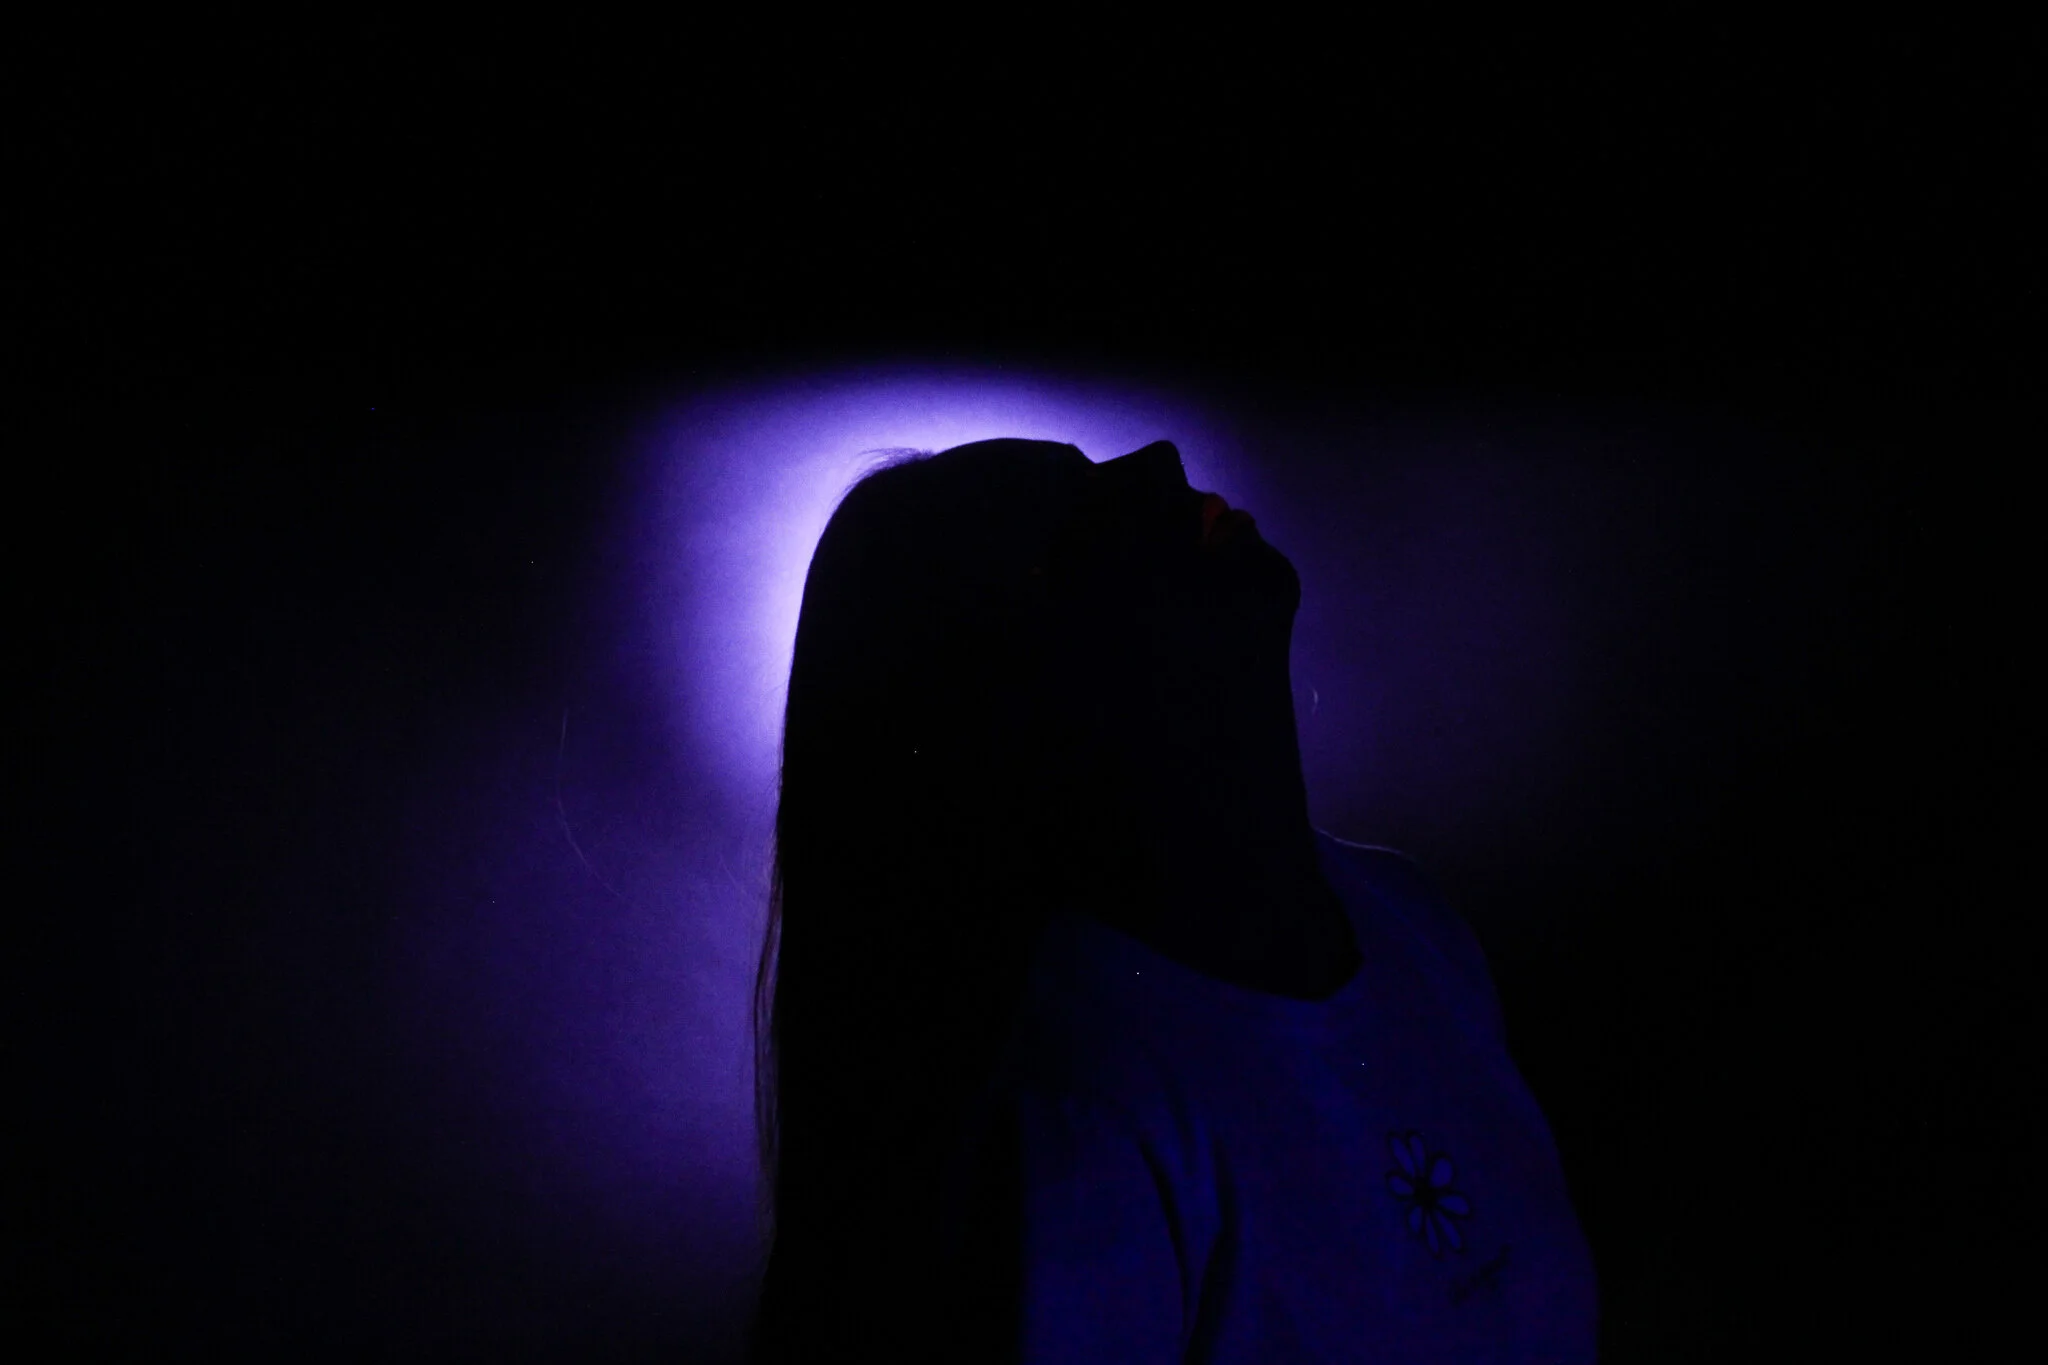
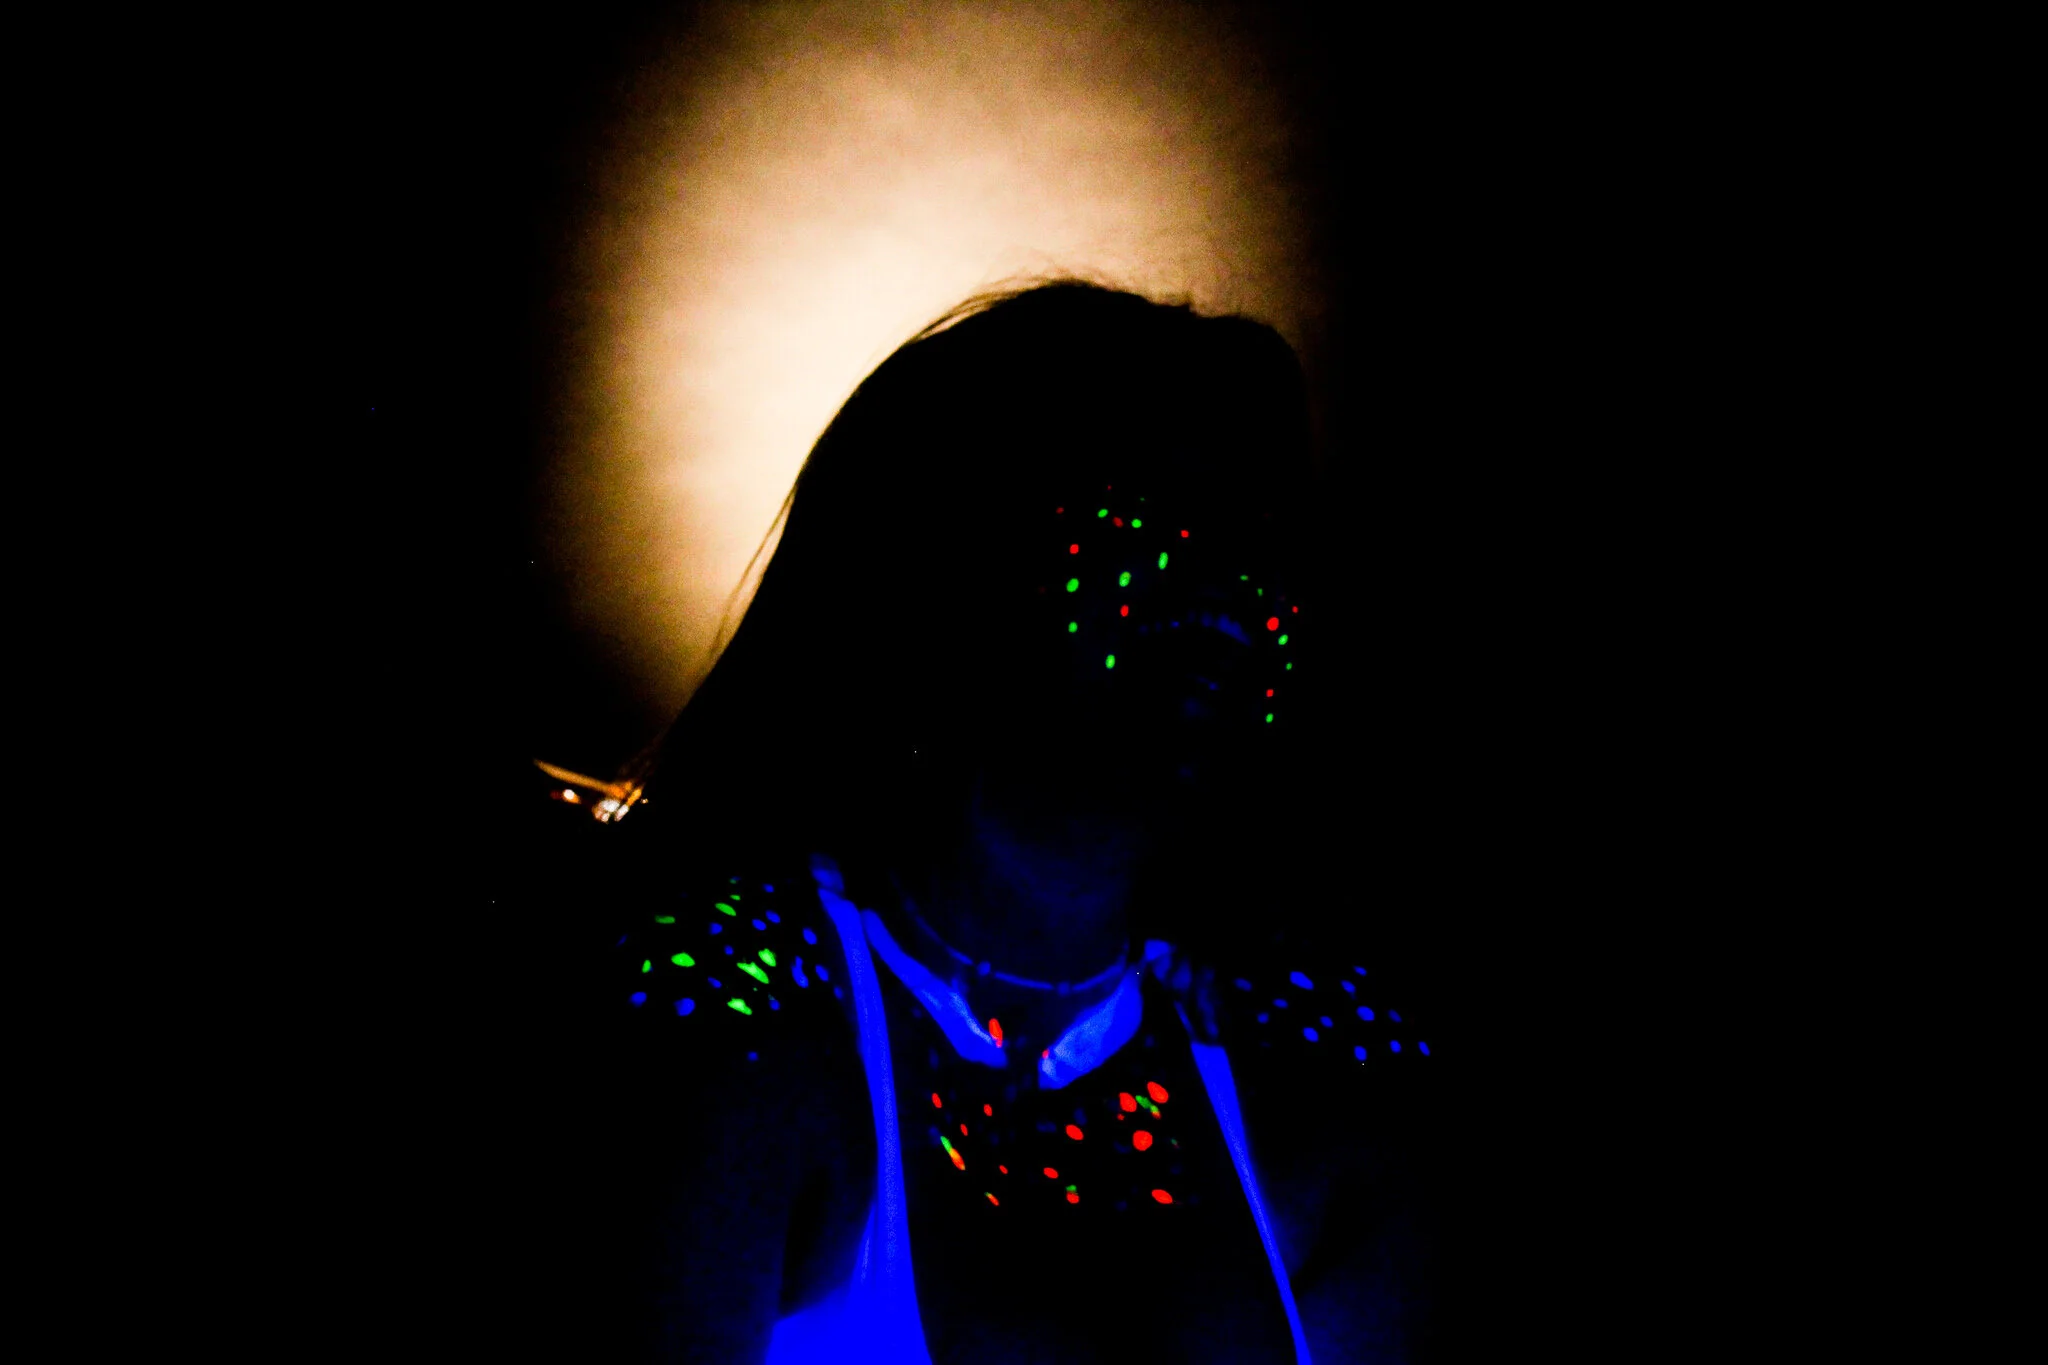
Step 1: For this section, you will need skin-safe UV reactive paint and a UV light placed in front of your subject, around 3 feet away.
Step 2: Apply the UV paint to the subject’s face and/or body. Your pain designs may include highlighting the contours of your subject or creating your own designs.
Step 3: Turn on the UV light and point it at the subject to illuminate the UV paint designs.
Step 4: Adjust your camera settings (see Camera Settings section) and shoot!
Tips:
Make sure your UV light is 3 or more feet away from your subject to avoid picking up natural lights that may disrupt the silhouette effect
Center your subject in the middle of the backlight to capture the full silhouette
Apply thick layers of paint in order to create clear designs on the camera.
Make sure to vary your angles to create interesting images
My examples:


Camera/ Studio Strobe Settings:
Throughout the duration of the shoot, I kept the studio strobe’s setting between 4.5-6.5. It was important to keep it low in order to accentuate the subject against the backlight.
My camera settings were as follows:

for this image:


for this image:

Note: the shutter speed is critical in allowing light in a silhouette shot. In order to capture clear, dark, photo without interfering light, keep your shutter speed between 1/60 and 1/100. Most of my pictures in this shoot were 1/80.
My ISO also varied between 800 and 1600, depending on the gel color of the background. Colors like red and yellow normally were a lot brighter than purples and blues, therefore requiring lower ISOs
Outtakes:
During my shoot, I experimented with the concept and produced photos that were not always on point with the tutorial topic. Here are the photos that lead to the final products.

In this photo, the UV light was too close to the subject, which illuminated natural highlights of the skin and lost the silhouette effect.

The backlight was not pointed in the right direction. Ideally, the backlight would have been directly behind her head, to show the contours of her face. Here, the misplaced backlight did not appropriately illuminate the subject.