
Blair Academy Photography
By Sofia Kasparik ‘21


Materials
Camera
Mirror
PicsArt
Lightroom
Model(s)
Good/Clean Background (preferably a background without buildings or other interruptions)
Tutorial Steps
Make sure to set your camera settings according to the sun - I put my camera on Av
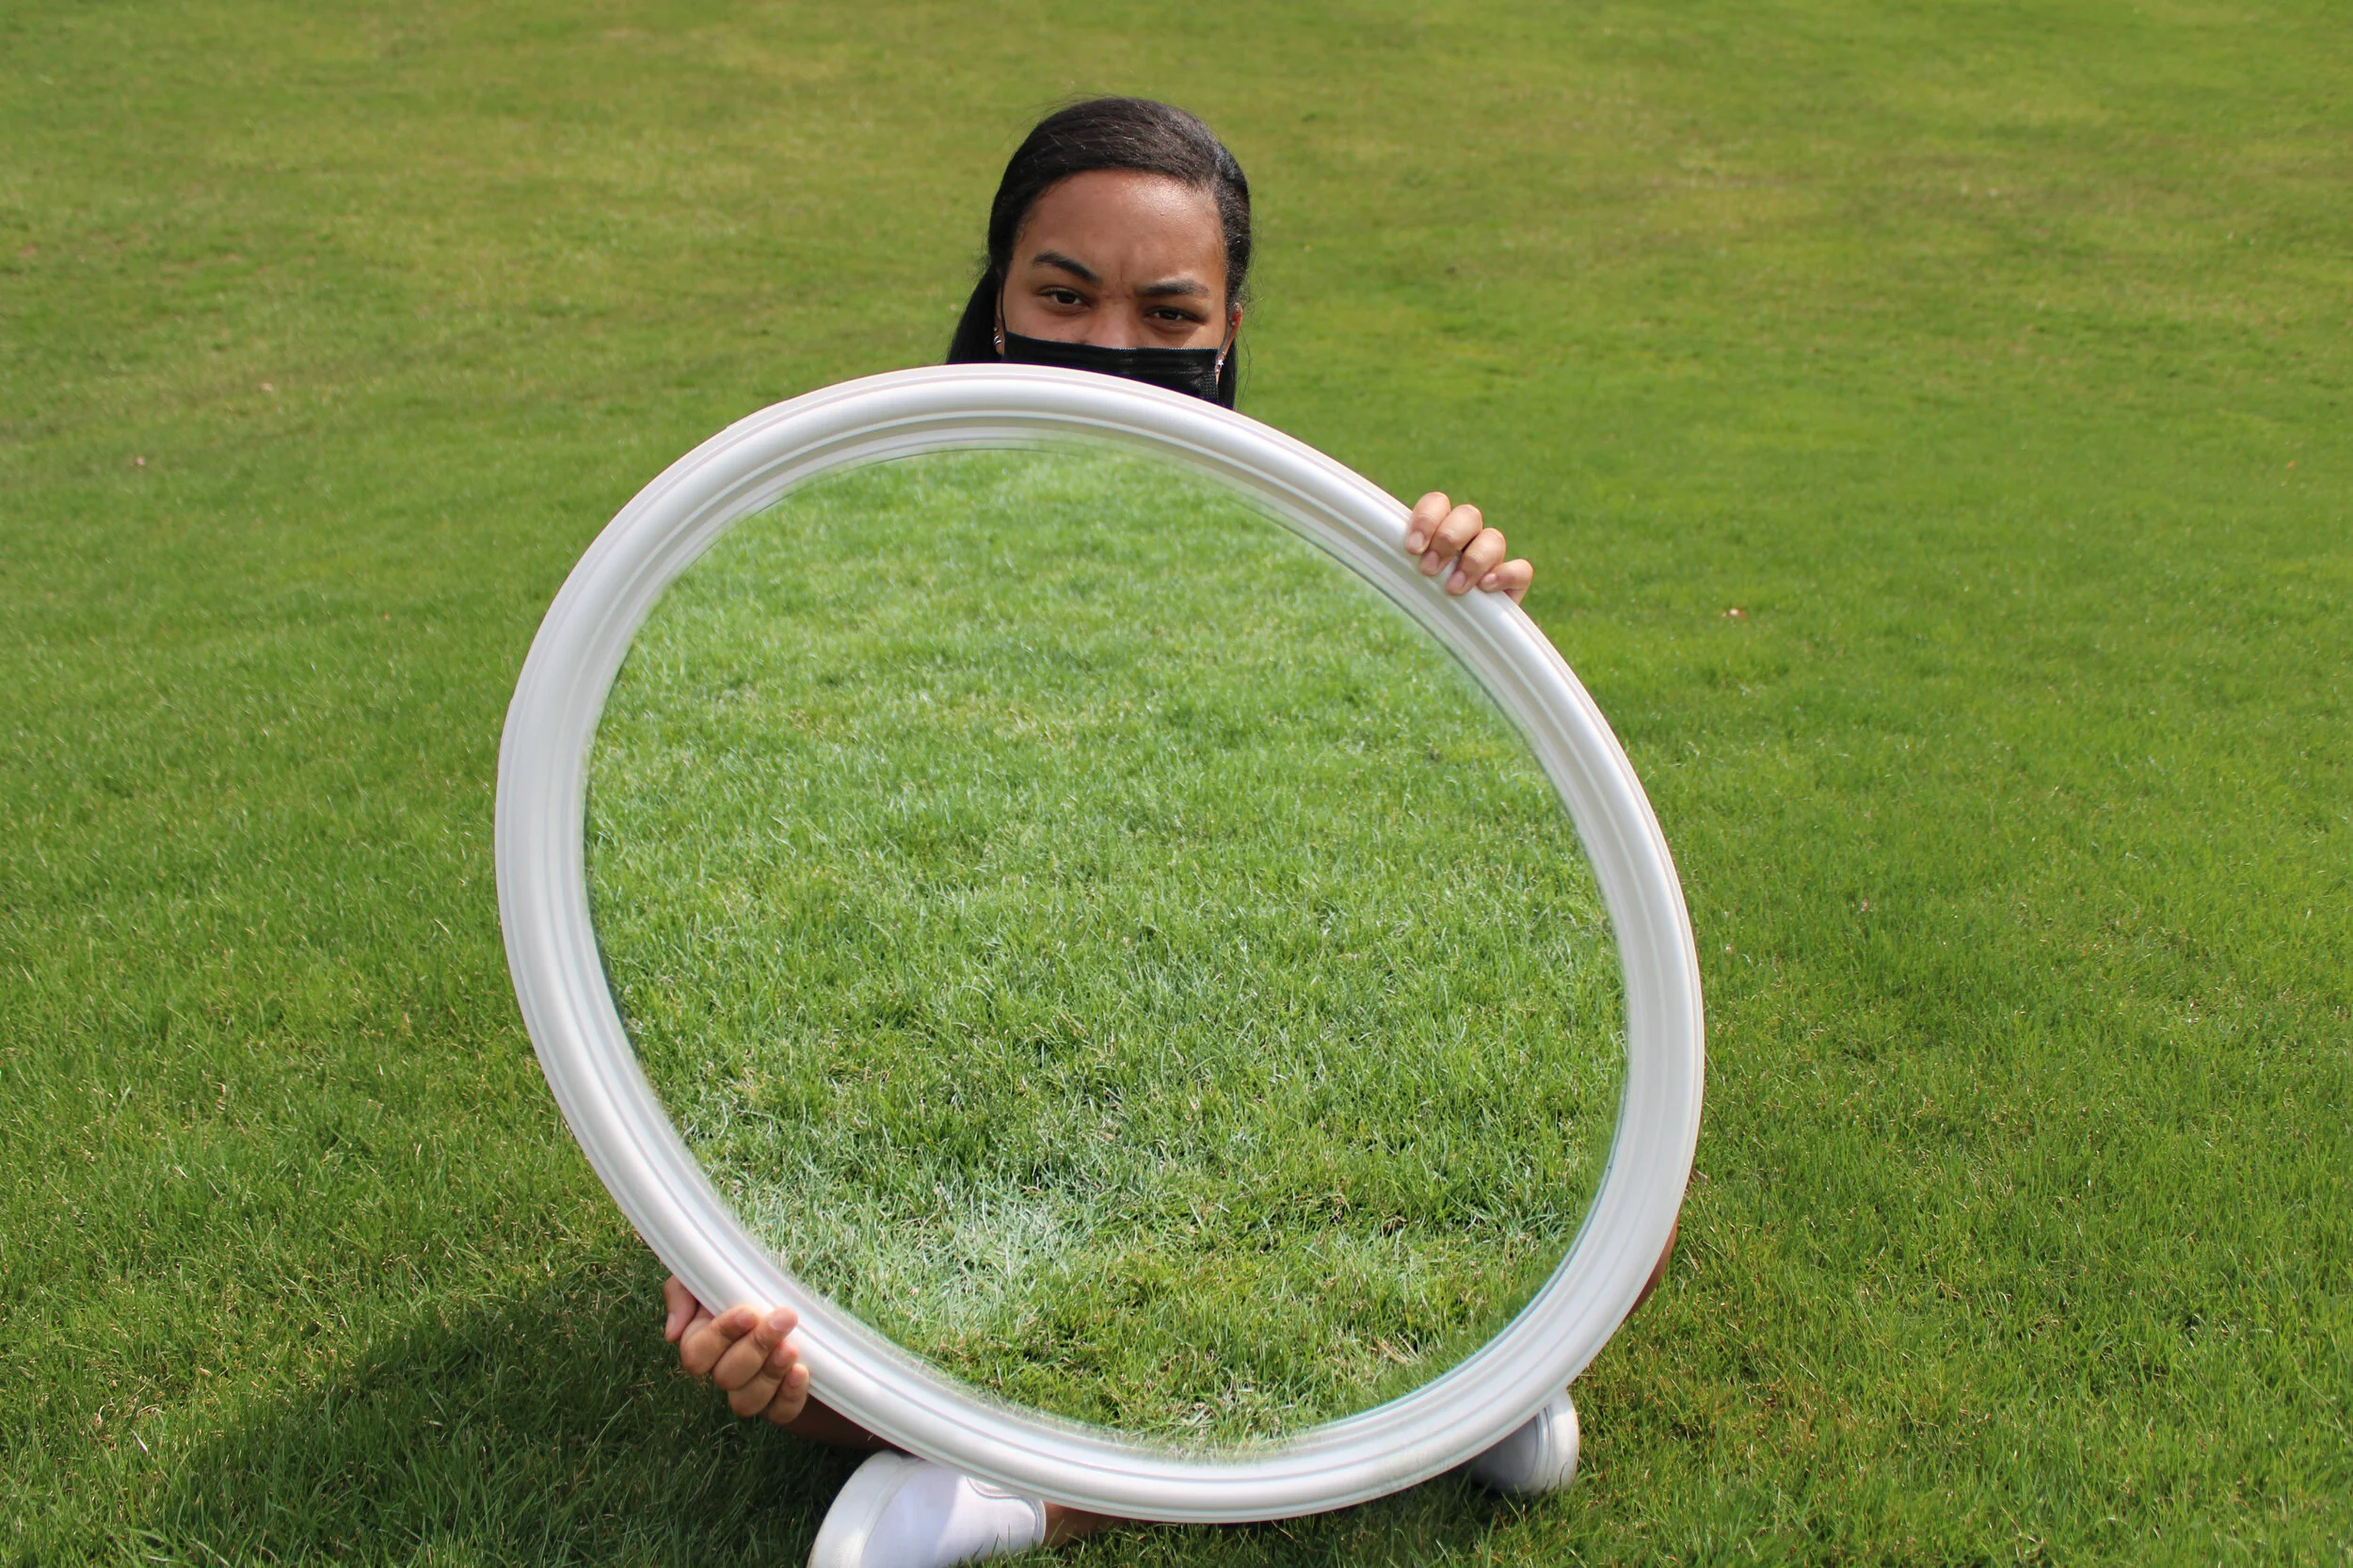
Have your model hold the mirror in a way that covers most of their body
Use autofocus instead of manual to make sure the background in both photos line up
Take one picture with the model in the picture holding the mirror
Next, have the model move out of the frame with the mirror, making sure to keep your camera in the same position
Repeat steps 2-5 having the model in different poses so that you have a wide variety to choose from
Use PicsArt to edit the photos

8. Click the add photo icon

9. Add the background photo over the photo of the model and make sure the images line up
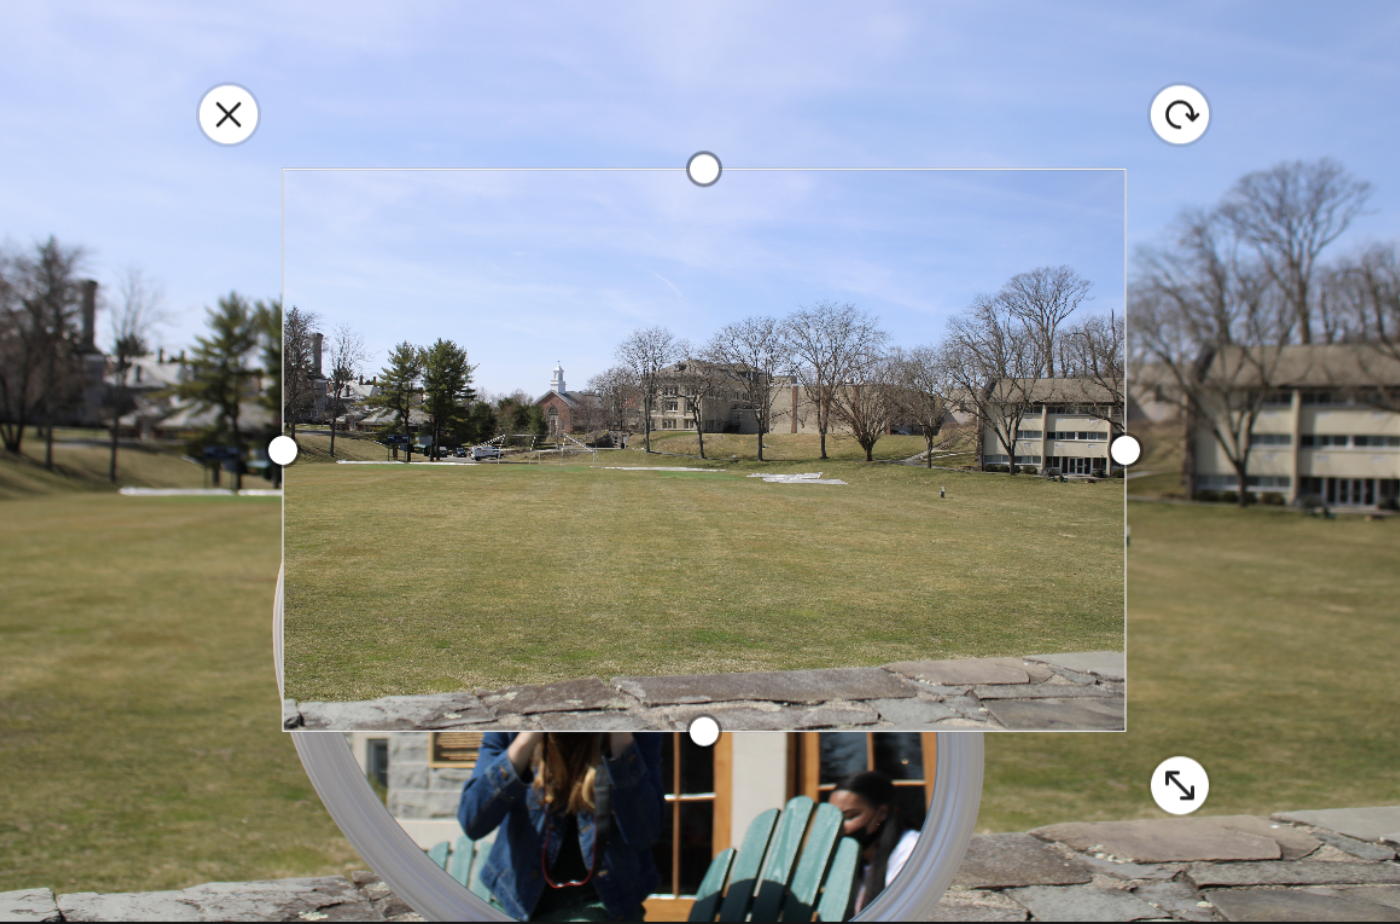
10. Turn the opacity all the way up
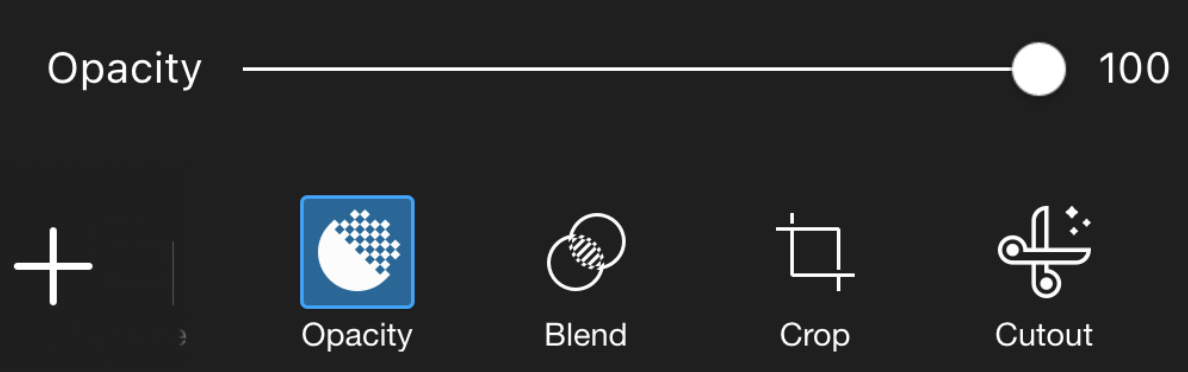
11. Use the erase tool over the entire image

12. Use the restore tool over the mirror but keep the frame of the mirror - zoom in to make it easier and more precise

13. Save the image
14. Finally, edit the photo in Lightroom (exposure/contrast/shadows/etc.)