
Blair Academy Photography
By: Chelsea Thatcher

MATERIALS:
~Leaf ~Negative Photograph ~Pictorico Transparent Paper 8.5” by 11”~Glass Frame ~Sunlight~PhotoshopSTEPS:
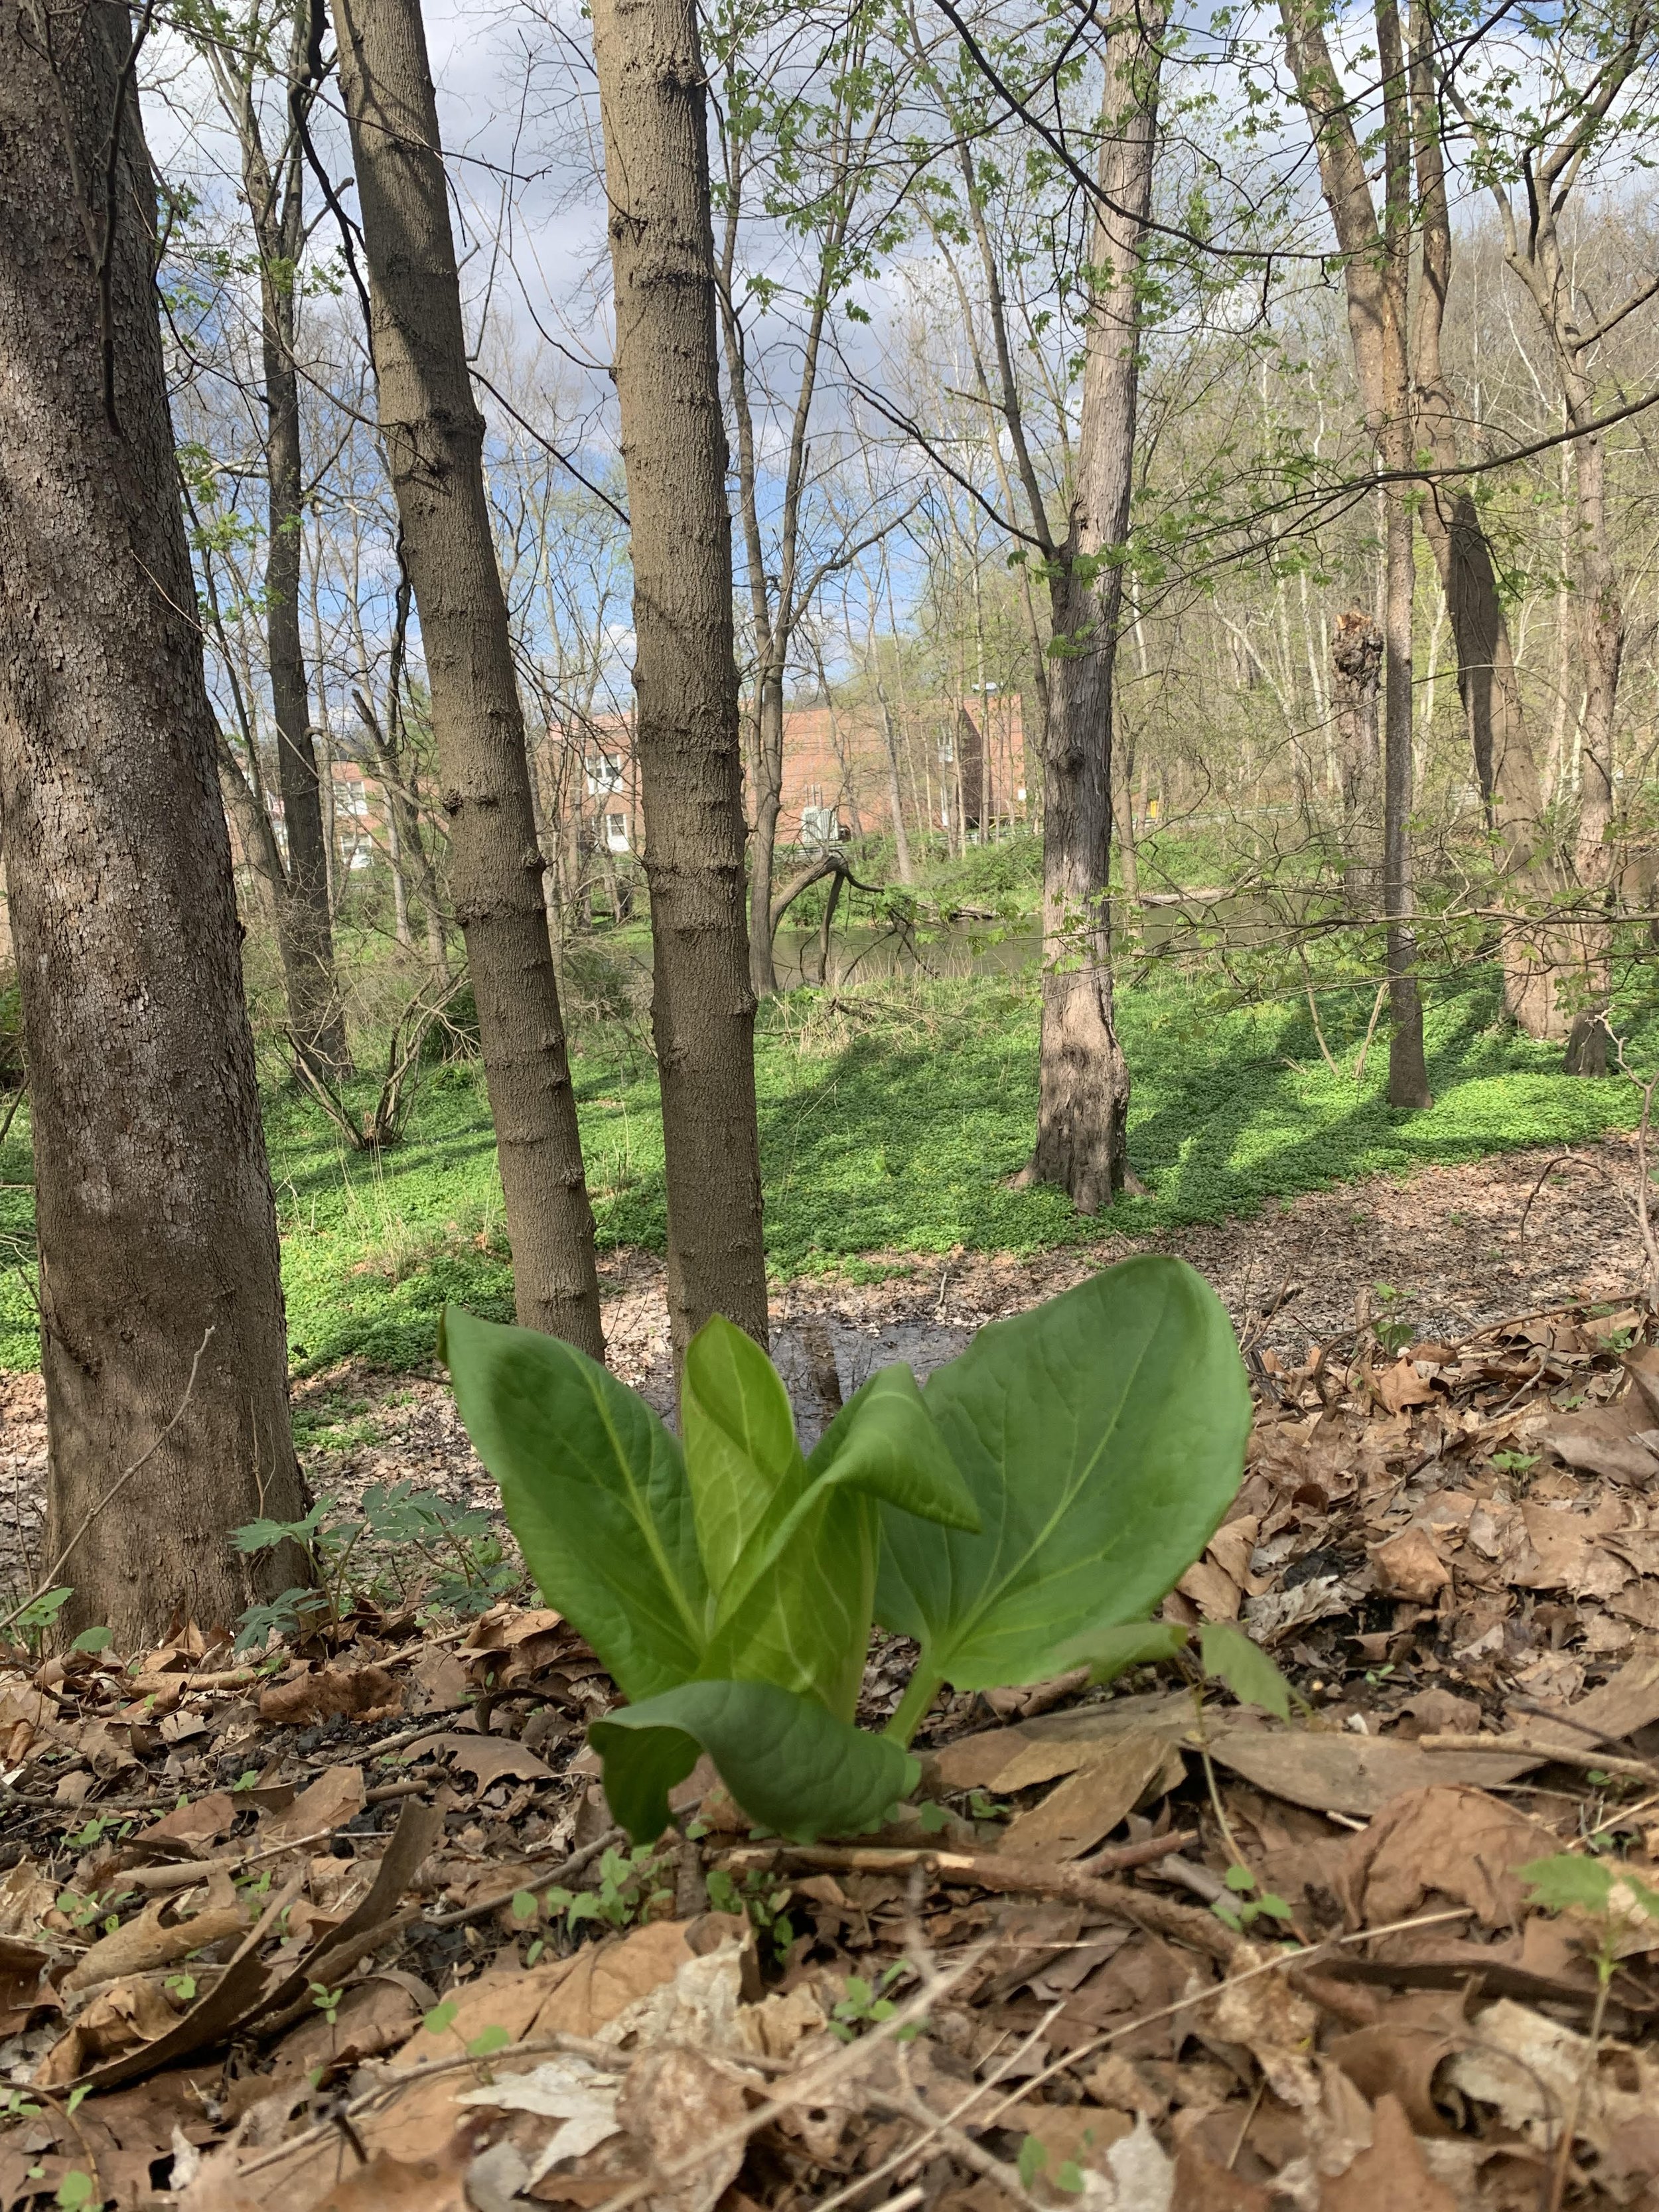
Find a leaf
-Not a vine leaf
-The bigger the surface area the better
Use a moist sponge to remove dirt
Tip: you want the leaf to be as fresh as possible so either pick the leaf fresh or put the stem in a cup of water
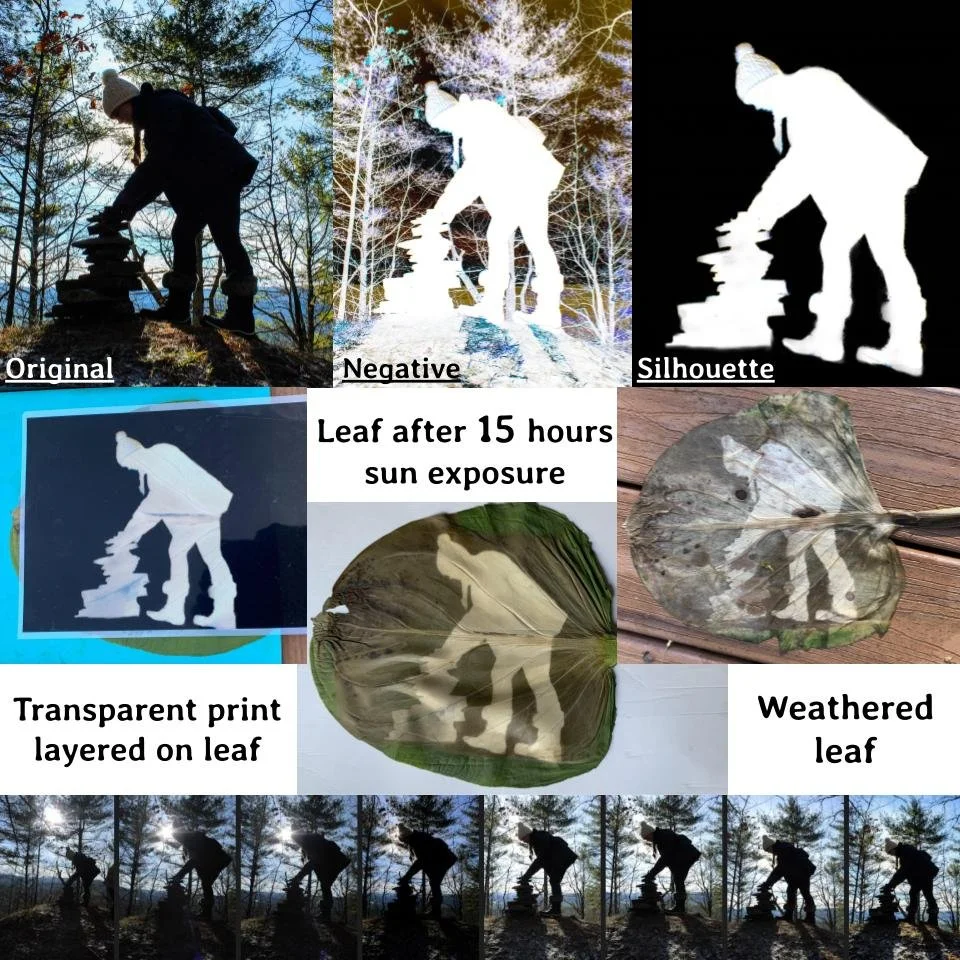
Make a negative of chosen image
-Use Photoshop
-Customize the size to cover the leaf completely
-Make the background black
Tip: The image should be as simple as possible, potentially just a silhouette.
Print the image on transparent paper
-I recommend Pictorico 8.5” by 11”
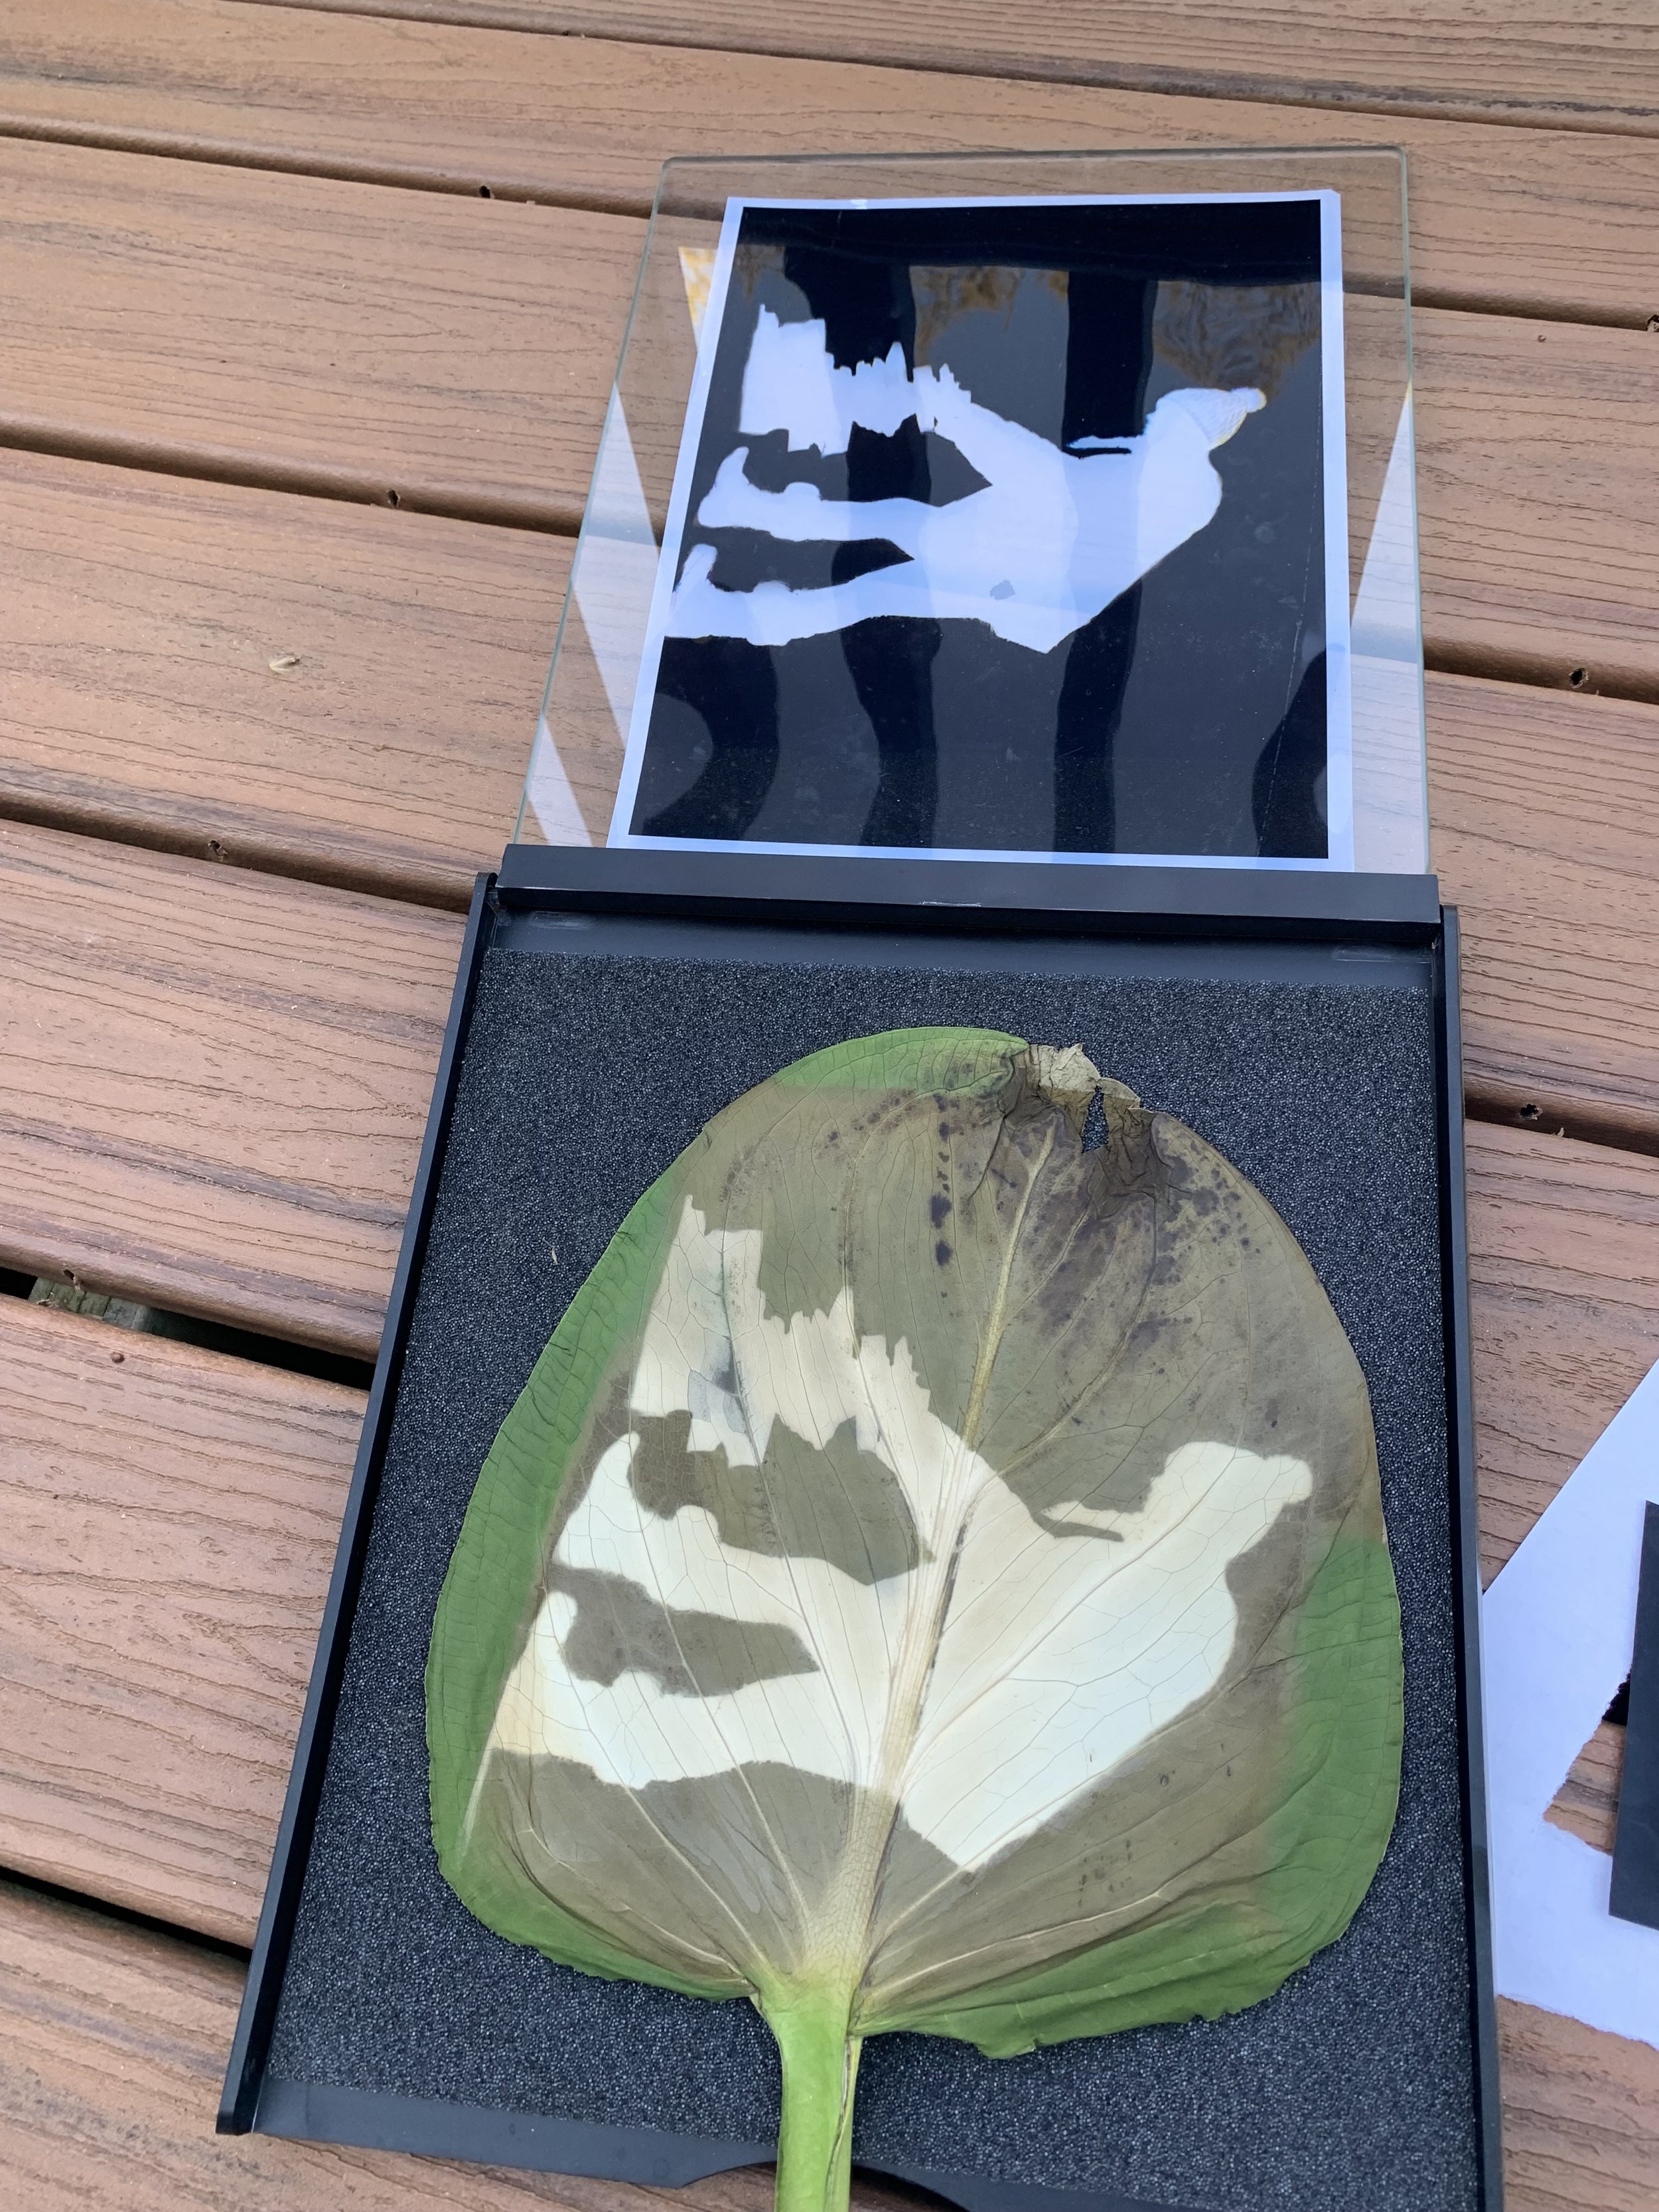
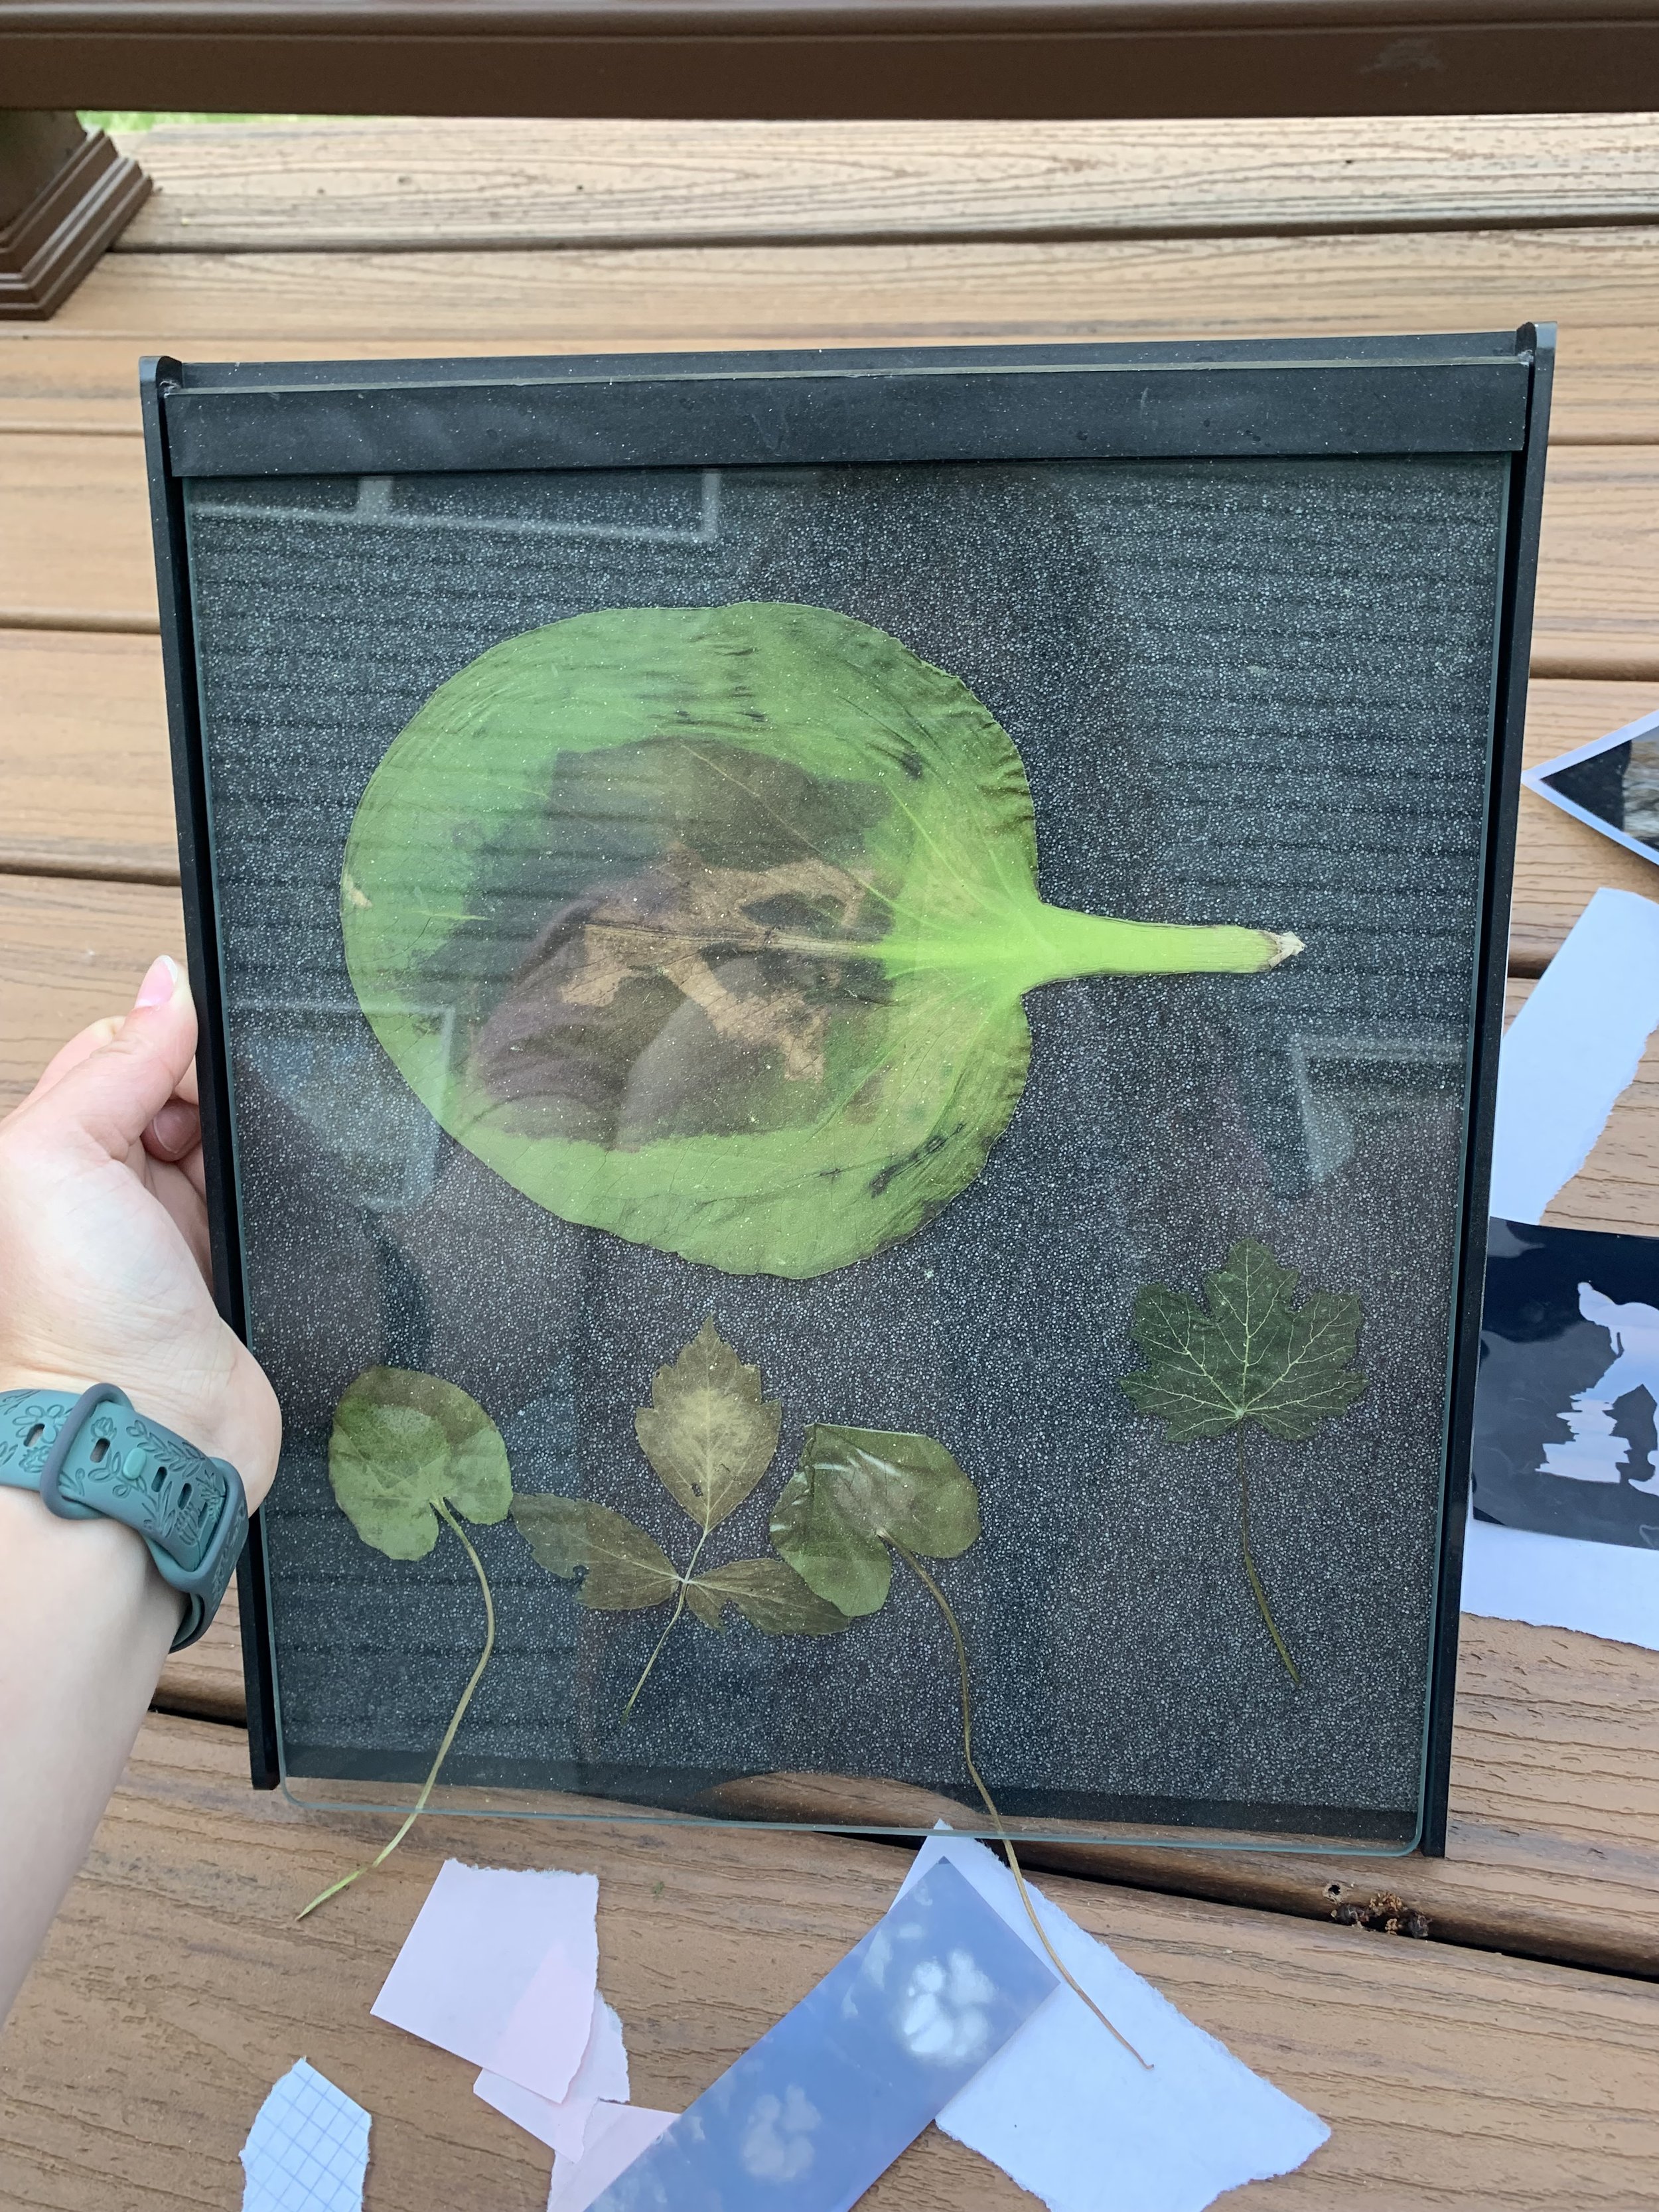
Layer the image and leaf
-board--> leaf--> image--> pressure (glass screen)
Leave in direct sunlight
-Approx. 30 hours
-Depends on the leaf type
-Take into account the weather
-Do not let the system get wet
Tip: when the clear area through the acetate turns yellow the image should be completely transferred.

COMMON MISTAKES:
Choosing the correct leaf is vital to success. The leaf must be one that is affected by the sunlight and will change colors, thus a leaf that can survive the winter such as vines, will not work.
The leaf must be left in the sunlight for the correct amount of time. If the leaf is not in the sunlight for enough time the image will not be printed clearly, and if the image is put in the sunlight for too long the leaf will shrivel up and all image imprints will be lost.
Trial and error is key!